Doc Hoy, where are the pictures?

Thanks for the responses..

Dr.Law....interesting to know how the spring broke and also a valid point on letting the revolver go without spending all of the money for repairs.

I absolutely can not remember what manufacturer was responsible for the pistols I had when I first started out but they were all kits purchased through Shotgun News. EMF's advertisement was their in SN and it they were the lowest cost kits, then EMF kits is what I bought. I don't remember ever having trouble with any kit I bought. This was early seventies.

For Slowhand,

You have also presented a worthwhile position. Kindness alone compels one to allow that there was a valid reason for the treatment this pistol underwent. In point of fact I just picked up a G&G clone which has some obvious internal problems and very little lubrication appears to have been applied to this pistol too. More on that one in another thread.
 
Some photos of the internals

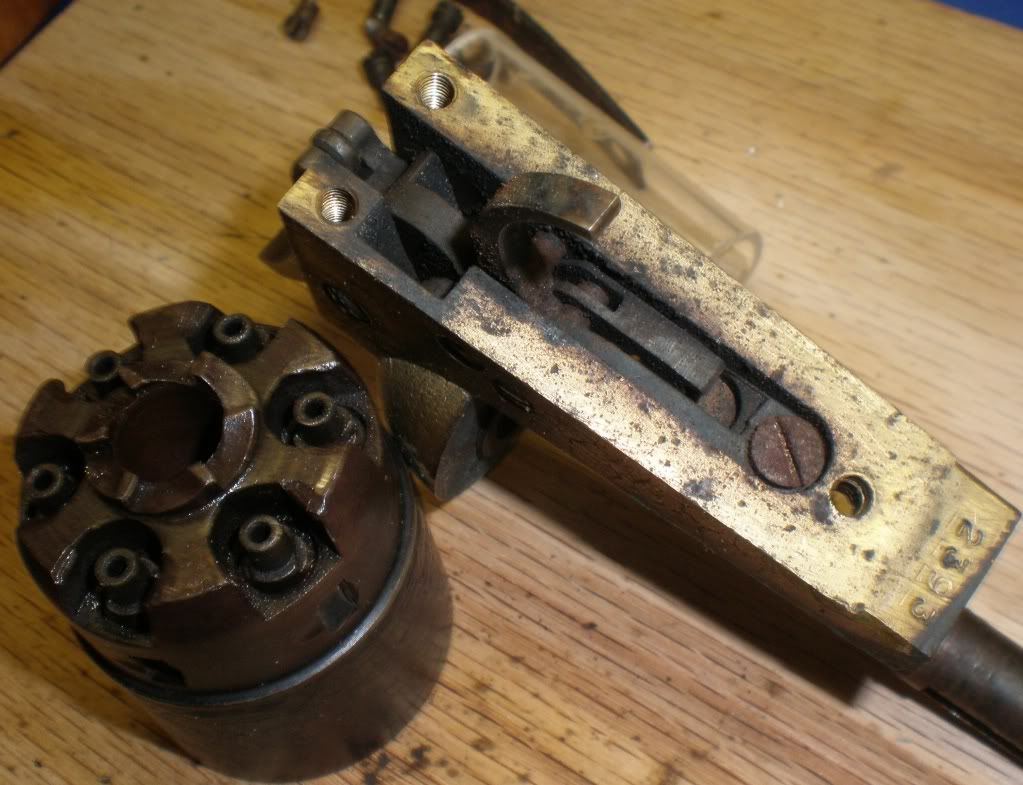
Today I had a chance to get insode of this ASM Colt.

ASM1860disassembly1.jpg


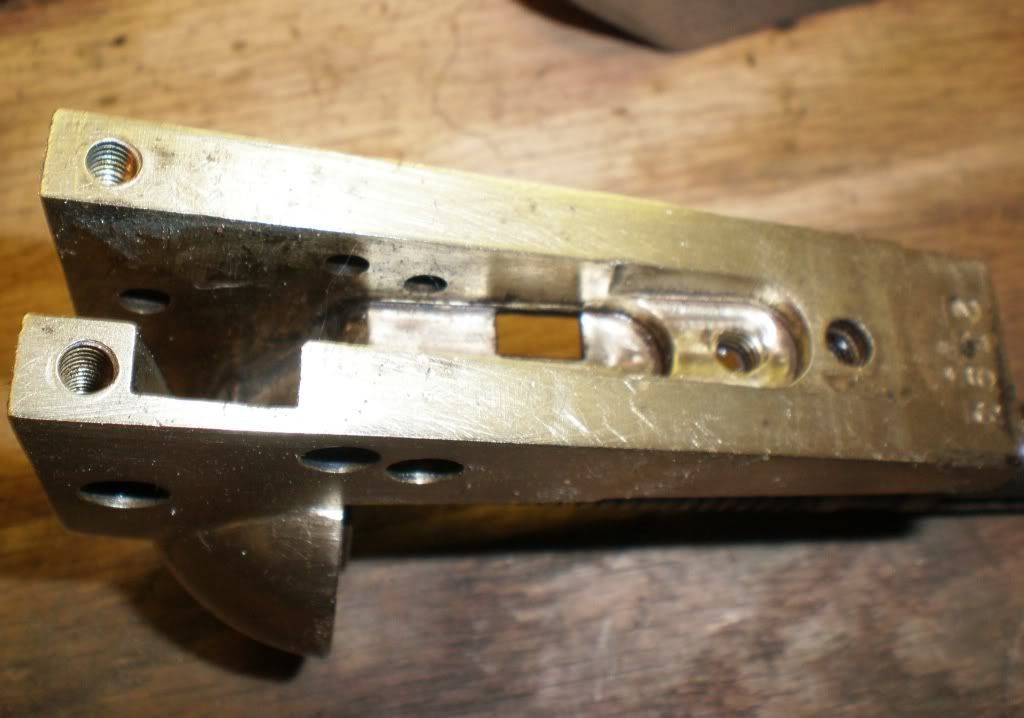
You can see from the photo that the bolt leaf is broken. I have a spare but it will take some filing. (Not uncommon.) Notice the corrosion on all the internals. I think this pistol was never lubricated. In the previous photos you can tell that the pistol has been fired. When I pulled the spring out, I noticed that the spring screw is damaged. It appears to have been broken off and the remaining piece used.

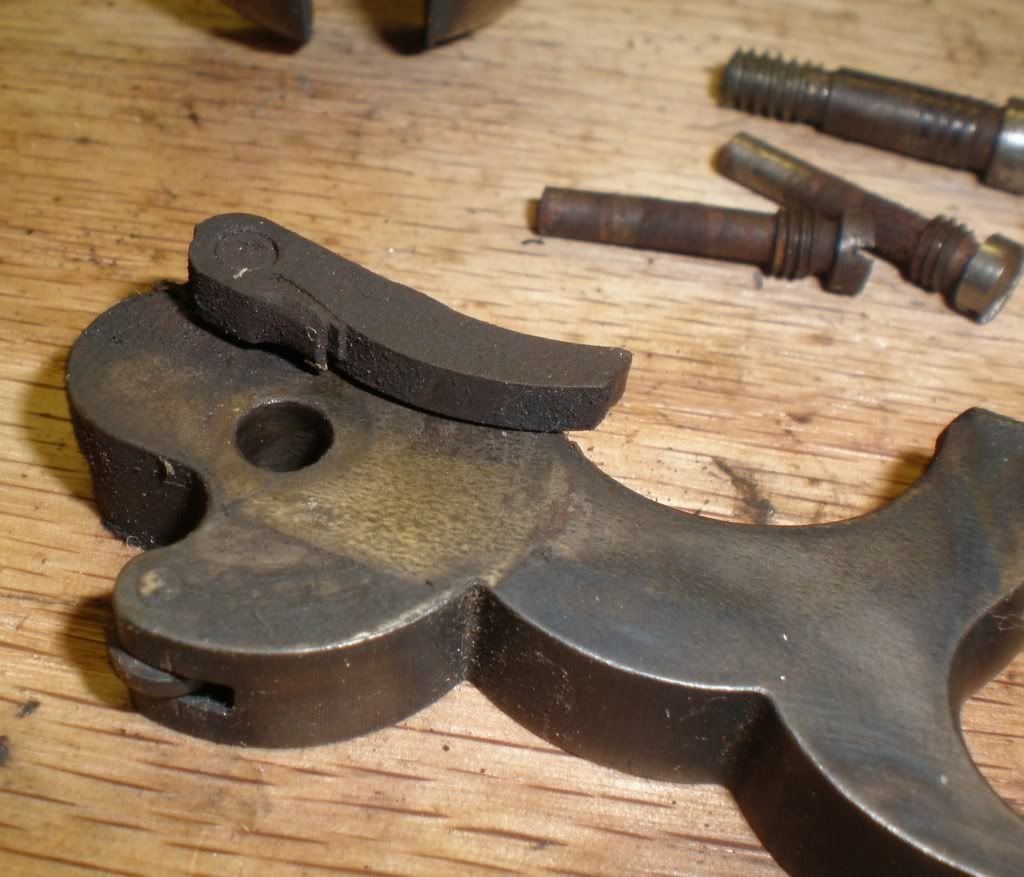
ASM1860disassembly4.jpg


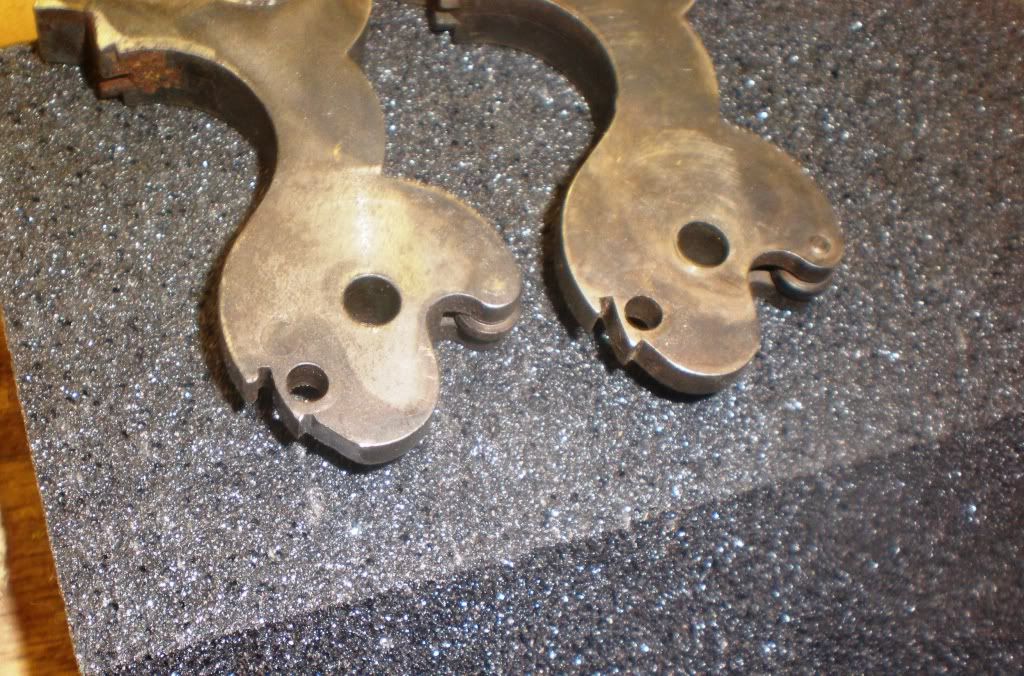
The second photo shows the hand with broken spring. You can see that the hand itself is it pretty good condition. A little corroded but plent of metal left to do the filing and shaping to get the action right.

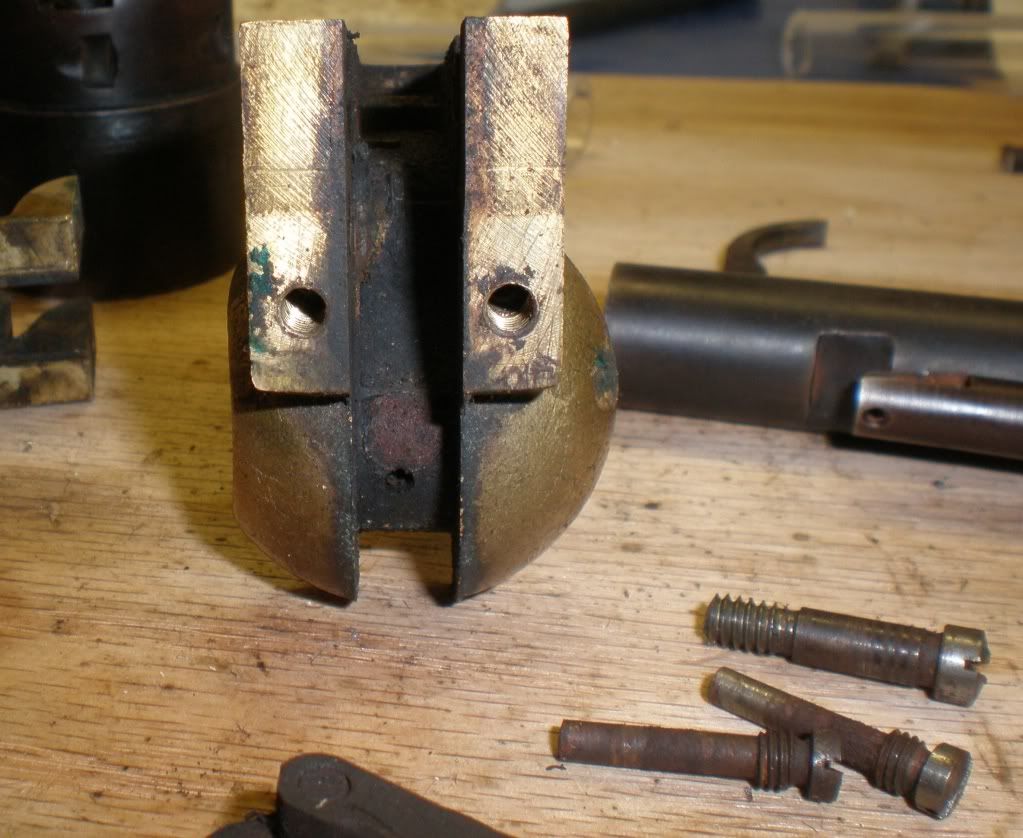
ASM1860disassembly5.jpg


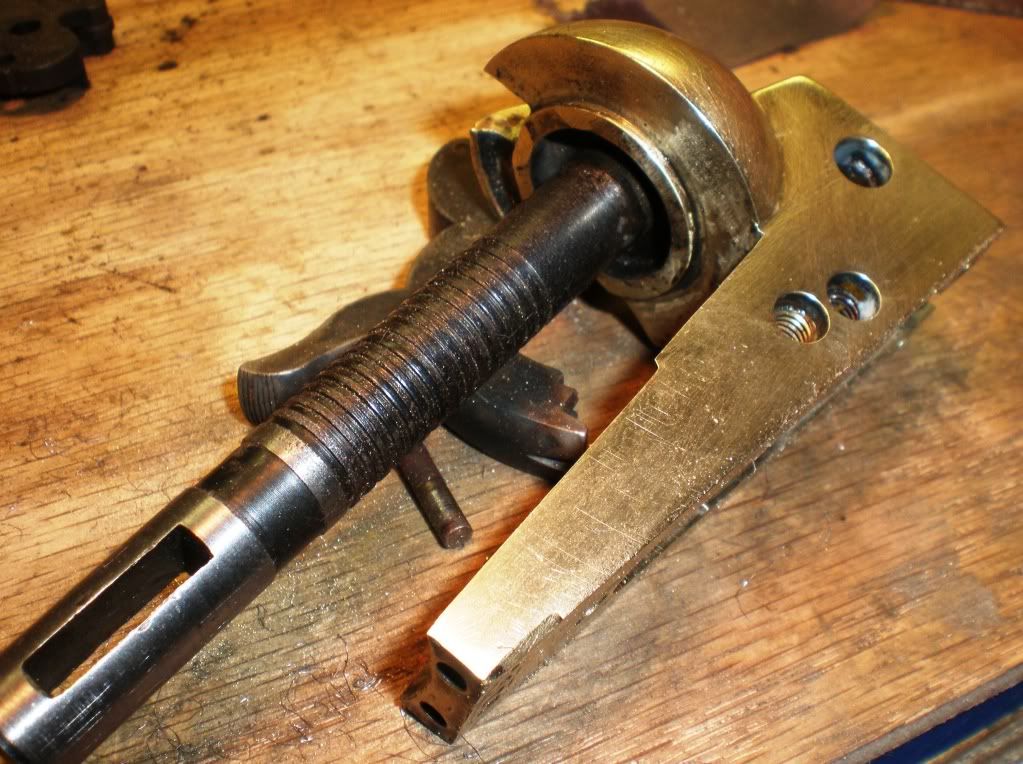
The third photo was initially intended just to show the terrible mess inside of the frame. But if you take acloser look you can see that the pin that tightens up the arbor appears to bave been pushed way inside the frame. The head of the pin is barely visible. The arbor is slightly loose.

I tries soap and water and a stiff bristle brush but the black crud is really caked on. I have the frame and triggerguad soaking in gasoline to see if I can break it up a little.

This pistol has a long way to go.
 
Forgot to mention

I cleaned up the barrel and miraculously the bore is in pretty good shape. It will take a little steel wool or scotch brite pad but I think it will clean up to shootable condition.
 
Doc,
You seem to like brassers, so do I. But in our store we are trying now to sell steel frames that fit conversions. I have 4 pietta 44c brassers 1 reb Confederate, One Tex 1858, 2 sherriffs (1 octaganol and 1 round) All new in box and probably only been cocked a few times from curious customers. I want to sell them all at good price to make more room in display $585 for all 4:)
 
Hardy

I can't say I am partial to brass frame revolvers. I got this pistol and a couple others by putting out feelers for some clunkers to work on as projects. In cases like that, you takes what you gets.

This one was given to me by a poster who got it in a box of junk. I sent him the cost of shipping and he sent me the pistol.

I am going to try very hard to restore the pistol and not just part it out. I did get hold of a G&G in poor condition that I will likely just take apart and sell. I have three others of the G&G model and certainly don't need a fourth.

I also have one other ASM 1860 (Brass .44) but I am challenged to get this pistol shooting again. I am fairly certain that I will put more into it than it will ever be worth.
 
Doc,
If you decide to sell, don't forget the obligatory, "Appears unfired...cylinder has been turned". :D
 
Frame after clean-up

I have the frame cleaned up to the point where I feel I can work on it to get the actrion functioning. The locating pin for the arbor was not missing it was indeed driven further into the frame. I set it a little deeper with a punch and then centerpunched the frame just above and below the arbor in the hammer channel. This tightened it up. I want to emphasize it was not very loose to start with.

Here is the left side of the frame.

Frameafter2.jpg


Here is the rfight side. Note that the CVA emblem is completely gone.

Frameafter1.jpg


Here are acoupla shots inside the frame.

Frameafter3.jpg


Frameafter4.jpg


And in these shots I tried to show the side surfaces inside the frame.

Frameafter5.jpg


Frameafter6.jpg
 
Thanks Doc.
1 year ago everyone lookin for c/b in our store wanted the brass 44. Now, not really sure why, but it's all steel frame 36c. Um, I ordered them regularly and sold them but I still have 4 left no one is wanting at this time:rolleyes: But, I think all 4 in a nice display box would make a nice gift to someone out there for Chistmas. I want to clear them out. But I kinda am fond of the Tex 58 though. Tex 1858 at top-- the 2 sherriffs in middle and the Reb Navy underneath would make a good display. Tell your friends. They are all unfired Piettas w/box and papers and will now sell for $569. Is that a good price? Remember the Tex should be worth some what more than the rest. And the round barrel sherriff was always the most popular of them all.

WB HICKUP HARDY
 
doc,
lookin good!! when i first came across it in that old box, i never would have thought that it would ever even start to look that good. really glad that i passed it along to you.
 
Update

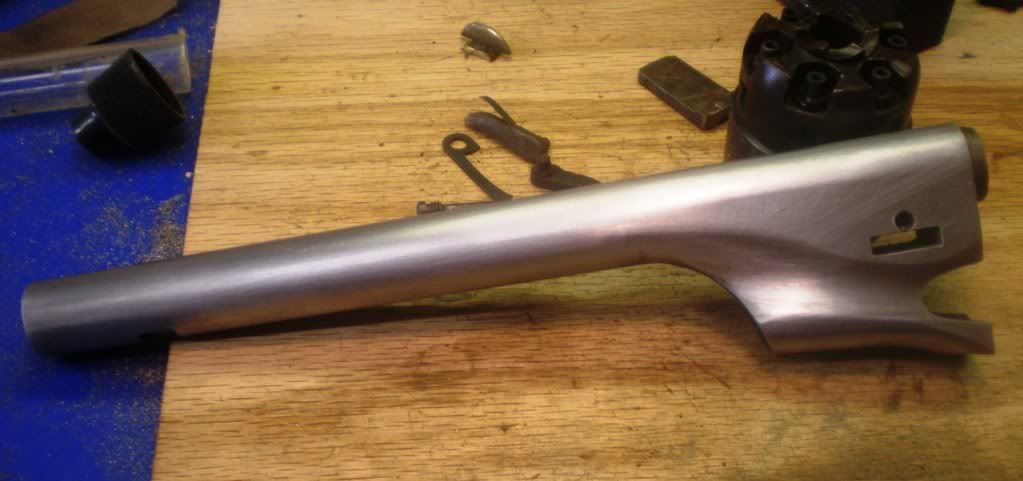
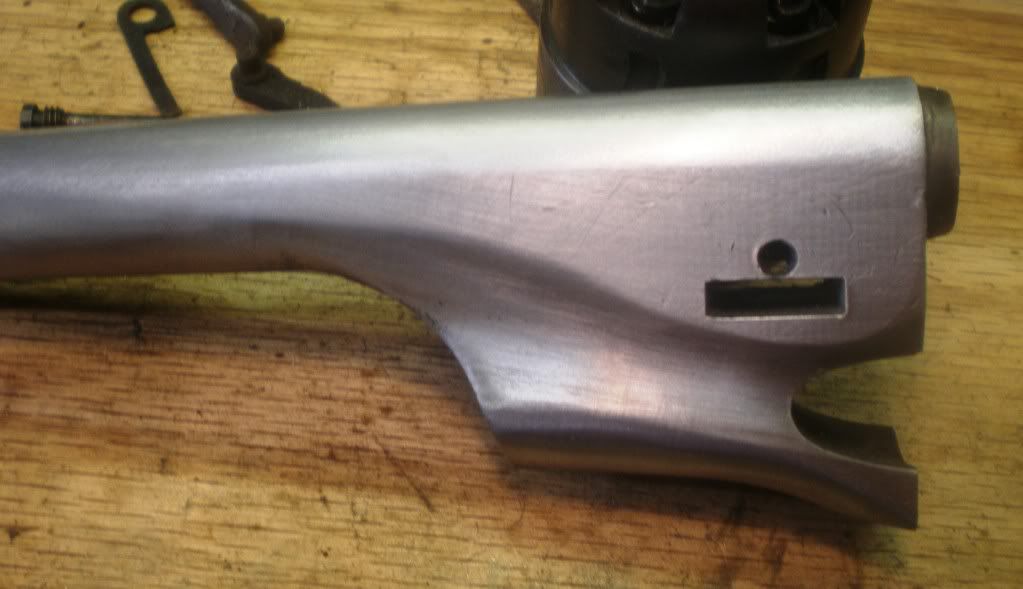
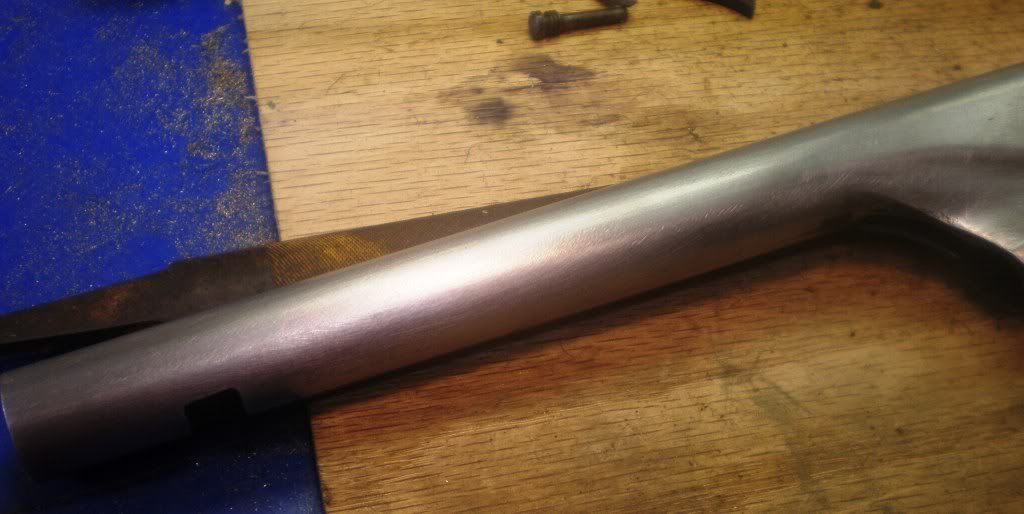
Here are some photos of the finishing of the barrel.

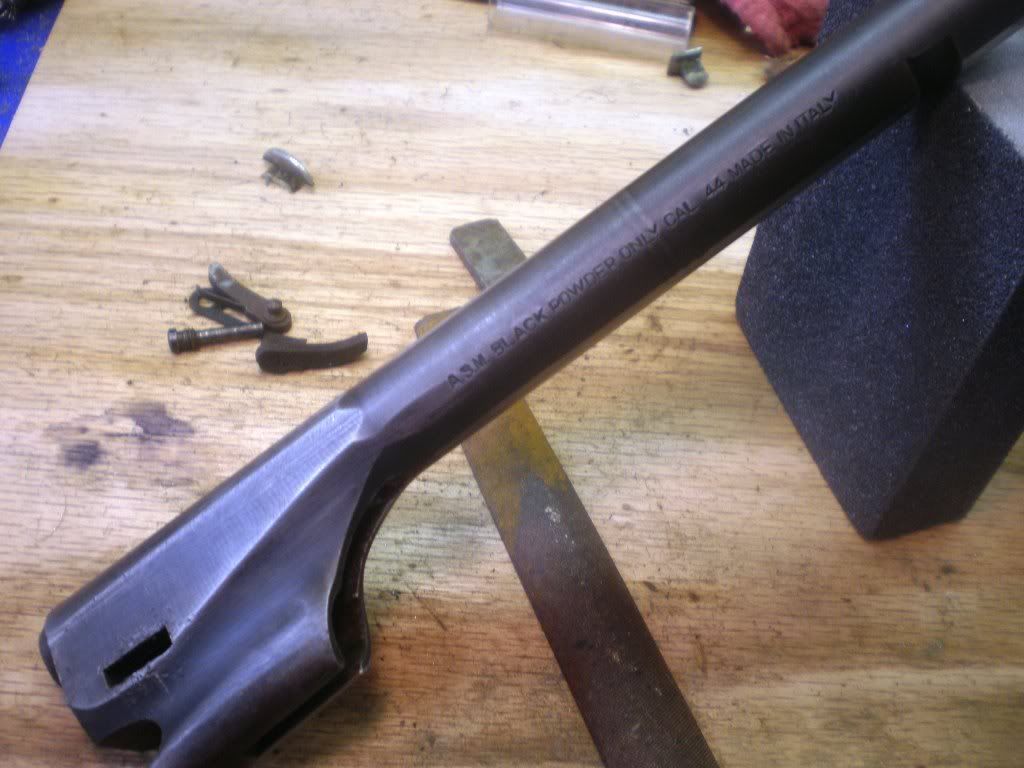
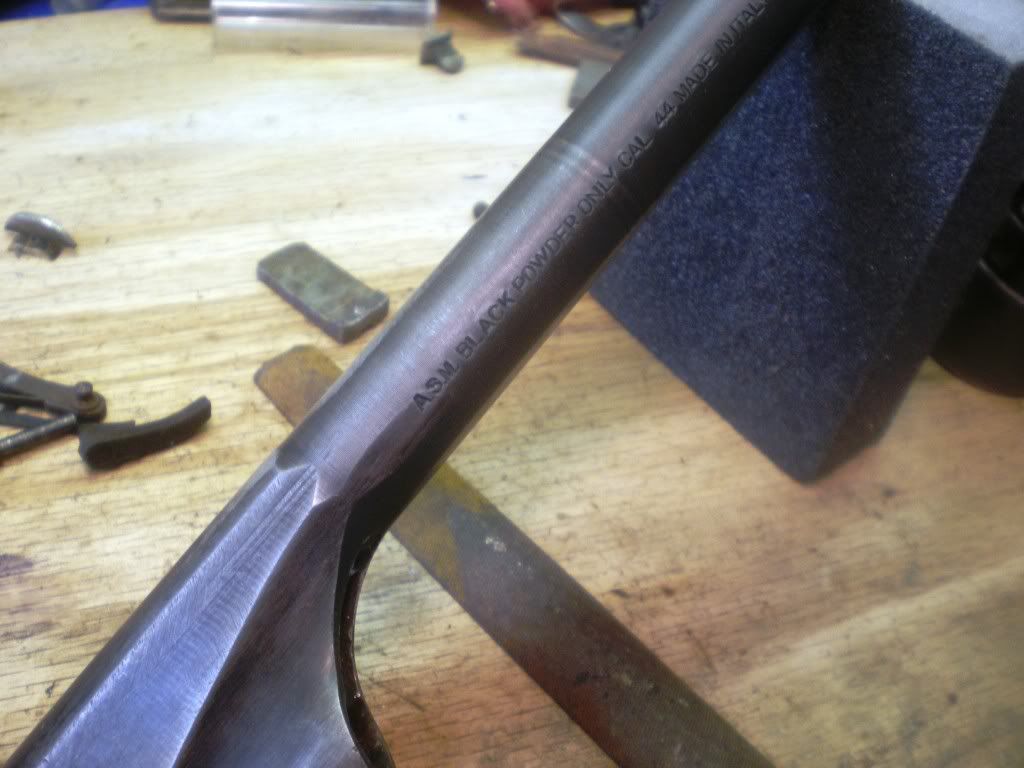
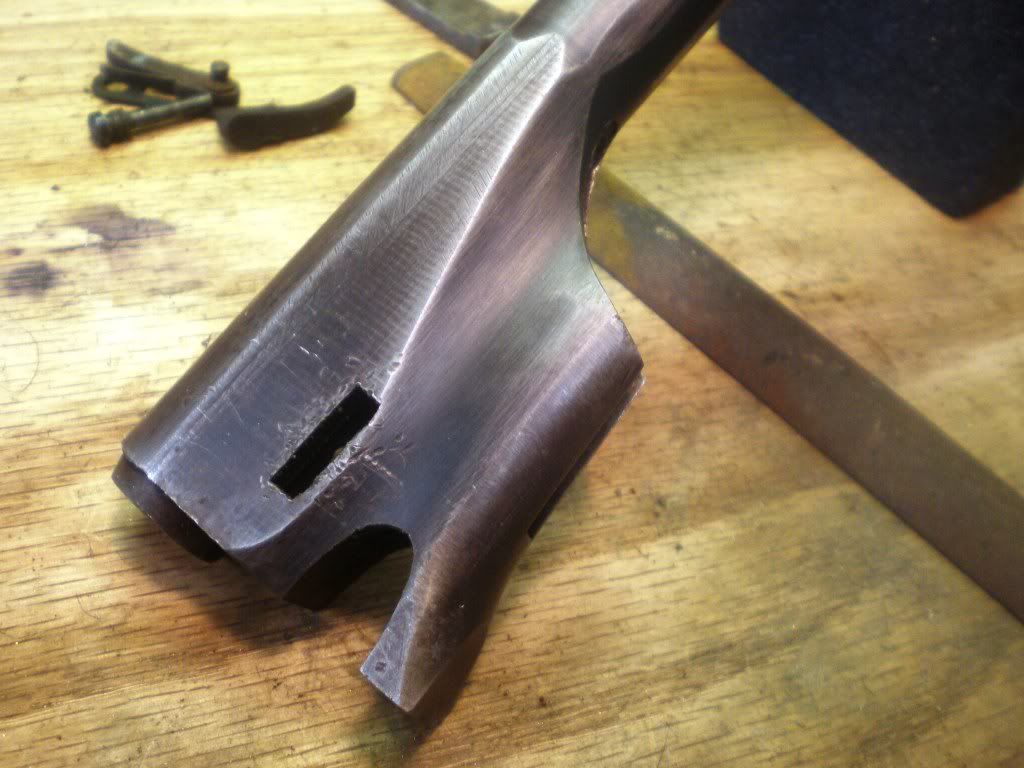
The first three photos are of the unfinished side (I worked on the left side just for a comparison.) Note the two rings on the barrel where the lathe advanced abruptly. It is far less noticable but there are some pretty bad tool marks for the entire length of the turned part of the barrel.

Also no attempt was made either at the factory or by the original assembler (the pistol was a kit) to smooth out the barrel. In a different thread I talked about the lines in the contours of the lug end of the 1860/61 barrel. To me these lines make the pistol look unfinished. I think that gradual transition are vital in giving the 1860 its graceful appearance.

Barrelunfinished1.jpg


barrelunfinished2.jpg


barrelunfinished3.jpg


I worked on the left side of the barrel with a file and with some course paper. Obviously the metal is not ready for blueing but at least the rings and lines are gone.

Barrelsmoothed3.jpg


barrelsmoothed2.jpg


barrelsmoothed1.jpg
 
Doc Hoy

Just let me say that I am impressed with the progress you are making. Take that as a compliment; because I am not easily impressed. :D
 
Lookin' gooooood Doc! You worked wonders on that barrel! Don't forget to take some time off to celebrate New Years! And Happy New Years by the way, to you and all! :)
 
Three at once

Thanks Napp.

Hawg,

The ASM stamping near the bottom of the barrel will stay. The stamping was well executed all letters being stamped to the same depth.

BBB,

I am celebrating New Years by working in the shop.
 
Zippy

I have a pistol exactly like this already finished. Only difference is that it did not start out as a kit pistol. The finish on the barrel is way better.
 
Did a little more work on the ASM 1860

I did a little finishing on the barrel and cylinder but that part of the project has a little ways to go. I'll save that for later.

I also worked on the action a bit. Perhaps you remember from the first post that for the most part the action of this pistol did not work. I cleaned up and replaced several of the internal parts including the trigger/bolt spring, the trigger, and the hand. I still could not get the pistol to remain in full cock, nor could I get the cylinder to advance when I cocked it.

The problem with the cylinder advance was that the replacement hand (Pietta) was too long. The hand was not retracting far enough for the tip of the hand to slip off of the ratchet so it could catch the next ratchet. I ground it down by about thirty thousandths and that corrected the cylinder problem.

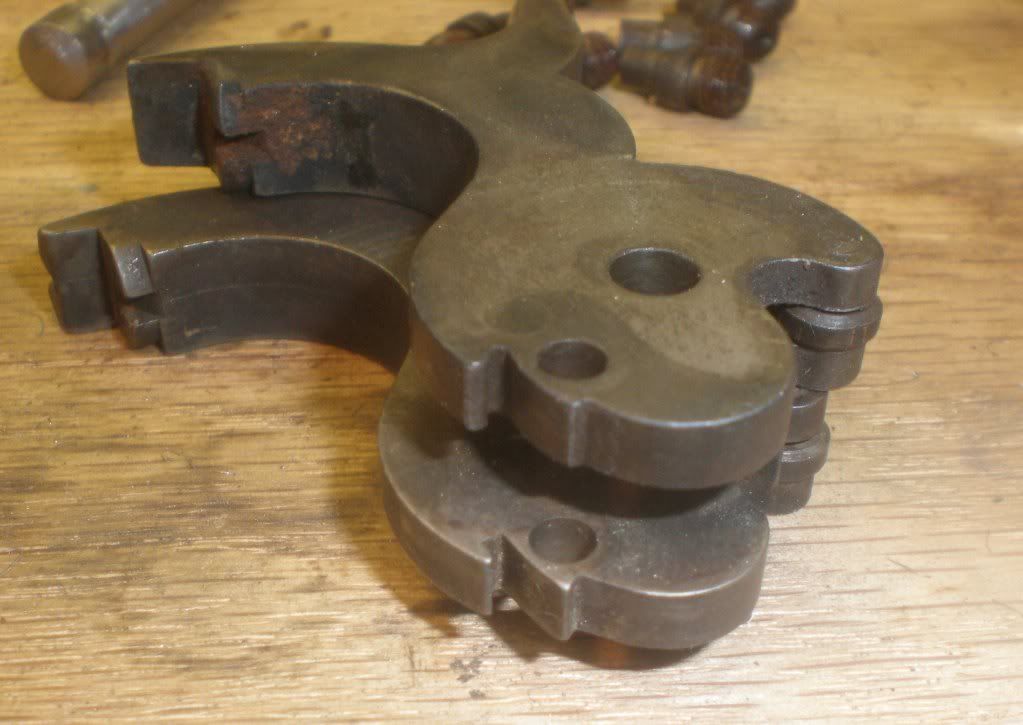
As for the failure of the pistol to remain at full cock, I found that the ASM hammer did not match up quite right with the Pietta trigger. I had worked on an ASM 1863 Remington some months ago in which I had to adapt parts from Pietta to fit it and found the same situation. In that case I reworked the contours of the trigger. But in this case, the problem was with the hammer. I have included a comparison of the ASM hammer and the Pietta hammer. You can see that the ASM hammer which is on the top has a full cock ledge which is not nearly as deep as the Pietta ledge. (It is worn from being worked without lubrication too.) In addition you can see the radius of the ASM hammer below the full cock ledge is more rounded and would interfere with the trigger depending upon the shape of the trigger.

Hammercomp1.jpg


I went to work in the ASM hammer with a file to deepen the full cock ledge, change the angle of the ledge slightly so as to more positively engage the trigger sear and also changed the contour of the hammer below the full cock ledge so as not to interfere with the trigger. The second photo shows a comparison of the two hammers after the work was done on the ASM (left).

Hammercomp2.jpg


This was a gradual process. First I got the pistol to remain at full cock. Then more work on the hammer was done to adjust the trigger pull. It started out at about half a pound. (Way too dangerous). I finally wound up with the hammer looking as it does in the photo and the trigger pull is right at three pounds.

My original action on this problem was to simply replace the ASM hammer with a Pietta hammer. This actually made the pistol work, but as it happens the ASM hammer is about .02 thicker than the Pietta hammer and so it fits the pistol better.
 
Here are some photos of the finishing process

The barrel polished

Barrelfinished.jpg


The barrel blued

Barrelblued2.jpg


The pistol partially reassembled

Pistolright.jpg


Pistolleft.jpg
 
Back
Top