And heres my first question ?

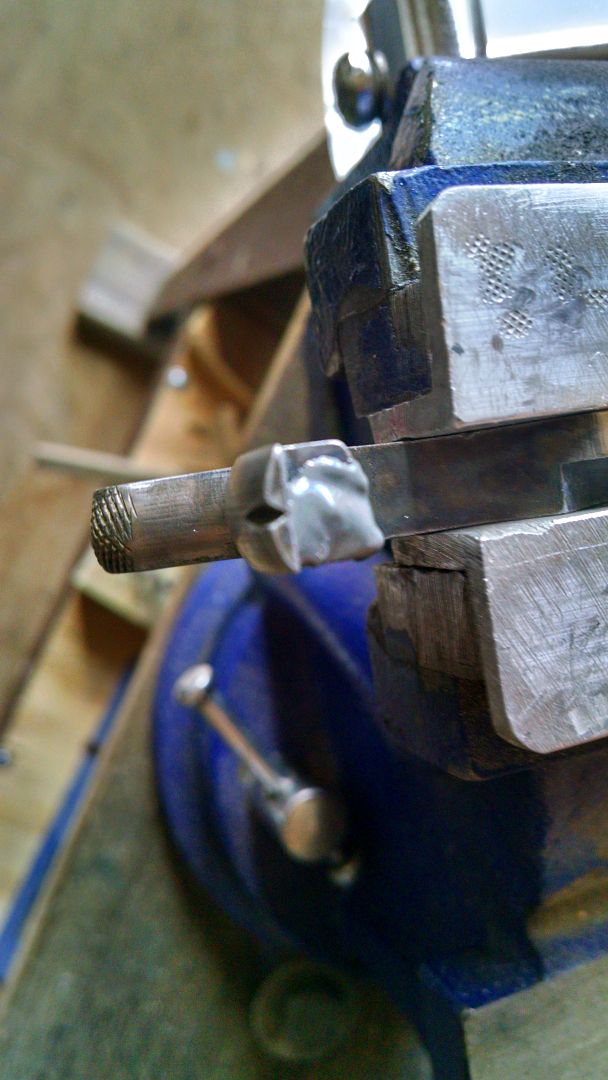
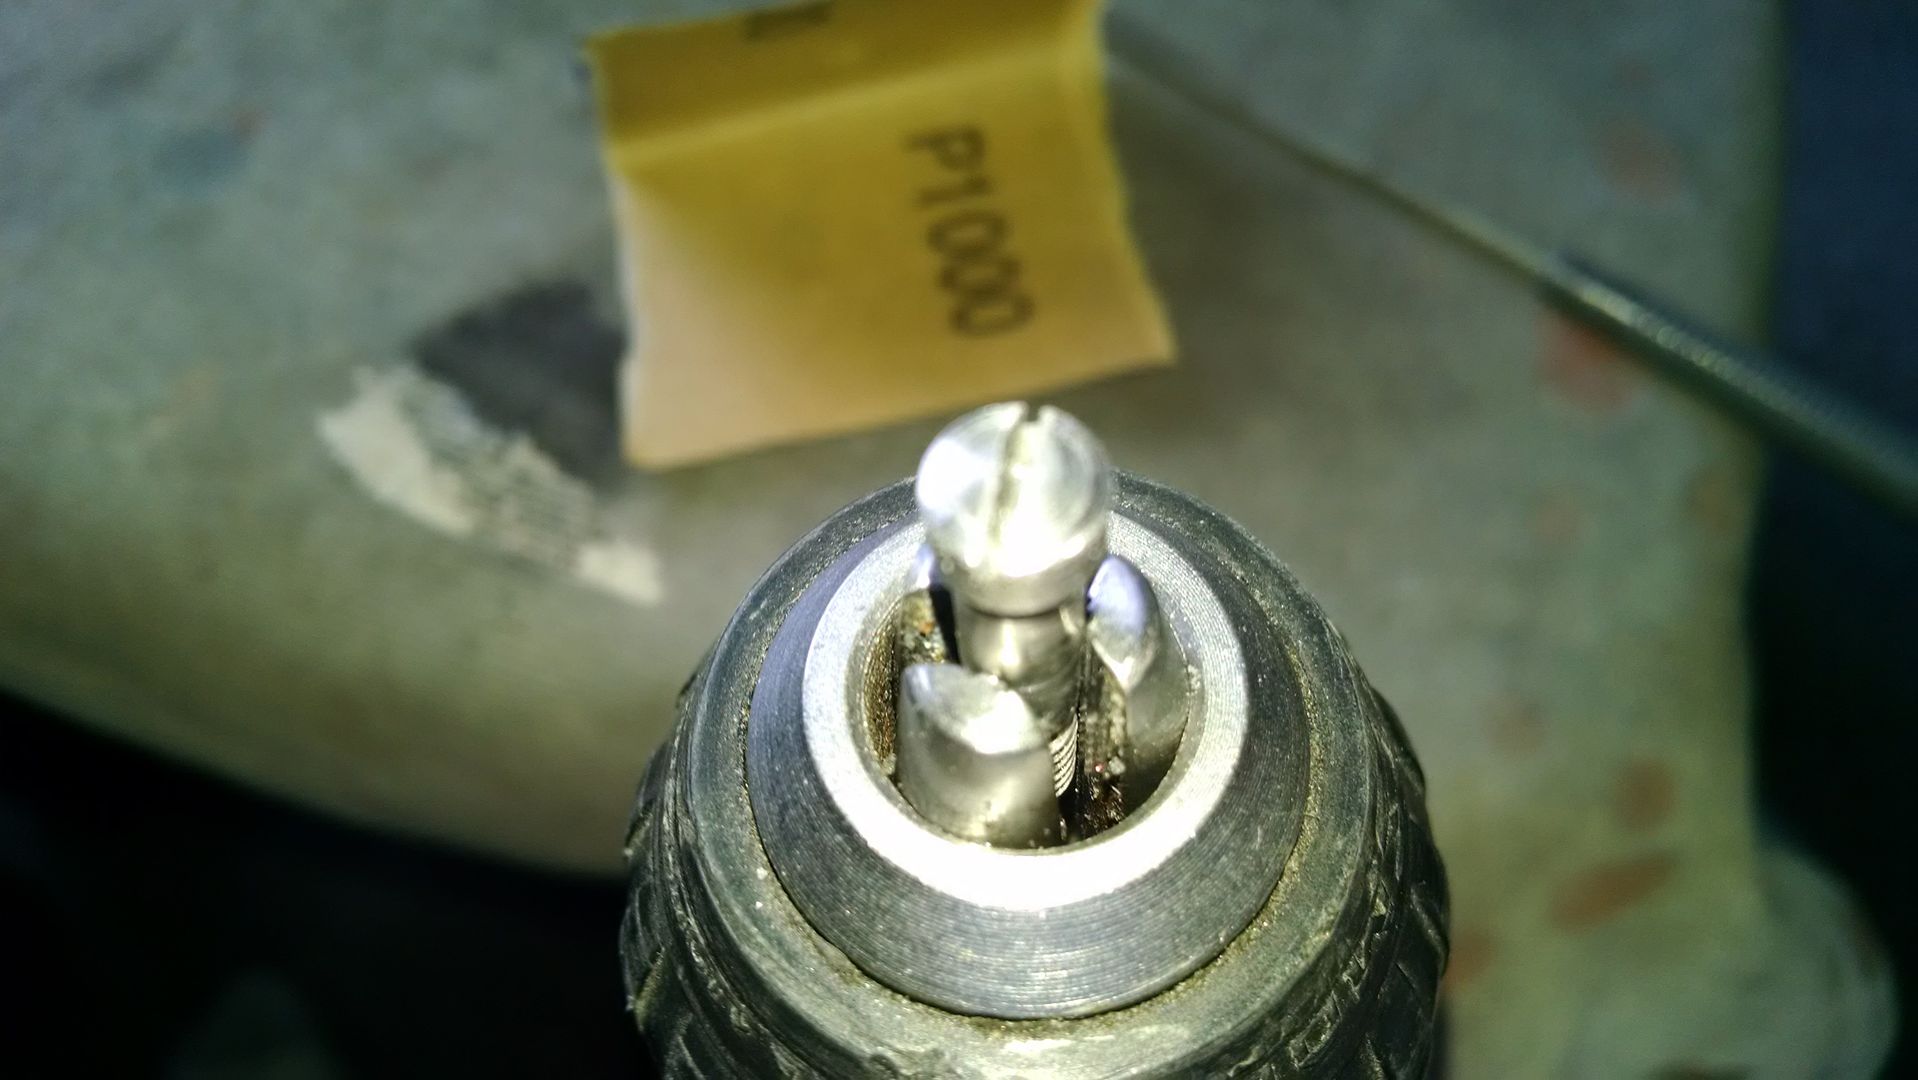
I may be missing it on yours but there should be a flattened area on the arbor where the hand passes it. I had a new Navy that was not done, it would work but was tight.

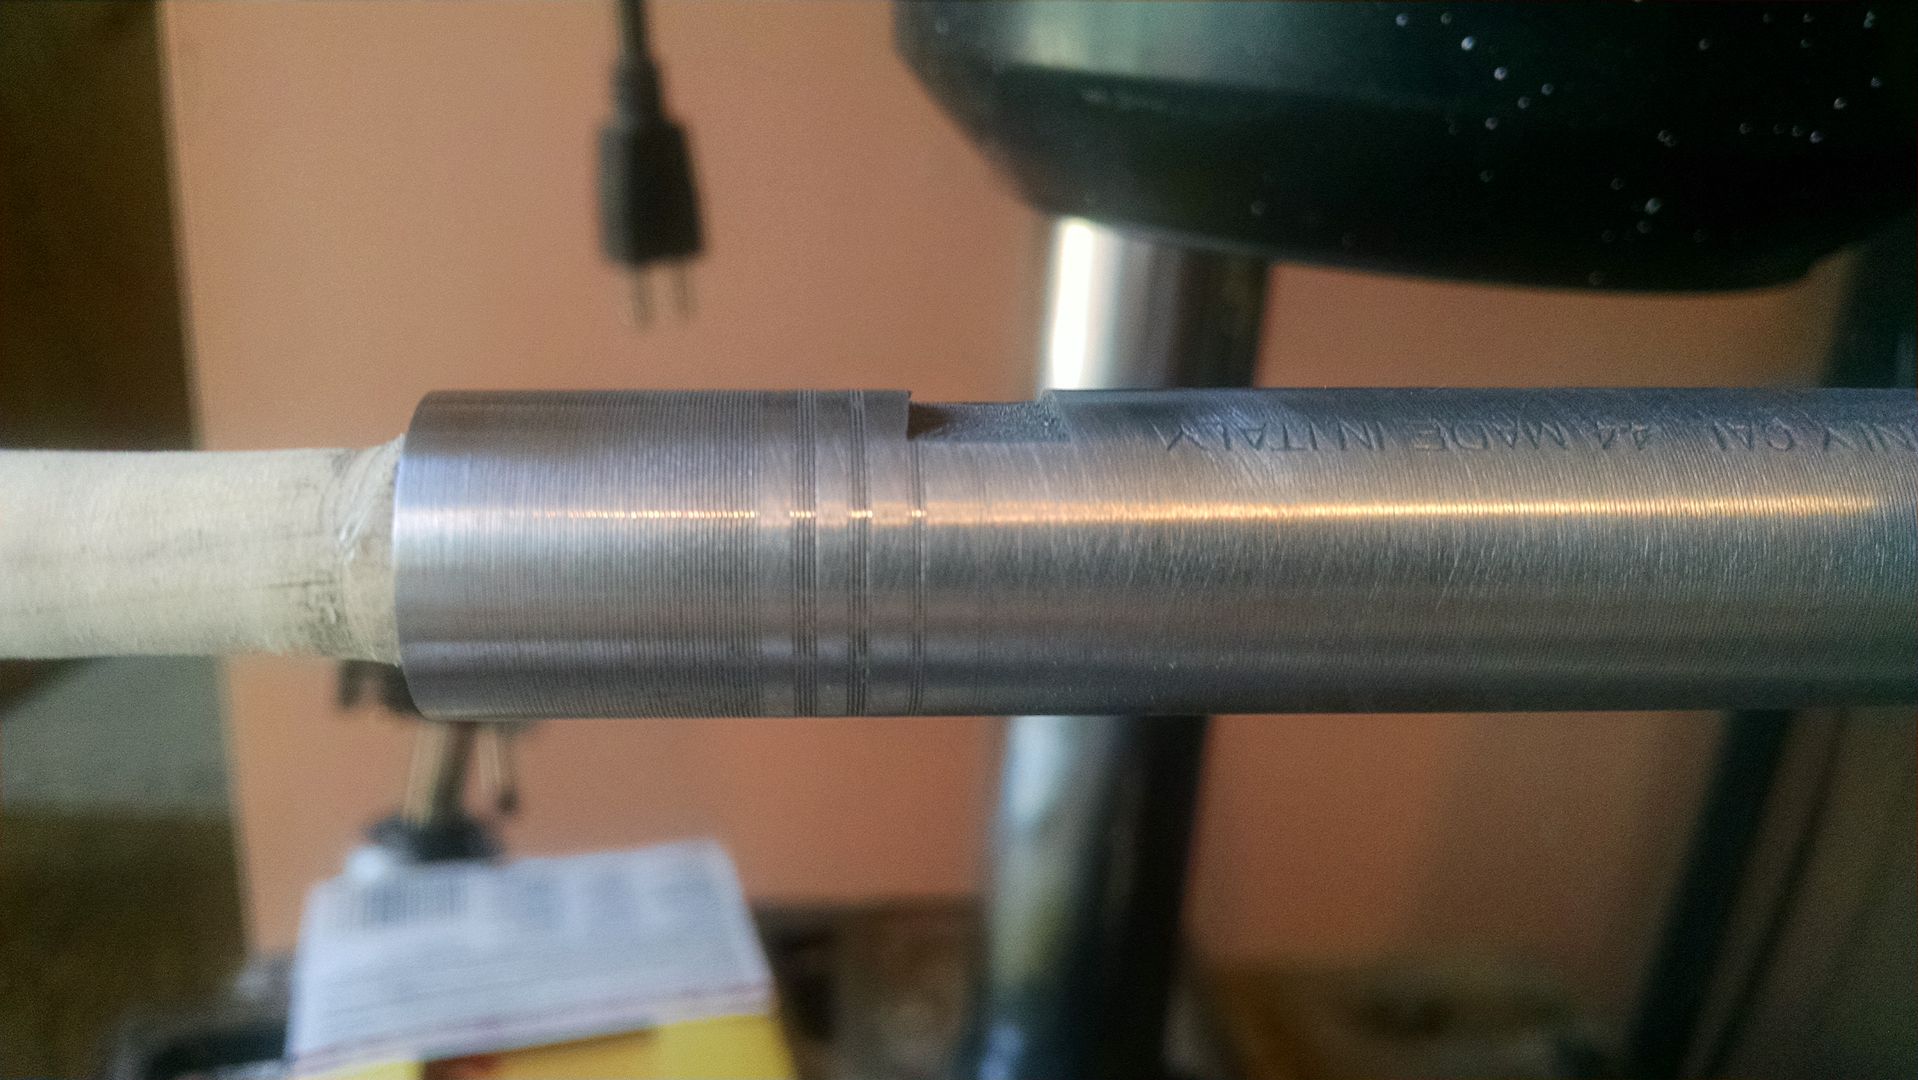
Uberti has a flat spot. Pietta has a step down in arbor diameter there.
 
Started blending the grips :D

27-May-3_zps5bidzhii.jpg


27-May-4_zpsm5pmmpxe.jpg


Maybe a little contouring ? :eek:
 
On this ASM - where the arbor is into the frame ( threaded & pinned ? ) - its .430 - on the hand side the slot is just shy of the arbor edge ;)
 
Last edited:
You should be polishing the rough casting smooth instead of filing it. You're going to end up polishing it anyway.
 
Learning from another kit I did years ago starting with "The Dremel" -- it came out to wavy -- this I started draw filing then file backed #400G emery - then tapping the frame with the grip installed -- 100G paper till the tape starts to show signs of wearing through -- this way the wood is still 1/2-ish a credit card thickness proud -- then I'll hand sand it off the frame - check fit gaps -- hot wet towel -- check -- then final brass polishing -- :D

And I leave in the screws to prevent dishing -- then they get dressed & polished :D
 
And here's my second question :o

I took the brass down so everything is nice and flat / true -- then worked the grip close to the wood with filing and very little Dremel work :D

Sanded -- hot towel to bring up the fuzzys - lite sanding -- its ready to stain ;)

The question ? :confused:

It fits snugly but not over tight -- is there any reason / benefit to back filling with J-B Weld to close up the inner gaps ?

This kit is from the late 1980's -- I ass-u-me the wood is dried out by now :rolleyes:
 
Yep -- I got the slightly smaller arbor threads and the brass in one smaller section is thinner for the hand to slide in :)

hand%20slot_zpsgbe19hpy.png
 
One coat Minwax Dark Walnut #2716 / 8 + hour dry / #0000 buff / another coat / dry / #0000 buff / first lite coat of polly :D

31-May-1_zpscncsh4di.jpg


What ever kind of wood this is -- nice grain :D

And my spare showed up
upssmiley1_zpsecb4320a.gif


31-May-2_zpshn5zjptv.jpg


Interesting -- when I just looked at this pic -- the pin screws in -- mine is a loose press fit ? :confused:
 
Last edited:
At some point I gotta stop trying to polish what isn't there -- I work down one imperfection in the casting - two more pop up :mad:

And Its hard to put back wood that wasn't there to begin with --- if it was worth it - I've carve one out from a chunk of Maple :D

After a finale polish / clean up -- "it is what it is" --

31-May-3_zps5qb53oul.jpg


Up next -- "Barrel spinning" :eek:

31-May-4_zpsjqwqft15.jpg


Maybe the cylinder too -- I cant tell the difference between the ships and scratchs :rolleyes:
 
This time I opted for a wood dowel - the slowest I can get my vertical milling machine ( drill press ) is 760 RPM -- way to fast :eek:

Two wraps of scotch tape every inch got it tight enough to turn it with the rifling when I pushed it in -- :eek:

So chucking in a drill motor & a support block for the other end -- I can spin it at about 25 - 30 RPM -- slow enough to count :D

1-June-1_zps9xrdy8td.jpg


After about 10 minutes & one sheet of #400 G --

1-June-2_zpsuckk2zhs.jpg


The deepest chatter grooves are about 1/2 a needle thickness on my calipers -- just deep enough to see & feel ---

When I get it all smoothed out with #800 G -- then a lite buffing with a green scotch brite for painting -- :D
 
Just wait till I tighten the quill on this thing -- or at least find a bearing that fits better :D
 
Last edited:
Cap sucker filled in --

3-June-9_zpsagddqlie.jpg


Ready for paint :D

3-June-7_zpsu6otcu1y.jpg


3-June-8_zpscbjkwbnd.jpg


Wedged just enough so the safety clip grabs the outside of the barrel -- back of the barrel filed and polished so theres .10 clearance to the cylinder -- :D

Cylinder cleaned up nicely - just lite scratches - ships show up nicely -- :rolleyes:

Ready for paint :thumb:
 
Last edited:
So thinking ahead a wee-bit to which cylinder might become the safety one --- theres a guy on YouTube who checks for chamber equal-ness by filling each one with powder then measuring the volumes --- the only thing about that I question -- ( even if its only by minute amounts ) -- it could be just a little off ? :confused:

So - oiling up the nipple threads - putting a small amount of plumbers putty in the capping holes --- my syringe is measured in ML -- ?

Utilizing my Wifey's favorite Tea cup ( pink ) with water --

Filling the syringe up to the 4 line --- each cylinder filled equally too -- two lines above empty --

Still -- if one consistently throws a flyer --- that's my safety chamber -- no nip installed :D:

4-June-3_zpsfsznbjl6.jpg


And I dressed some screws --

4-June-4_zpscalbm7nk.jpg
 
Last edited:
Looks good Rice.

I might have 1 for the goon. I bought a Pietta 1860 steel frame (stripped frame) off gunbroker & a complete brass framed "1851" Pietta Sheriff model 44 from Cabela's last big sale.

Finding that either the hand it too long or 
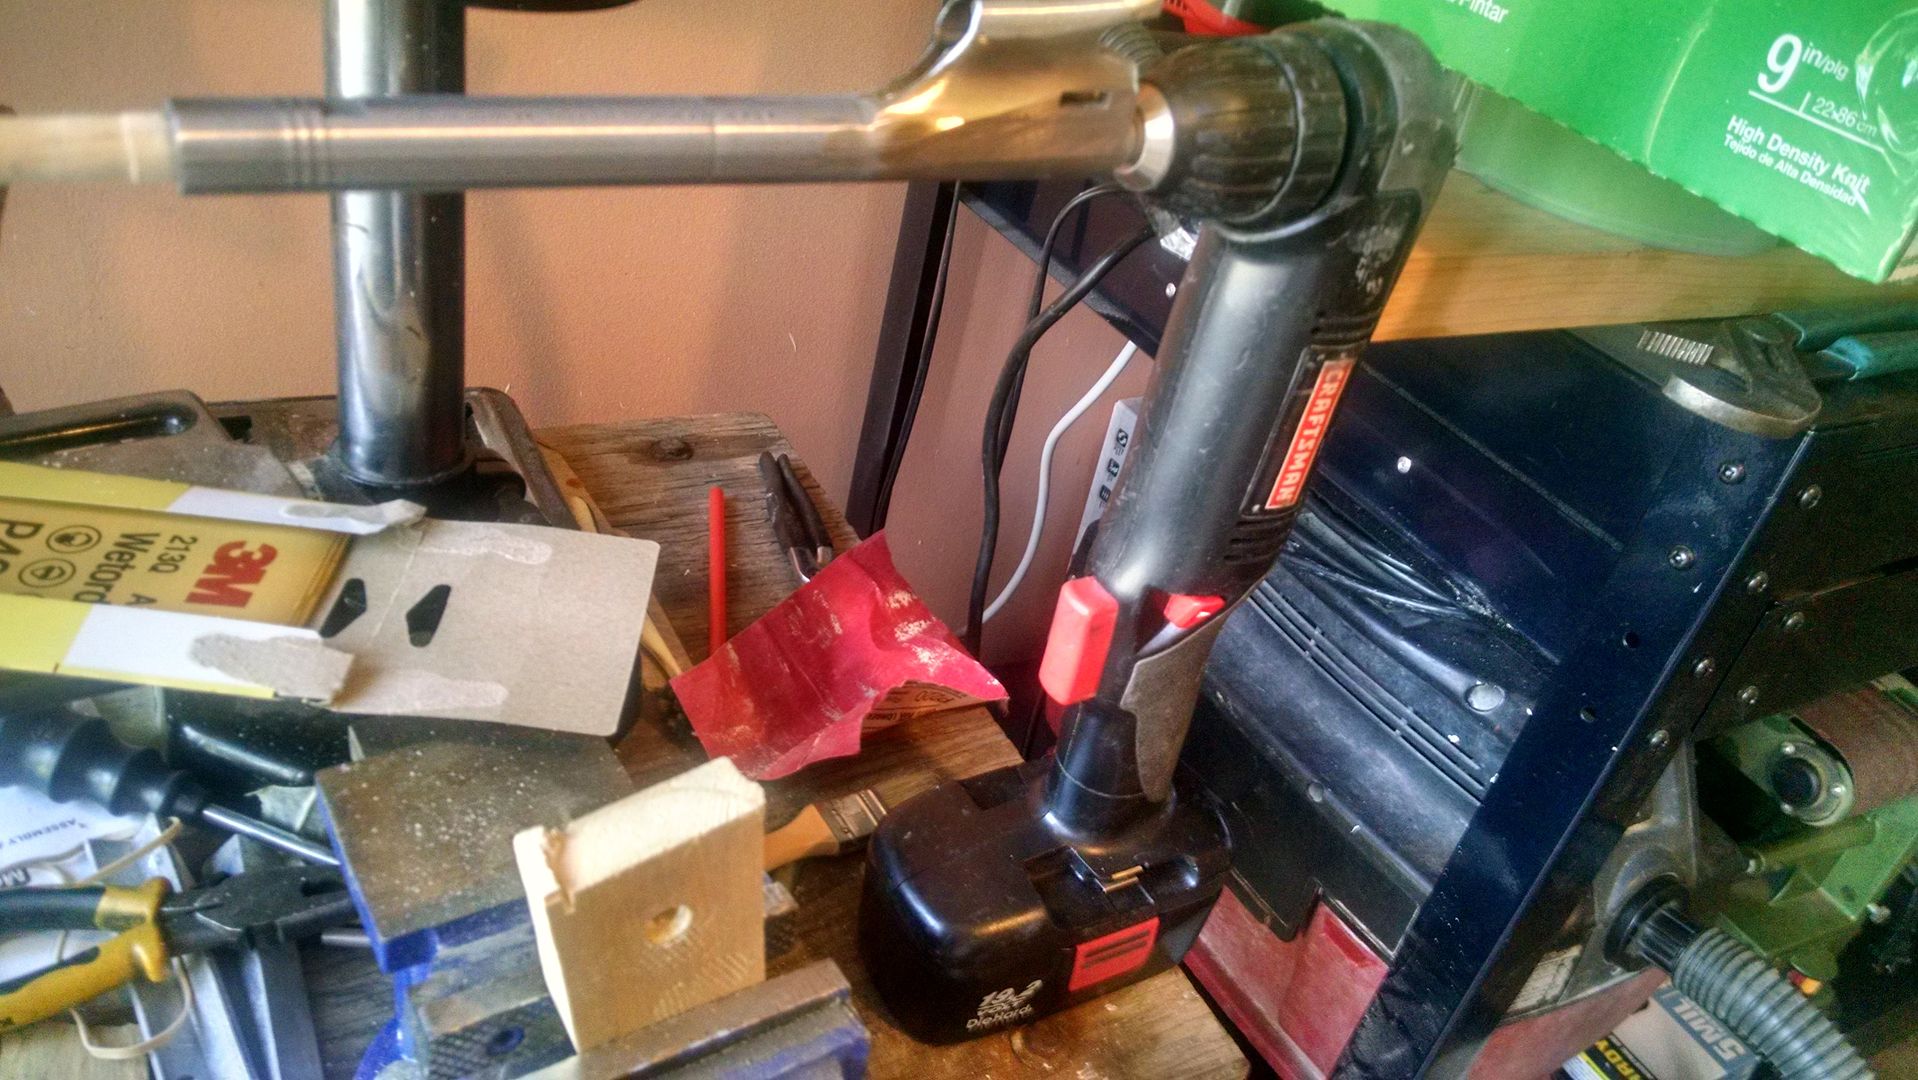
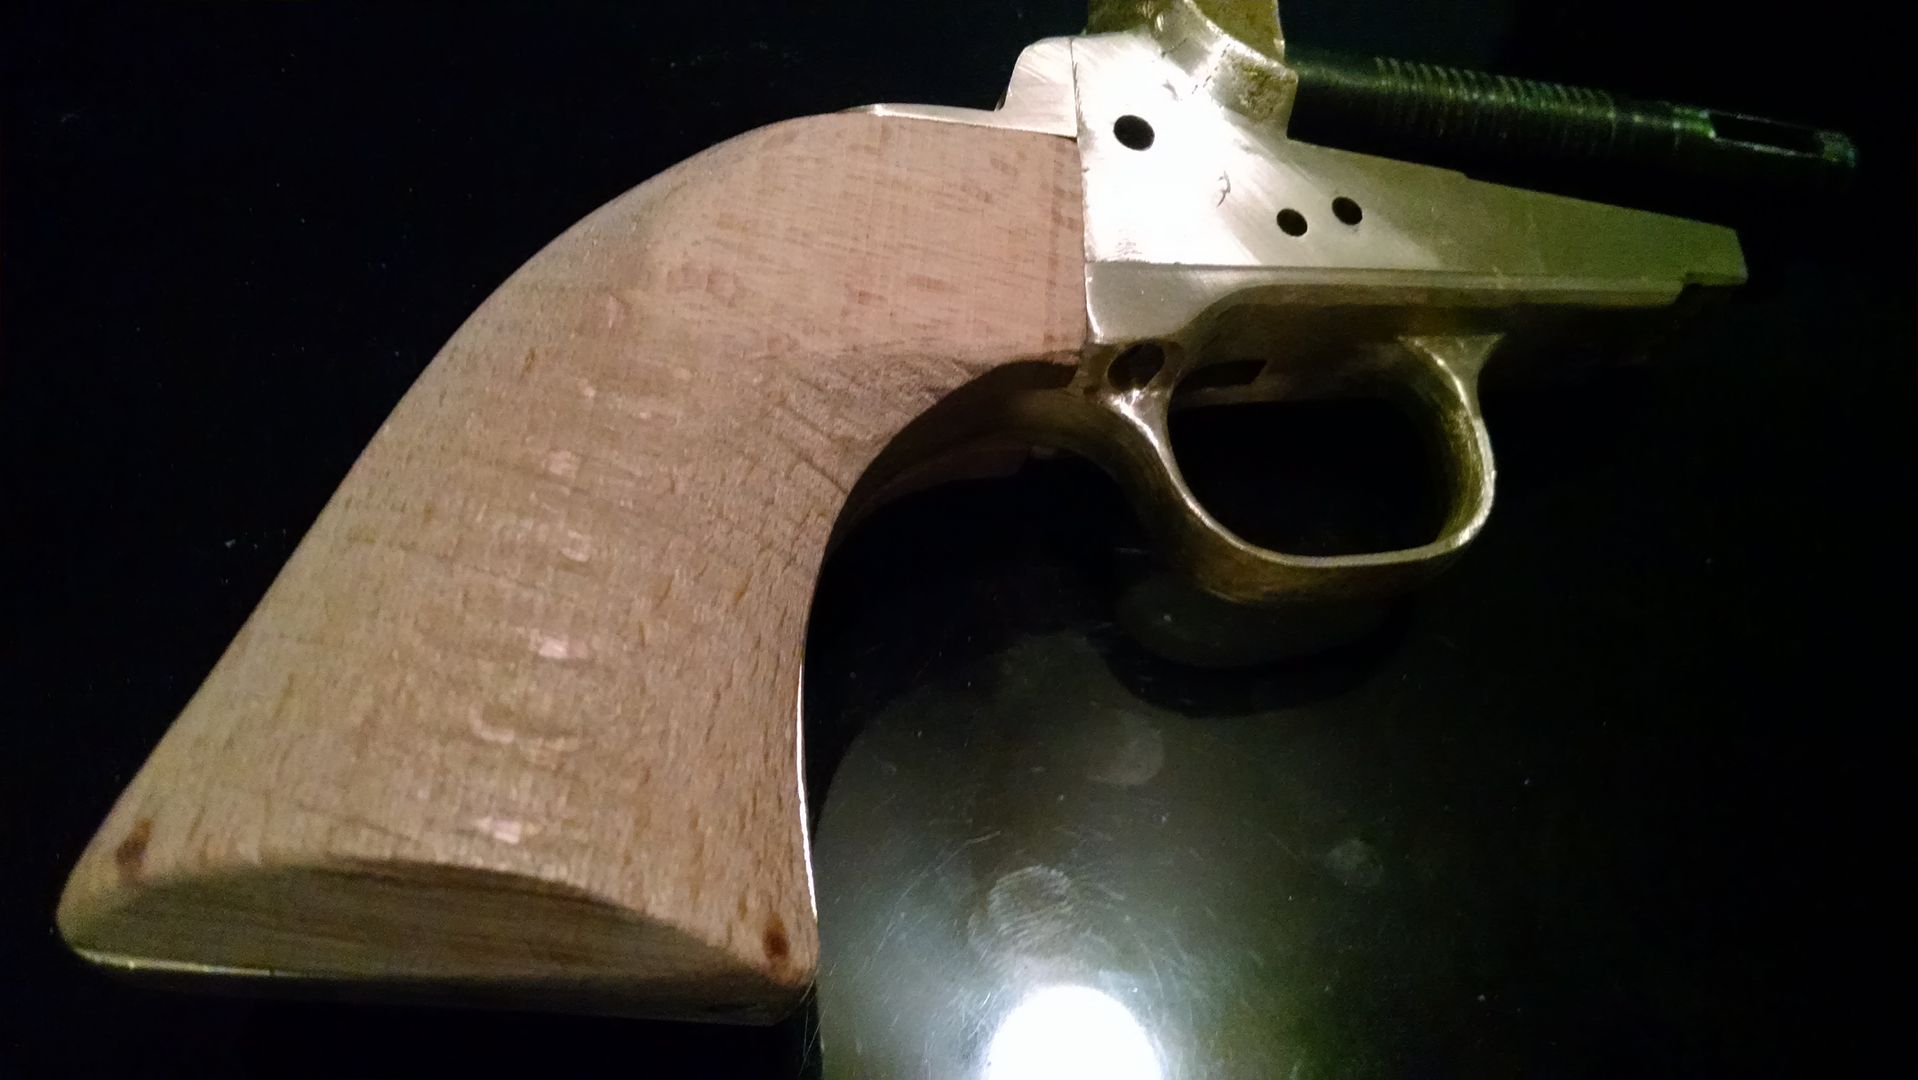
I have a take off Pietta frame with a short arbor. Could be a reason it was for sale on gunbroker. Something aint right and I quickly gave up on it. Seems my shade tree gunsmithing might need some more work.
 
Somethin aint right with this one...

Maybe I should try a couple more hands before giving up. With the barrel off the action works just fine all the clicks are there.

Put the barrel on and I find I don't have all the clicks or can't fully cock the hammer back.

Edit: Now that I think about it. There's a couple other things I should've tried 1st - was using the 51-44 cylinder on the 60 frame. That might be issue.

Should've also tried a 60 cylinder and 60 barrel / wedge on it to see if that would solve it.

Now I'm back in Africa...
Will have to revisit it in a couple months.
 
Last edited:
If the bolt locks in but it won't go into full cock the hand is too long. I have seen one doing that where the hand was the right length but it needed an angle on the tip.
 
Back
Top