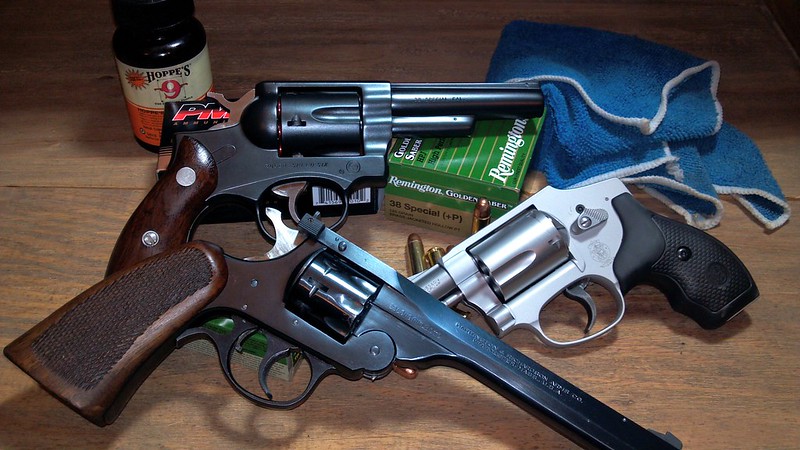
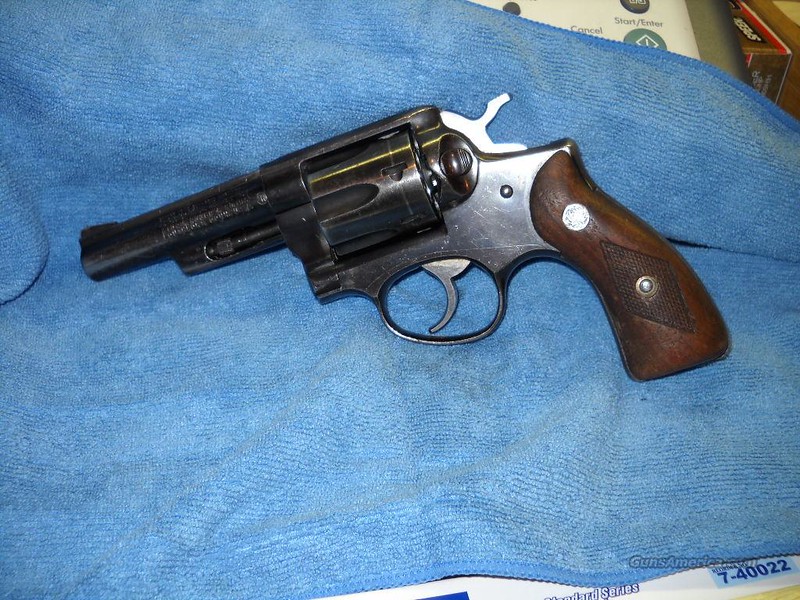
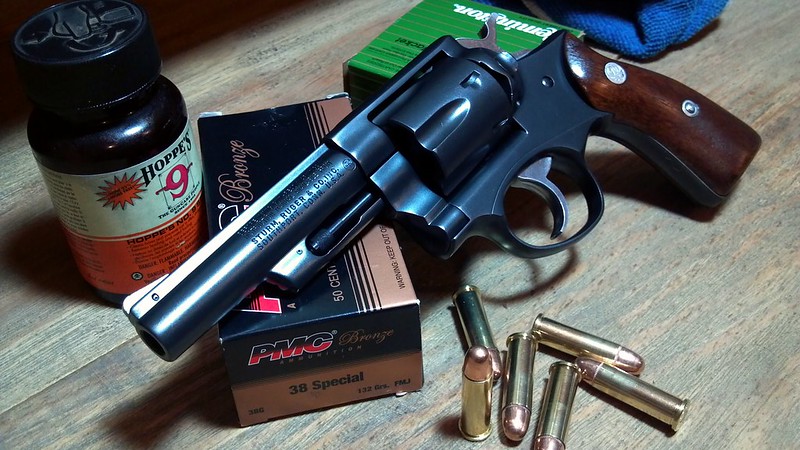
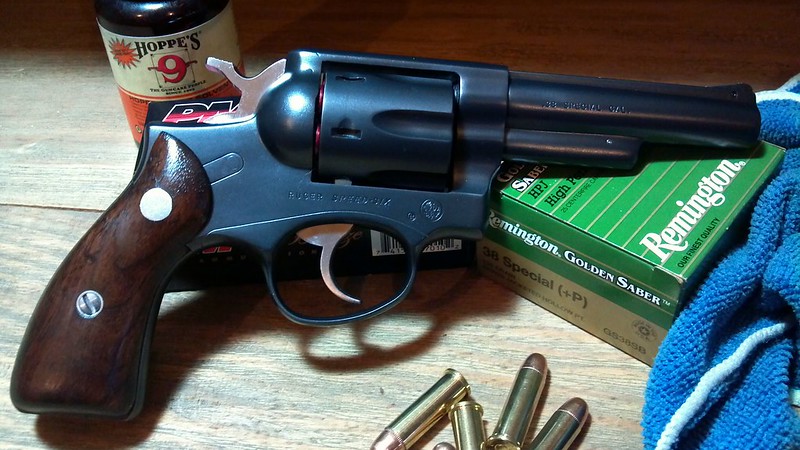
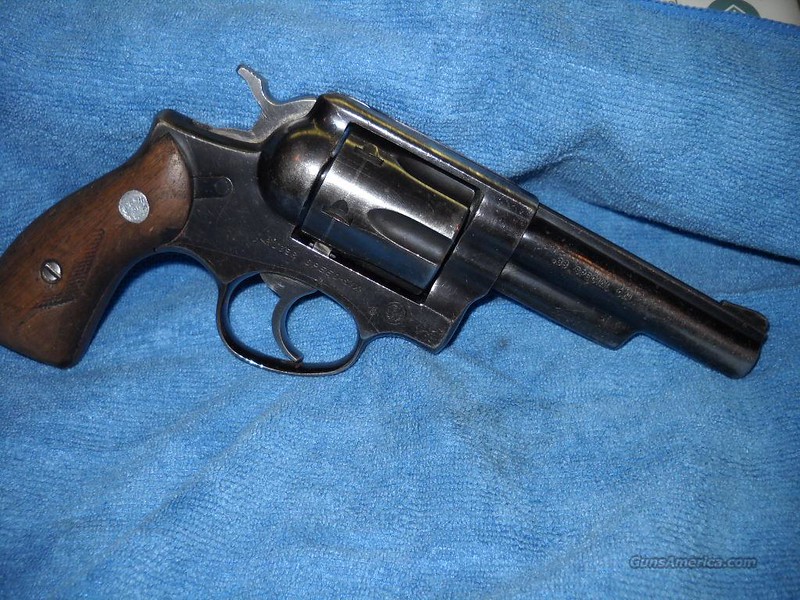
Latest Rust Blue project: Ruger Speed Six

Wow - wish I had your level of talent. Also wish I had gone to a gunsmithing school when I was young. Nice to know that there are fellas like you who still learn, master and pass on the skills. Great work.
 
What amazes me is the number of people on gun forums that basically say that only a professional should do something. I am not afraid to learn new skills and try new techniques. I sometimes gump things up, and when I do, I kick myself, but I don't do the same mistake again.

There are some guns I own that I bought only because I wanted to tinker with them, or simply open them up and see how they function.
 
Wow - wish I had your level of talent. Also wish I had gone to a gunsmithing school when I was young. Nice to know that there are fellas like you who still learn, master and pass on the skills. Great work.

Thanks! But, it really wasn't about talent. All the information from diss/assambly to doing the Rust Blue finish, I found on the internet. Granted, this wasn't my first gun, but I'm still in the low single digits, when it comes to projects like this.

All it really takes is a little patience and some research - and a pot to boil some water in :)
 
I am not afraid to learn new skills and try new techniques. I sometimes gump things up, and when I do, I kick myself, but I don't do the same mistake again.

There are some guns I own that I bought only because I wanted to tinker with them, or simply open them up and see how they function.

Amen to all that! And when one turns out good, you end up with something that is much more valuable (to you), than one you might have bought new. Not to mention the knowledge and skill gained in the process.
 
Zhills (Zephyr Hills?) - agree that most people can learn by trying. It's also a lot of fun to pile on the kudos to folks like Mark who did so and give us a look at the results.

Until recently I never had a gun that was crappy enough to risk ruining, but that was OK enough that it might be redeemed as a potentially good shooter. I now have one, bought for $50 + $25 for a new base pin. Initially I was interested only in getting the rust off, but now I think I'll tear it apart and see what happens.

The first time I disassembled and rebuilt a carburetor, the results were not impressive. Had two tiny pieces left over - never a good thing.
 
marklmurray said:
The single most helpful accessory for the process, for me, was a carding wheel from Brownells. I chucked it in my drill press on the lowest speed and it really speeds things up. I still need to get into those nooks with the brushes or steel wool, but that's all you'll need the little ones for. The carding wheel got almost 100% of the cylinder each time, too.
Carding wheel?

I thought I knew Brownells' catalog inside and out, but that's a new one on me. Would you by any chance happen to remember (or have a record of) the catalog number?
 
The first time I disassembled and rebuilt a carburetor, the results were not impressive. Had two tiny pieces left over - never a good thing.
I recently bought a Dan Wesson 22, and decided to replace the springs. Unlike some guns out there, I could not find much documentation on disassembly, although I have an older book with a few pages of instructions. Anyway, I took it down, and replaced the springs. Putting them back together is always the hard part. Took me about an hour, going slow, fitting parts, getting the springs in. I get to the end, and the gun will not function in double action.

I open it back up, and watch the function and see the DA sear keeps slipping under the hammer. I think to myself, there must be a something to keep it from doing that that I missed. Well, I look around the box in which I do all the work, and sure enough there is a very small pin and spring that the instructions never mention (although it is in the schismatic I have) and that I did not even see fall out that keeps the sear in the right position--and, of course, that is the first piece to be reassembled, meaning I have to completely strip it again (well, almost, as I did not have to remove the mainspring) and reassemble it.

The good news is that, because I have already reassembled it once, reassembling again took only 1/4 of the time, since I now knew the process.

All in all, a great experience.
 
You did an EXCELLENT job on that Ruger... what a great looking revolver! :D
You've inspired me to try my hand at rust blueing.
 
Great looking pistol - you did a beautiful job on it! I love Rugers and any Ruger fan would love to have that one! Thanks for sharing!
 
marklmurray, die you re-blue the H&R? from your picture it looks new.

No, that one is just like it was when I bought it (about a year ago). It's a nice polished blue, with only one blemish towards the end of the barrel. No need to touch that one:).
 
Did you use Brownells rust bluing juice, or some other product?
Yep. That's all I've used on any of my projects, so I can't make any comparisons to other products, but it is the least expensive I could find (not counting the homemade recipes you can find on the web), and it made the parts rust every time.

Granted, I am in Georgia and you can make steel rust just by breathing on it:).
 
Back
Top