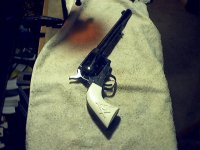
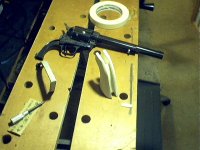
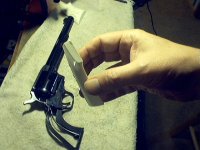
This is what I accomplished last night.
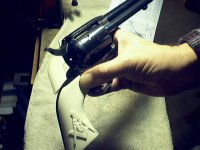
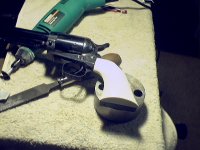
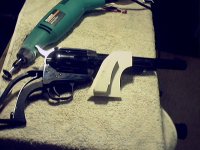
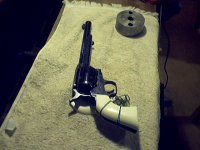
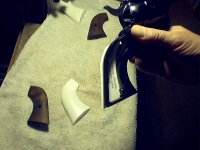
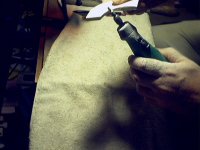
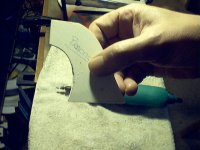
The left grip is cut down to where I want it so far. The filler block is notched and in the process of being thinned. I'm taking a little off at a time with 150 grit paper. When thats done, I think I'll fasten the left panel to it and either finish it and then the right one, OR fasten both and finish shaping. I'd like to use the grip frame as a working reference if I can pull it off without marring it. Otherwise it'll be slow going with sand, install, check, uninstall, and sand some more, reinstall, "Etce'tra, Etce'tra, Etce'tra (Yule Brynner accent)...........potentially days!!
I figure I have about three hours of actual work invested so far.
") .
.
 )....and finally a drum sander attachment (two thumbs up...
") .
.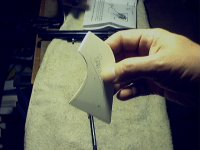
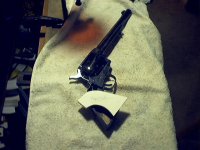
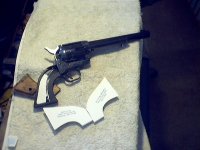
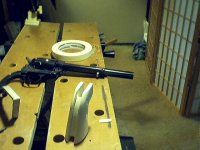
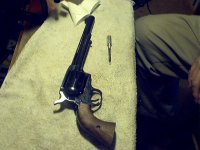
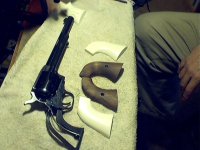
 I should have the two panels done in a few hours...not tonite....thats when I get the nerve.......probably start tomorrow......