bushmaster65
New member
OK jlb43...here goes
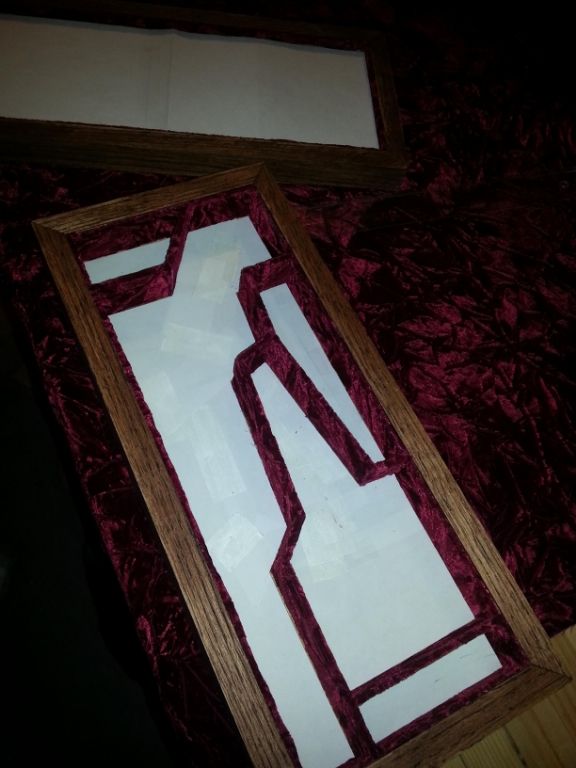
I made the box completely out of scraps of red oak and oak plywood.
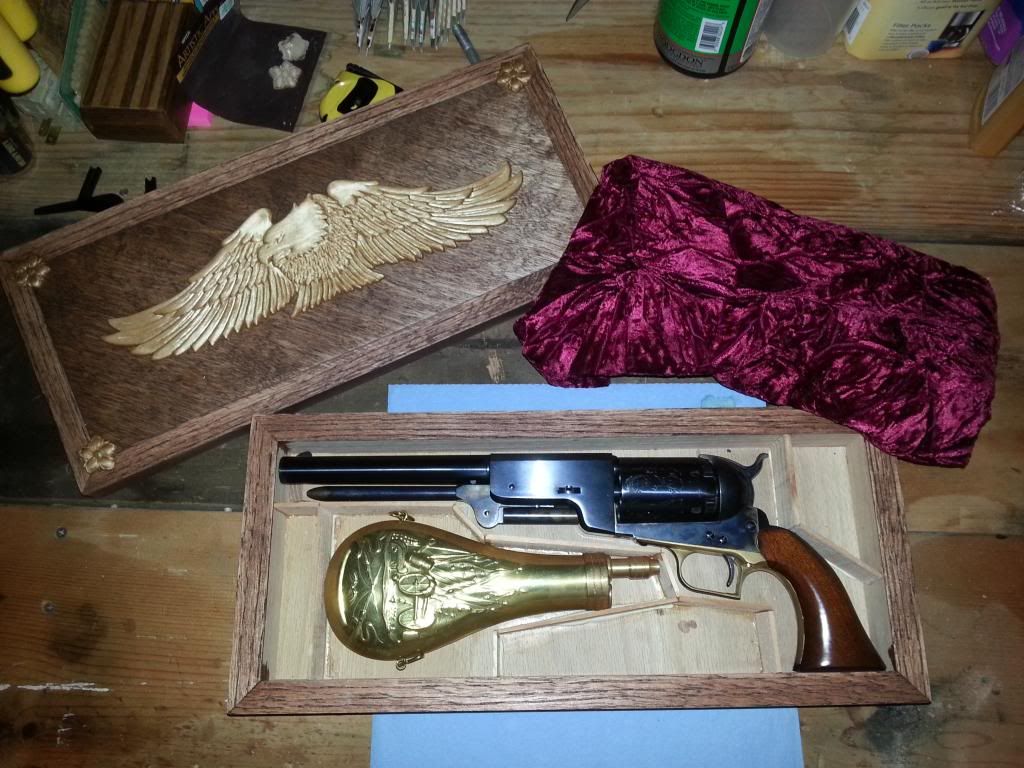
Once I got the stitches out and bought a new band saw, I used some old 2x4 scraps and cut strips that actually fit about 1/16" below the edge. Damn convenient if ya ask me! I used the two pics below for layout ideas:
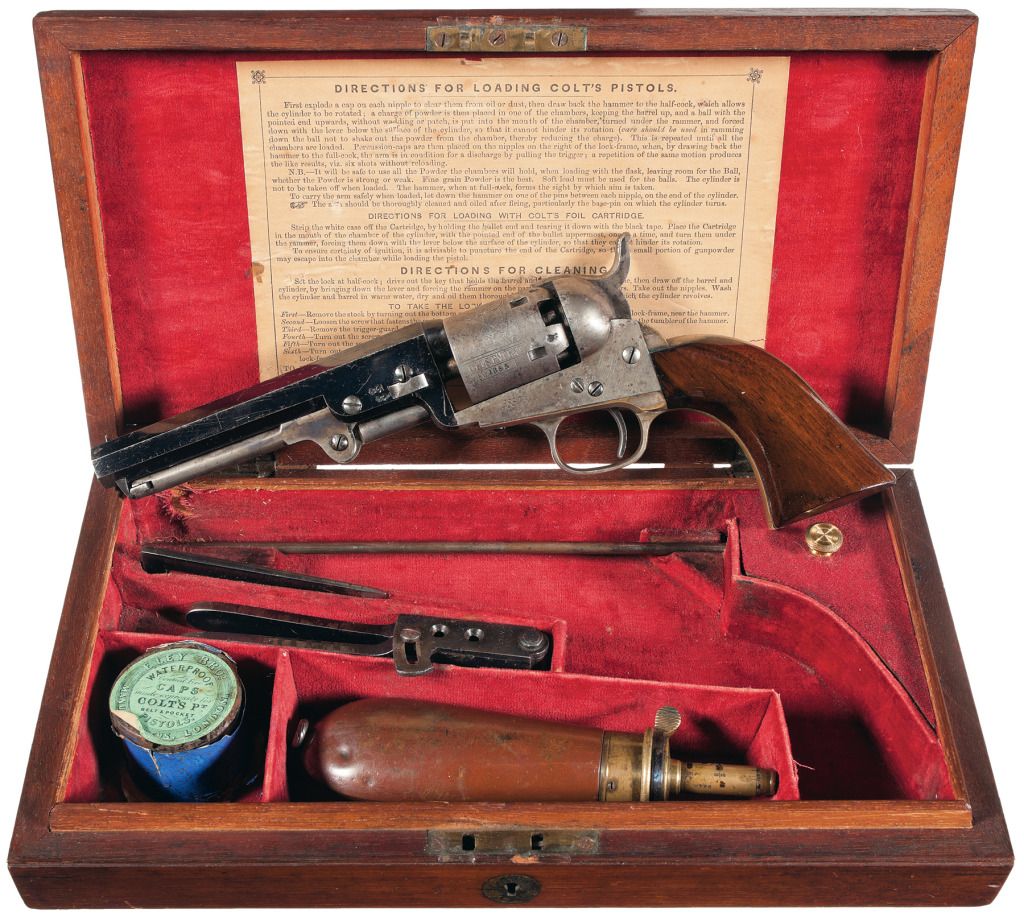
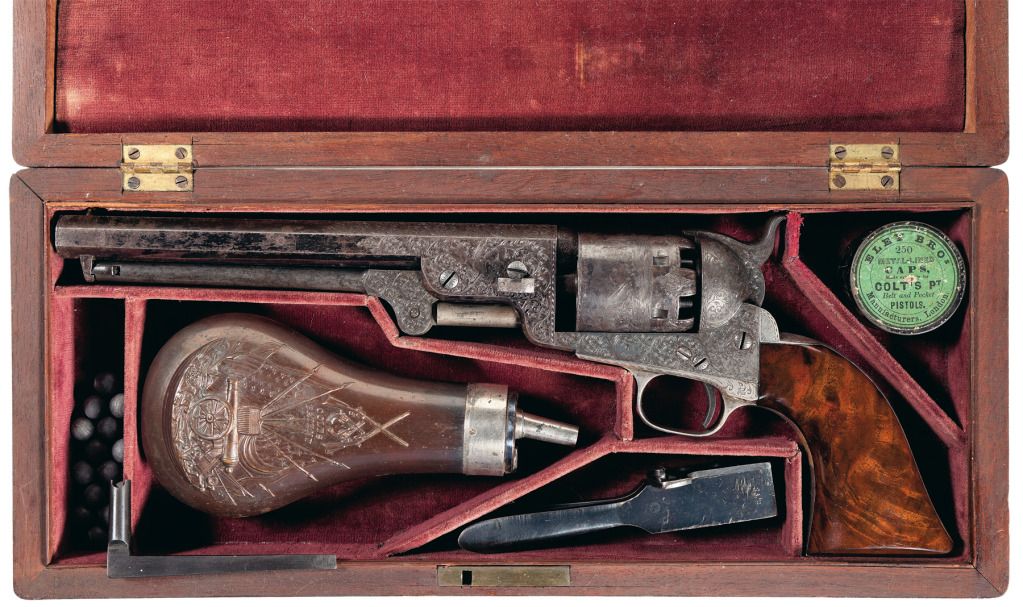
I liked the curved divider in the first but went with 2nd for ease of angles.
I glued the HELL out of those dividers with my strongest bottle of tightbond
and figured the material would add some strength and rigidity as well.
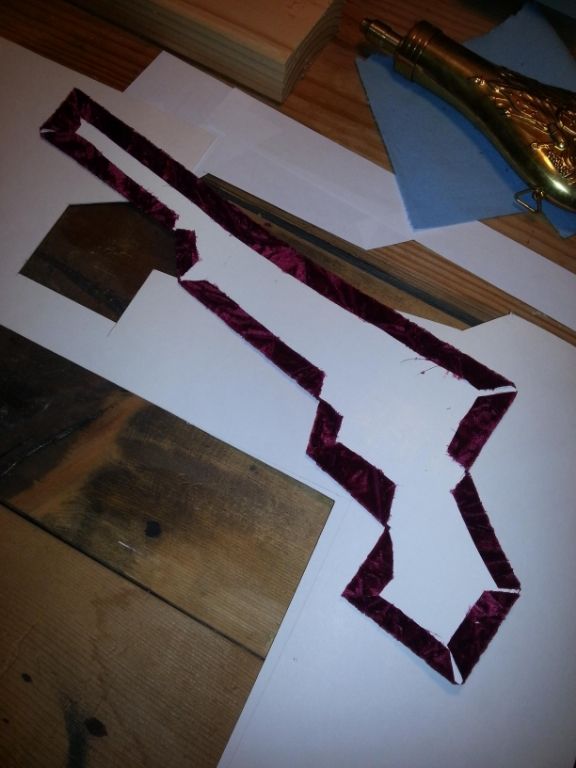
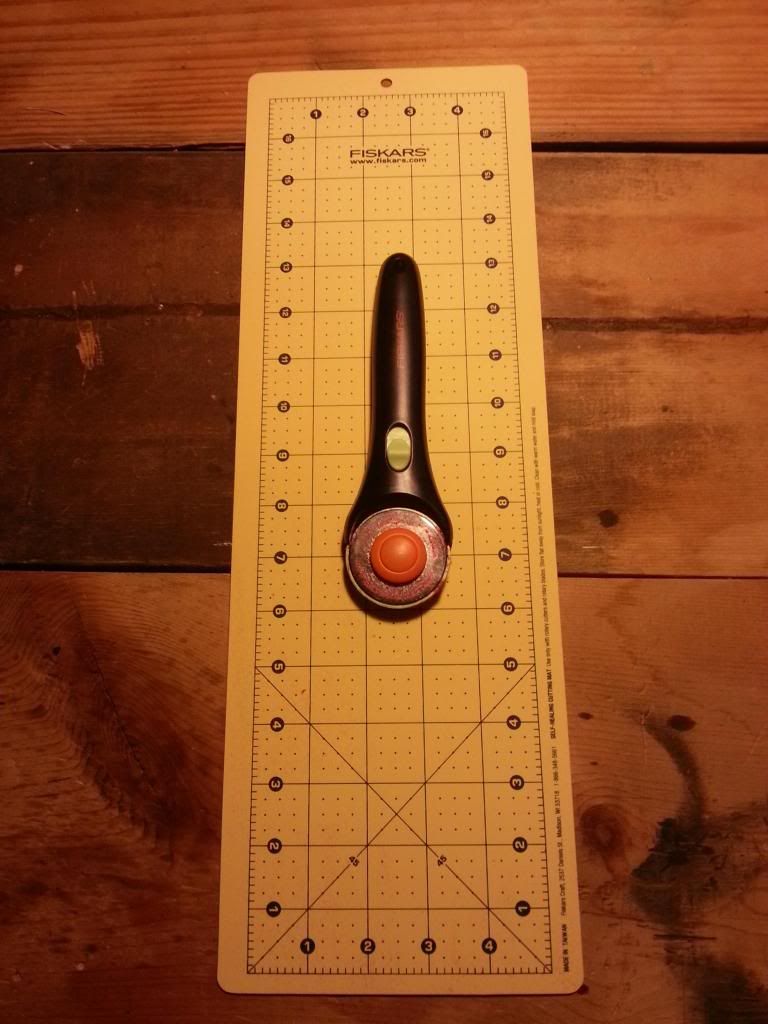
I tried scissors and was so frustrated that after getting off the phone
with the emergency stress councilor, went to wally world and found this rotary
cutter. best invention in the world for fabric cutting.
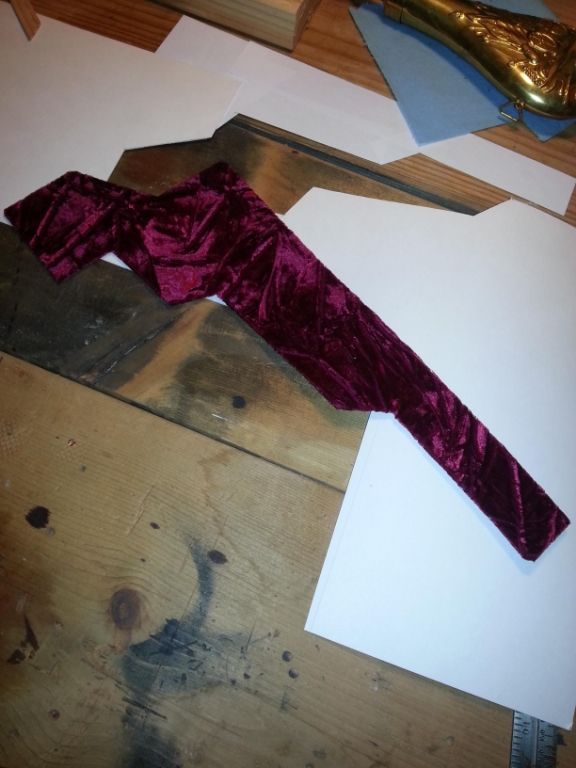
Next, I used a tailors tape and measured the whole length and width and added about 1/4". In the picture below, I glued one side then the other right after. As I came to an intersection, I simply layed it on top of the offending border strip and split the fabric with an xacto knife.
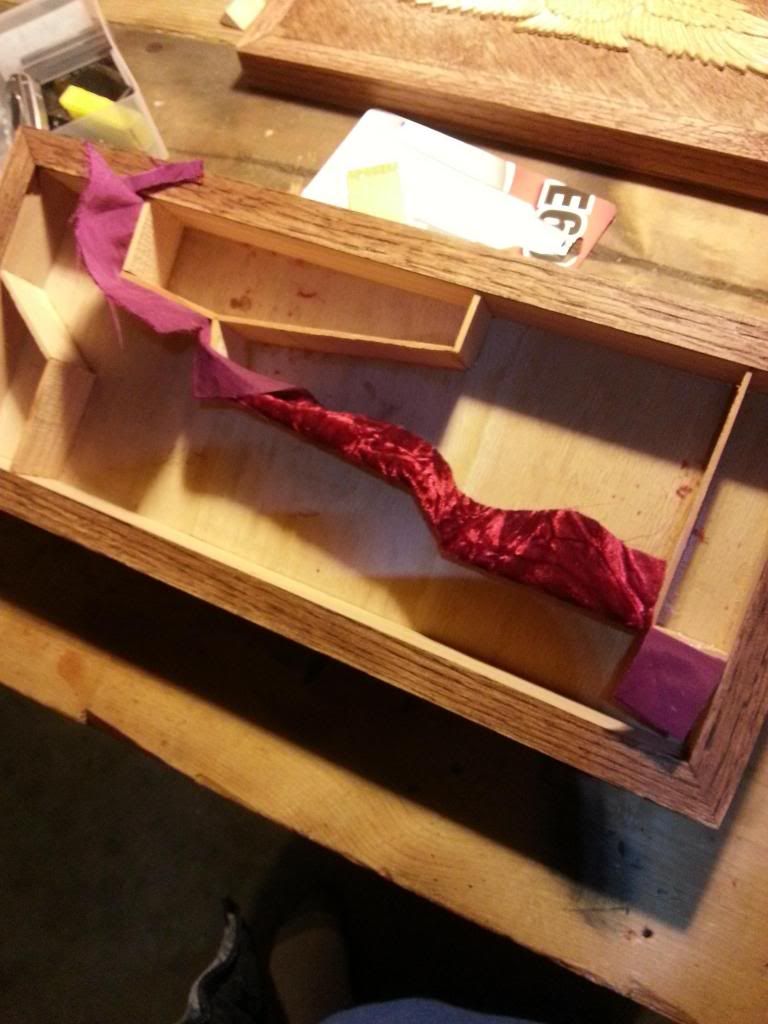
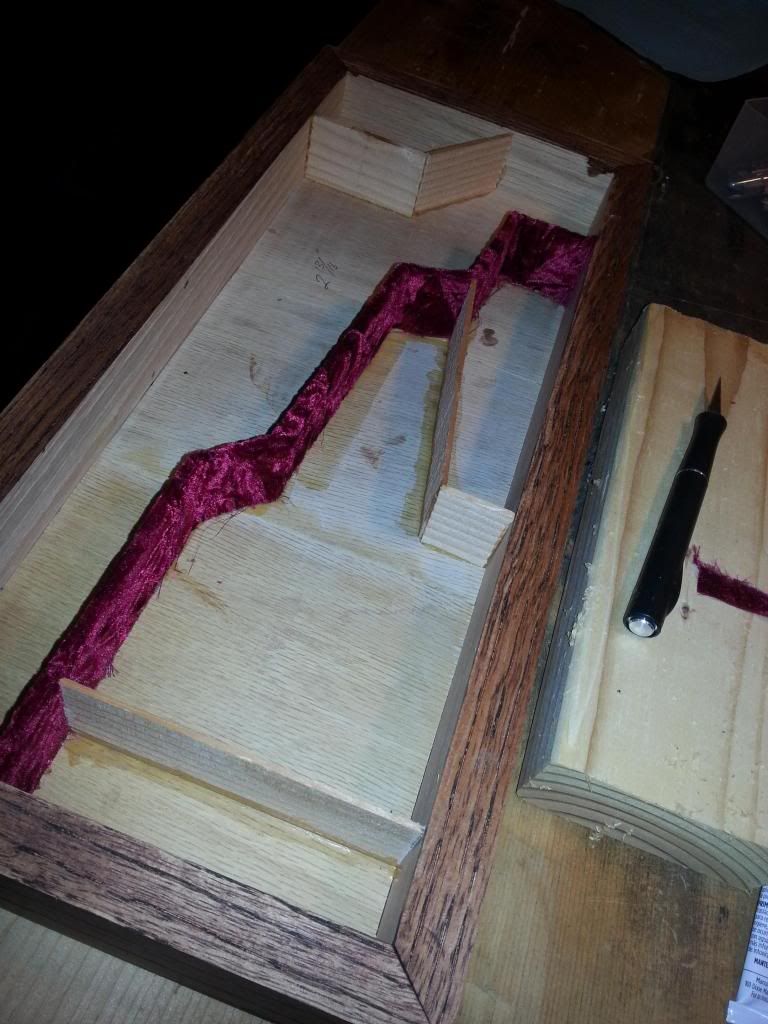
The glue I used was E600 found at hobby lobby and wally world. I used two sets of extra divider strips . One set for spreading the glue and one set for tucking and tamping down the material. Beveled the glue spreader to get right into the joints and layed it on moderately thick. This stuff stays thick enough to hold but soft enough to allow you to slide the material into the joints. If you come up just a bit short when it meets the floor don't worry because the thickness of the material will tuck into that gap when you lay the floor piece.
I made the box completely out of scraps of red oak and oak plywood.
Once I got the stitches out and bought a new band saw, I used some old 2x4 scraps and cut strips that actually fit about 1/16" below the edge. Damn convenient if ya ask me! I used the two pics below for layout ideas:


I liked the curved divider in the first but went with 2nd for ease of angles.
I glued the HELL out of those dividers with my strongest bottle of tightbond
and figured the material would add some strength and rigidity as well.

I tried scissors and was so frustrated that after getting off the phone
with the emergency stress councilor, went to wally world and found this rotary
cutter. best invention in the world for fabric cutting.

Next, I used a tailors tape and measured the whole length and width and added about 1/4". In the picture below, I glued one side then the other right after. As I came to an intersection, I simply layed it on top of the offending border strip and split the fabric with an xacto knife.


The glue I used was E600 found at hobby lobby and wally world. I used two sets of extra divider strips . One set for spreading the glue and one set for tucking and tamping down the material. Beveled the glue spreader to get right into the joints and layed it on moderately thick. This stuff stays thick enough to hold but soft enough to allow you to slide the material into the joints. If you come up just a bit short when it meets the floor don't worry because the thickness of the material will tuck into that gap when you lay the floor piece.

