Received my Pietta 1860 Army!!! Take a look! Pics included.

I have found square chunks of 2x4 to be very handy when drilling or blocking things up. Wallyworld has some 1/8" thick foam drawer liner that can be glued to the face of the 2x4 pieces to prevent scratching and slipping on a surface.

Edit: I also was able to find a silicone 3/16" thick pad similar to a placemat, that is great for a work surface on a table. Keeps the wife from hollering when you decide to take down a gun on the kitchen table. Works lots better than a cloth.
 
Last edited:
Still waiting for the track punch..

I know they all arrive very tight, but do all new Pietta's come with the wedge flush to the frame and not sticking out the right side?

Anyone purchase a Pietta recently that has a more normal fitting for the wedge where it actually goes all the way through and is able to be tapped from the right side?
 
Last edited:
My 1851 Navy .36 [CM] (2014) wedge did not protrude at all from the right side of the barrel lug until I fitted the wedge better. I originally had to use a brass drift/punch to move out the wedge.

My G&G .36 [CN] (2015) and my 1851 Navy .36 [CP] (2016) wedges both protrude from the right side. Coincidently, 2015 is the year that Pietta changed the 1851 Navy grip profile.

Maybe their machining practices have changed?

I dunno.

Jim
 
I'ved never had one that didn't protrude. My two newest Pietta's are 2011 and 2015 and both were the same when they were new.

My 2015 G&G so new it still has packing grease on it. You can't really tell the depth but you can see the spring isn't compresed.

100_4949_zpsrgz5z3mq.jpg


My 2011 navy. It was new in the pic but the packing grease had been removed. The white specks are paper towel lint.

010.jpg


I never had to fit a wedge. Once you remove them a few times they fit themselves.
 
Mine was through just enough to allow the spring to begin to start up the side of the barrel. Not far enough to allow the spring to completely click up in place.
 
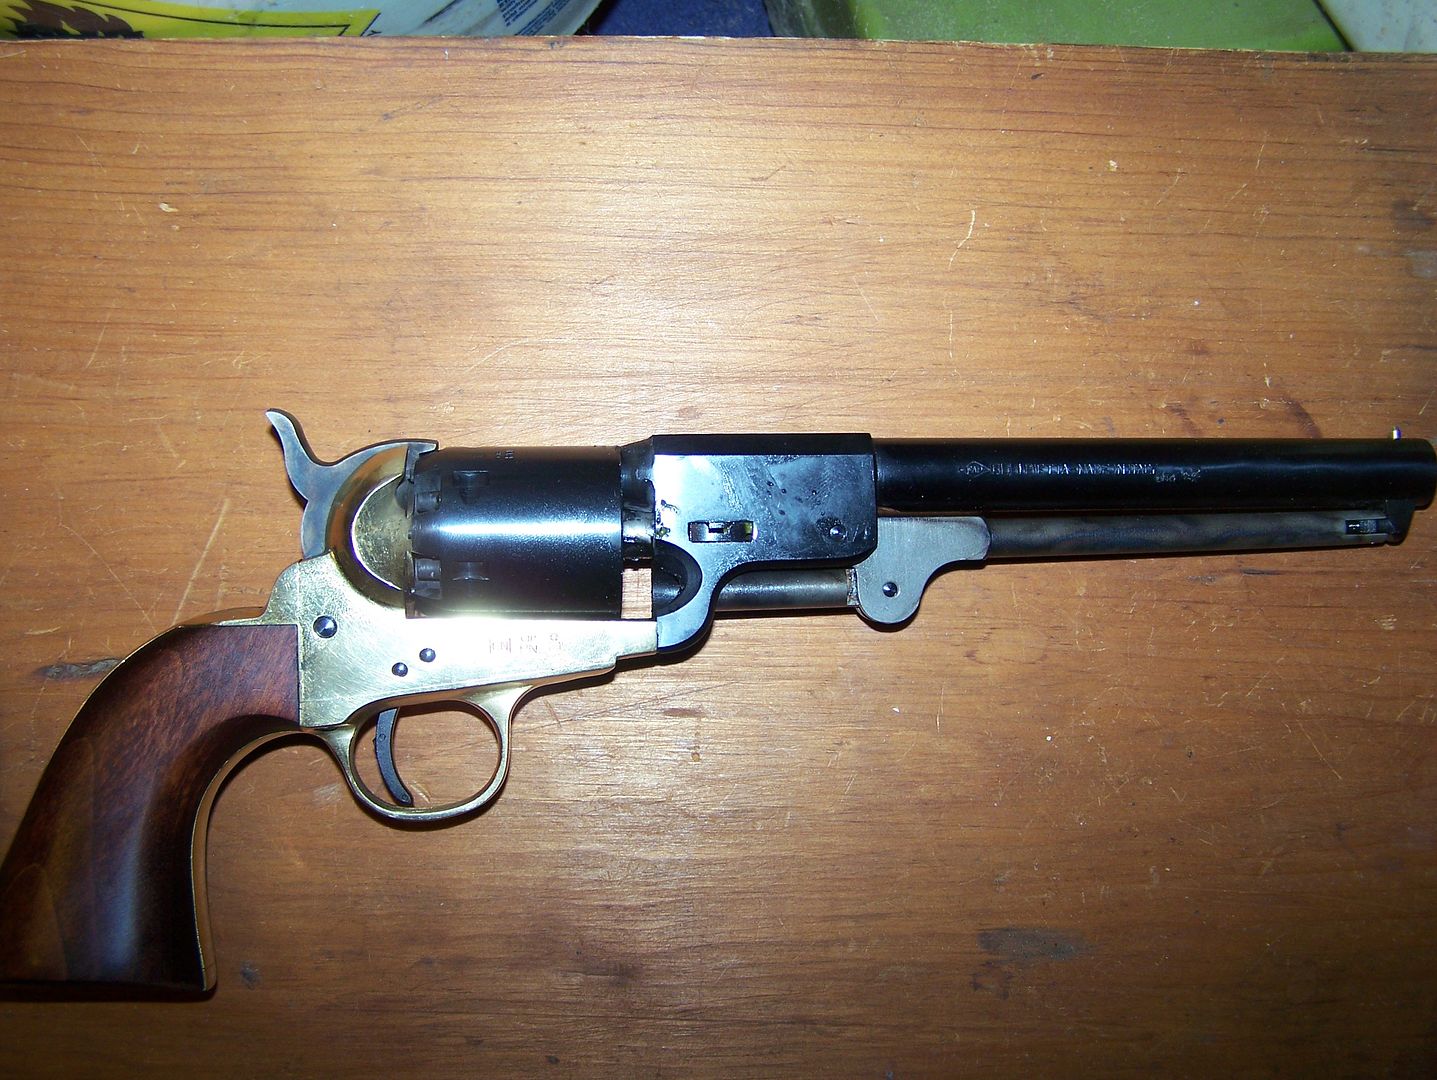
it's out! it's out! it's out!!!!!!!!!!!! :D:D:D

BJVBHnP.png


As soon as the mailman showed up I tore the package open and beheld my brass punch from Track. PIETTA should ship every wedged gun with this punch

In the end.. all it took was a few sharp taps with the claw hammer on the punch that I slightly tapered with a file to dodge the spring clip. Not even a whack.

THIS... is exactly what I did---
(well, everything except play the Gypsy Kings' cover of Hotel California, although the dude does abide.)

The "Official" Instructions from Pietta, complete with hammering on the gun. hmmm.. maybe Mike's on to something after all ;): http://www.pietta.us/pdf/How_to_remove_the_wedge.pdf
The video linked in the document, including aforementioned soundtrack: https://www.youtube.com/watch?v=1V2tAF8V5D4


I can't thank you guys enough for giving me a place to vent about this wedge. Hawg.. Foolz.. Ben.. drobs.. Beagle.. AK... Hoppy... and Everyone who helped me in this thread (too many to mention) .. oh, and of course, the man himself, Mr. 45 Dragoon. I plan on learning as much as I can on this gun, then sending it in to Dr. Goon-zales for the final treatment. I'm sure I'll be starting on the next one by then.

Also, thanks for the tip to do it on the floor, Mike.. I felt a huge difference and didnt need to hit it so hard to transfer the energy.

Can't wait to clean it down, lube it up, and give it my first attempt at an amateur hour "slick up".. think its time to crack a well deserved PBR first.


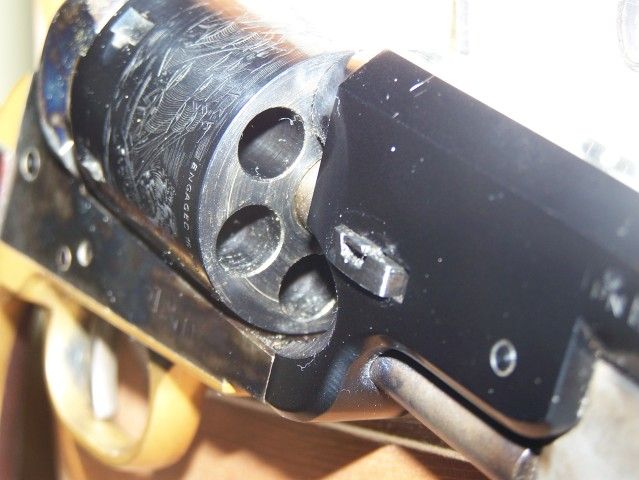
Speaking of Amateur Hour... after the wedge popped loose, I wiggled it as far as it would go, and it didn't pop out even without the retention screw. Then I put it in half cock, used the loading lever to remove the barrel assembly without twisting, slid the cylinder off, then brought it to full cock, and then eased the hammer down with nothing on the frame. The bolt clicks were much louder without the cylinder and barrel on, but I'm pretty sure this is proper to do, correct?

I know with my 1911 you should never drop the hammer when it's stripped, but I've seen lots of C&B videos of people working the action with nothing on the frame. (edit: https://www.youtube.com/watch?v=057mS44KLCA&t=13m57s)
 
Last edited:
Excellent! Good tools always make a difference.
Please keep posting pictures of all the things you do, it's great to follow along.
 
Been tied up at work the last few days and haven't had the chance yet to start fitting / tuning it yet. I plan on picking up those lower grit sandpaper sheets Mike mentioned so I'll have a number of options to wrap around the diamond files.

One thing I noticed when closely examining the cylinder while it's off the frame is a tiny spot with no blueing-

LkqxIiR.png


That's just a cosmetic blemish, correct?
I don't mind it, and I plan on wearing off most of the finish on this gun once I get my leather rig.

Just wanted to check how common it is for a new gun to have a touch of missing finish.

Truth is, I didn't even notice it until the gun was stripped. Maybe it was hidden by the forcing cone? Maybe my initial hammer swings weren't 100% accurate and I nicked it with the 'cheek' of the rubber/plastic combo hammer with metal top piece?

I assume it would have to be obvious damage to be a real issue, right? like a visible crack?
 
The spot could the beginning of something like this. This showed as the blue wore off the high spot.
 

Attachments

  • DSCN5622 (Small).JPG
    DSCN5622 (Small).JPG
    39.4 KB · Views: 50
I figured it was nothing.. thanks for the reassurance!! You guys are the best!

On Dave's photo.. I think the mark he's referring to is at 11 o'clock. The line at 2 o'clock almost looks like a reflection to me.

Cant wait to wear the rest of the finish off!
The 1911 can be my safe queen. This gun's my whore!
 
Well I finally got enough time off work to learn how to detail strip and start slicking this revolver up.

Got it almost completely stripped.. here's the bolt:

mbrlJ1U.png


One problem I'm having, the hand seems to be caught and it's not letting the hammer slide out:

OHaznOn.png


Some of the videos I see show people pulling it out with a bit of a yank:
https://www.youtube.com/watch?v=KX5ZPCAlhxE&t=3m22s
https://www.youtube.com/watch?v=-VqpeRre7IY&t=3m29s
https://www.youtube.com/watch?v=g6HhCsTRfhY&t=16m29s

I was hoping it would just fall out like Mike's:
https://www.youtube.com/watch?v=057mS44KLCA&t=5m55s

I don't want to force it out until I check with you guys first, so I've left it loose in the frame and set it aside and will wait for advice. Should I just yank it out to make the hand's spring compress itself and let out?

Also, I'm doing a bit of fiddling with this hammer trying to get the orientation just right to pull it out.. is there any chance of damaging or rounding off the notches that engage the trigger? It's contacting the frame a lot as I wiggle it and pull it all the way back, past where the grips would be, to try and slide it out.
 
Last edited:
Hard for me to see in this picture, but is there a flat area on the arbor? I have a 2014 build Uberti London, (that I love) which had not been flattened. I don't know how I could have flattened it with out using a small diamond tipped tool in a Dremel.
 
Back
Top