Due to ammo prices, I'm doing substantially less shooting this year (so far), but I wanted something to occupy a bit of time, so I decided to pick up a Star BM and teach myself some techniques like rust bluing and flame bluing, without too much expense.
If you have a look at gunbroker, these BM's things have gone way, way up in price in the last year -- at least the asking price has. I found one that didn't have the spanish service insignia ground off, and no extra serial numbers, but it still seems to be a recent import (import mark on the barrel) -- picked it up for $300 with no box. Date code indicates it was made in 1986. Condition was very little shooting wear, but some carry wear and lots of shallow little scratches that suggest it was stored or shipped loose in a box with other metal stuff.
I test fired a few mags, and it worked very well. Trigger break is shockingly good, competitive with some expensive 1911's and P210's I've experienced.
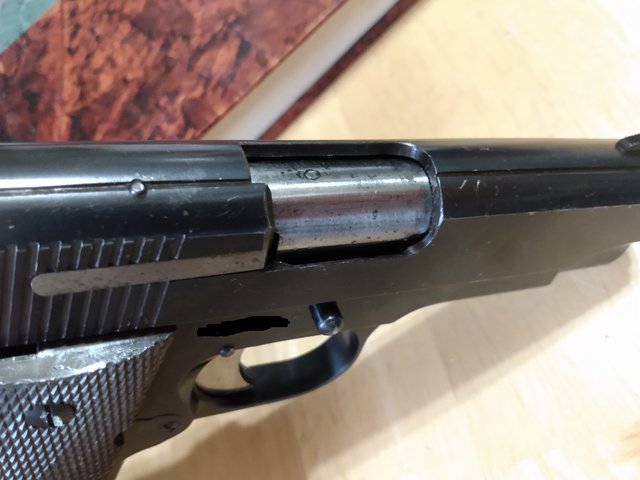
Anyway, here are some "before" pics:
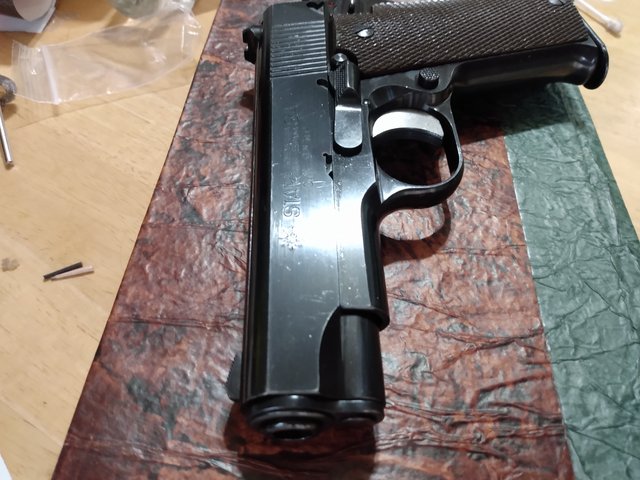
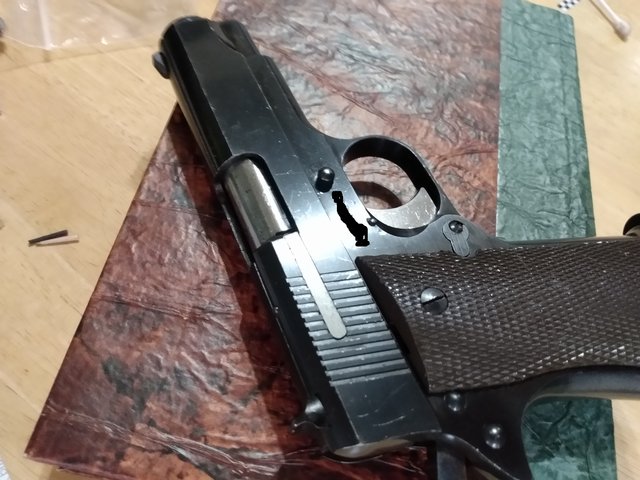

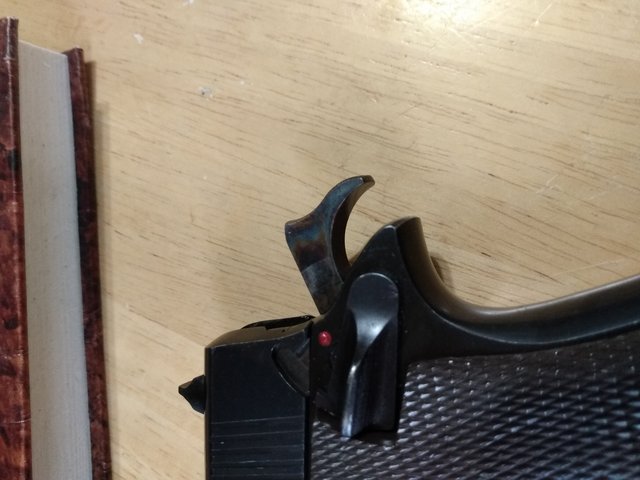
One thing I didn't want to change was the color case hardened hammer:
So anyway, I ordered some Mark Lee Express Blue #1, a carding brush, cannibalized one of Mrs. Metric's old pots, and bought a single-burner stove at Wal-Mart for $12. Also purchased a set of padauk grips from duragrips.
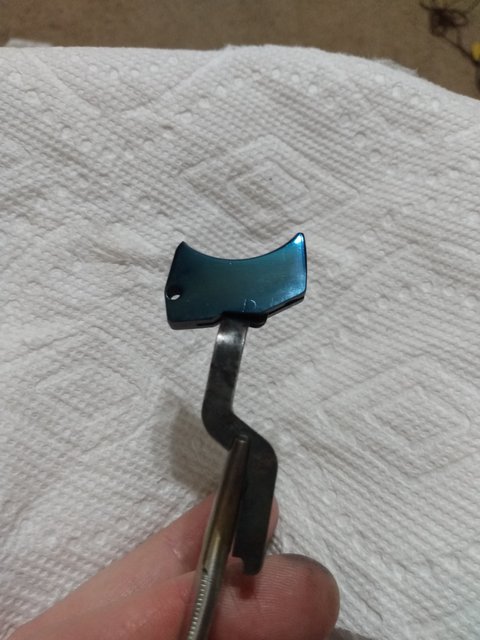
First, I wanted to try out flame-bluing on small parts with a propane torch. First attempt on the trigger wasn't so good:
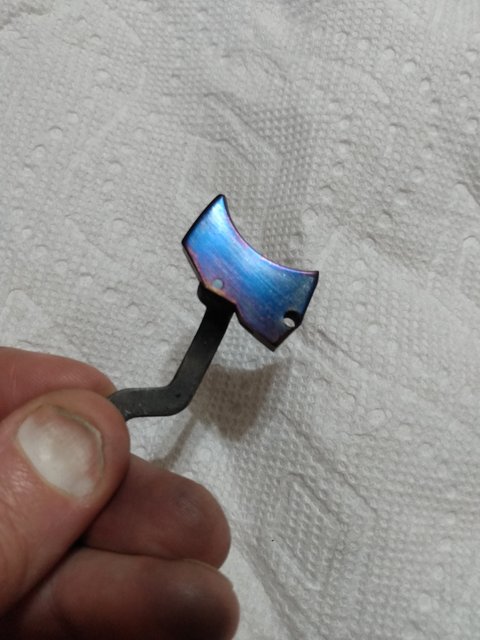
But I tried again and got something reasonably nice:
Also did the grip screws, some pins, the rear sights, the safety, the slide lock and the extractor:
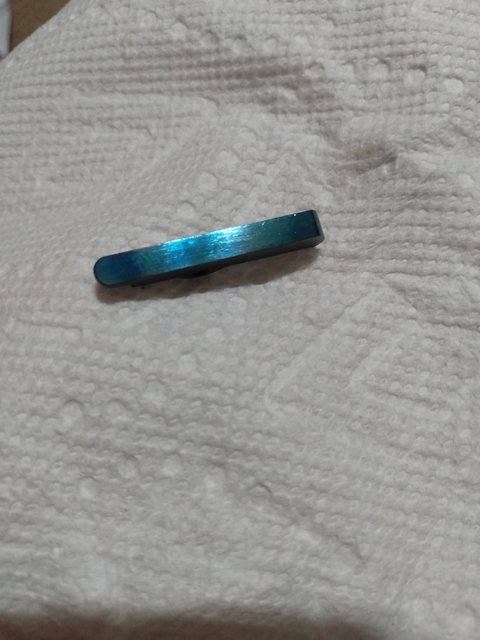
All of these flame blue parts were coated with protectaclear. I had heard lacquer was a standard way to protect such parts, but I suspect protectaclear is a bit longer-wearing. It did darken some of the parts quite a bit, but the color is still visible -- that picture of the extractor is after protectaclear.
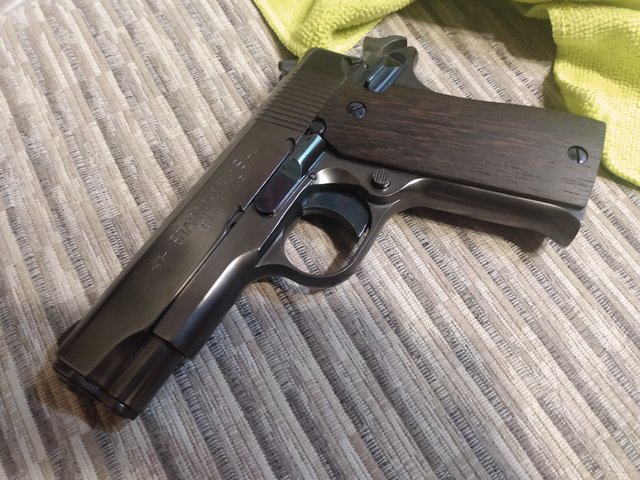
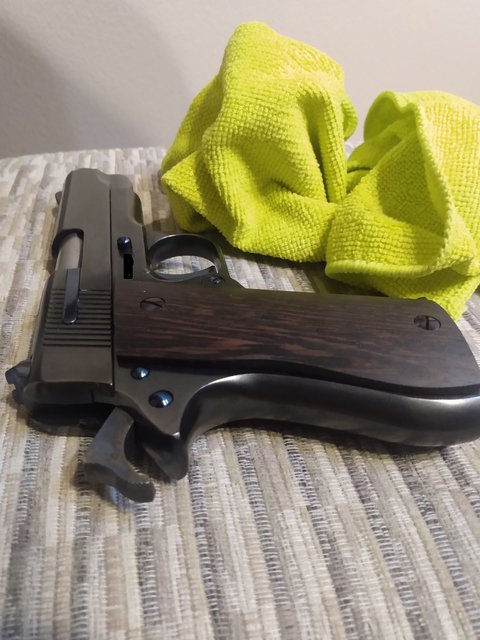
Then I sanded down the frame and slide to 320 grit, just deep enough to get rid of the scratches. Then it was time to rust blue -- that was an interesting experience. I really like this old school finish, and looking forward to doing it again. Apparently quite durable and rust resistant (as bluing goes), as you know it's time to stop doing more passes when the gun won't rust anymore. I did about ten passes or so, then put it back together:
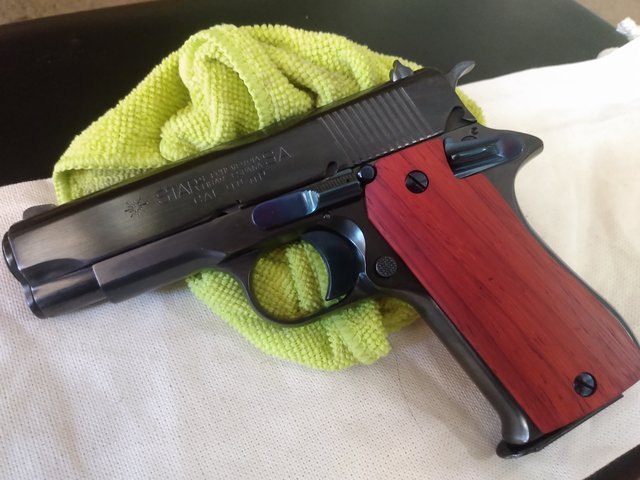
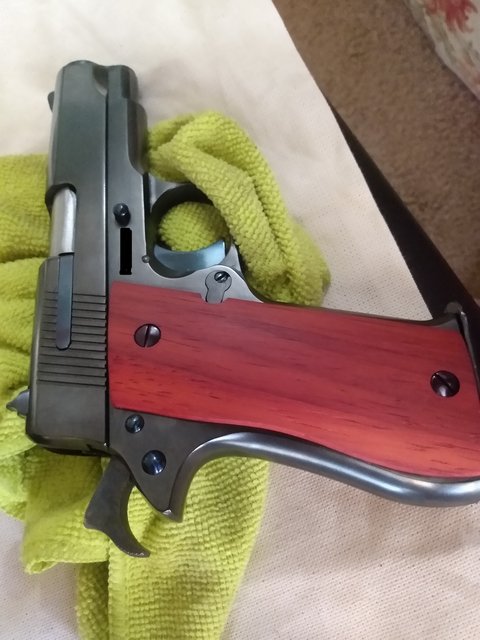
It's not perfect -- there are a few uneven spots on the finish, but it's something I'm happy to show off, now. Will probably continue to make small improvements, e.g. I still need to re-paint the safety dot. Might eventually get around to giving the trigger and extractor a higher polish to go with their blue, etc.
Probably won't shoot it a huge amount, but I'm definitely not afraid to. Looking forward to taking it out some time soon.
If you have a look at gunbroker, these BM's things have gone way, way up in price in the last year -- at least the asking price has. I found one that didn't have the spanish service insignia ground off, and no extra serial numbers, but it still seems to be a recent import (import mark on the barrel) -- picked it up for $300 with no box. Date code indicates it was made in 1986. Condition was very little shooting wear, but some carry wear and lots of shallow little scratches that suggest it was stored or shipped loose in a box with other metal stuff.
I test fired a few mags, and it worked very well. Trigger break is shockingly good, competitive with some expensive 1911's and P210's I've experienced.
Anyway, here are some "before" pics:
One thing I didn't want to change was the color case hardened hammer:
So anyway, I ordered some Mark Lee Express Blue #1, a carding brush, cannibalized one of Mrs. Metric's old pots, and bought a single-burner stove at Wal-Mart for $12. Also purchased a set of padauk grips from duragrips.
First, I wanted to try out flame-bluing on small parts with a propane torch. First attempt on the trigger wasn't so good:
But I tried again and got something reasonably nice:
Also did the grip screws, some pins, the rear sights, the safety, the slide lock and the extractor:
All of these flame blue parts were coated with protectaclear. I had heard lacquer was a standard way to protect such parts, but I suspect protectaclear is a bit longer-wearing. It did darken some of the parts quite a bit, but the color is still visible -- that picture of the extractor is after protectaclear.
Then I sanded down the frame and slide to 320 grit, just deep enough to get rid of the scratches. Then it was time to rust blue -- that was an interesting experience. I really like this old school finish, and looking forward to doing it again. Apparently quite durable and rust resistant (as bluing goes), as you know it's time to stop doing more passes when the gun won't rust anymore. I did about ten passes or so, then put it back together:
It's not perfect -- there are a few uneven spots on the finish, but it's something I'm happy to show off, now. Will probably continue to make small improvements, e.g. I still need to re-paint the safety dot. Might eventually get around to giving the trigger and extractor a higher polish to go with their blue, etc.
Probably won't shoot it a huge amount, but I'm definitely not afraid to. Looking forward to taking it out some time soon.