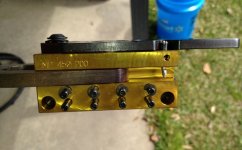
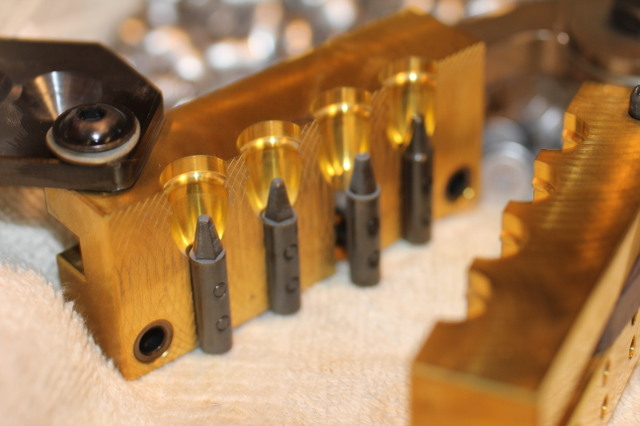
On a side note: I've noticed that some insert the HP pins through the left side, and some through the right side of the mold. Does it make a difference?
The way I use them putting the pins in the sprue plate side works best for me.
I hold the handles in my left hand and pour, wait for the sprue to harden, turn sideways and push the plate with my right hand to cut.
Then I turn the mold over and dump. This puts the extended pins on the left side where I can easily push them out with my left thumb or index finger if needed.
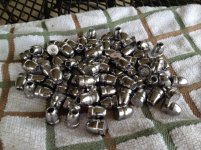
Usually however, if they are oiled up, they will already be sliding out as I open the mold and the bullets will be falling as soon as they get clearance between the mold halves.
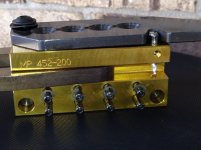
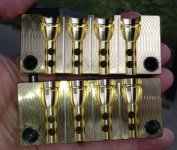
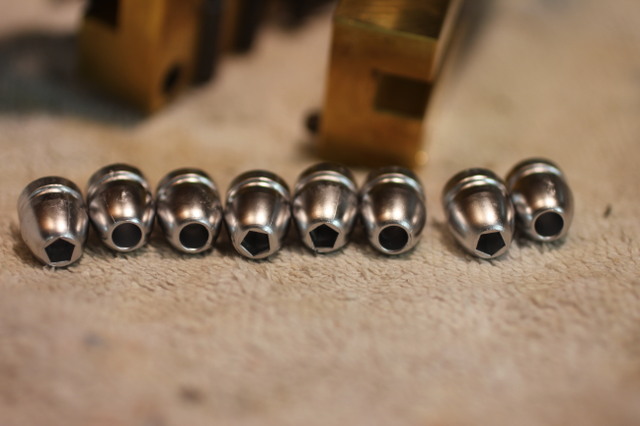
The only issues I have EVER had with these molds were when I was pouring up some of the 452-640's and some of the 45 270 SAA's, and using the blank pins for solid bullets. The squared off grease grooves and that flat pin were just enough to hold them in the cavity, and really get me frustrated. It only took a few tries though to figure out it was a heat thing and not a mold thing.
What I find is if your pouring HP's they need heat, so I usually pour with an alloy temp starting at around 725, for the larger ones, and creep up the smaller the bullets are. When I pour the solids now, I will start at around 680 or so, and bump it up as needed. Once the mold is good and warm things go a LOT smoother.
One other thing I have found with the brass molds vs aluminum or steel, and I don't particularly know why, I don't get "frosted" bullets so to speak, like I do with others. The brass ones when they get too hot, will simply pull the edges of the grease grooves out when they are too hot. So if you see them start falling out with torn or bent rims around the grease groove, give it a break and let it cool off.


")
 then ignore what I just said!
")