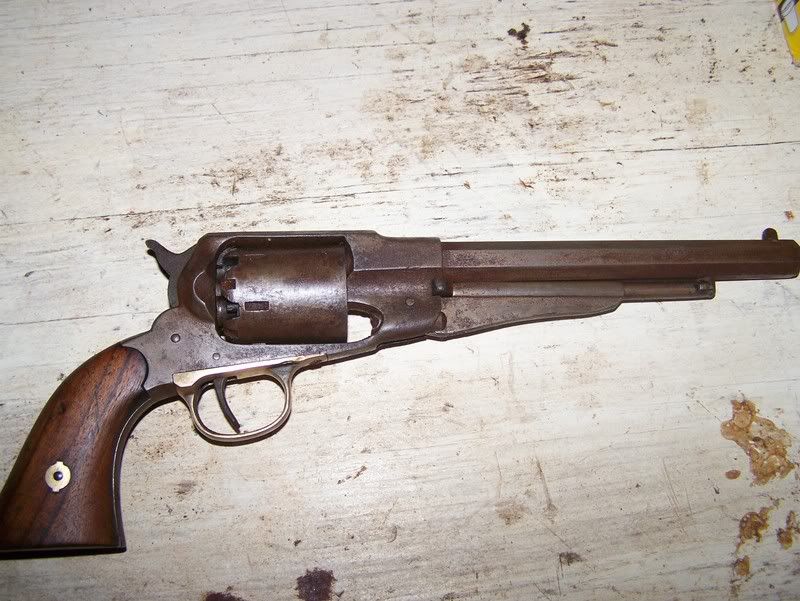
I bought a used 1858 Pietta replica from a gun show a couple of weeks ago and I decided to make it look old. I only paid 90 bucks for it so I figured I had nothing to loose in the venture. This revolver had a few scrapes but basically look fairly new and according to the Italian proof marks on the side it was made in 1998 and the owner said he just didn't use it at all and wanted to get rid of it. I looked around on the Internet for pictures of old revolvers and read some write ups from various sites on how to do it and proceeded. I wanted to get rid of all the Italian marks on the side of the frame and "Black powder only" and all the other markings on the barrel to make it look more authentic.
1. Detail stripped it.
2. Using a fine file I removed the markings off of the barrel and the side of the frame, long careful strokes and took my time. The only manufactures mark I left on the barrel was underneath the loading lever so you could see who made it and of course the serial number on the frame. Just removed enough of the metal to erase the markings and then started smoothing the file marks out with 180 grit sandpaper and worked my way up to 400 grit. You would never know there were any marks on it at all now.
2. Using CLR I removed the blueing from only the outside of the frame, didn't touch the inside were the trigger/springs etc go, just left it as is. I plugged the barrel with corks so the CLR wouldn't go inside. This is great stuff, almost instantly removes blueing. I removed the blueing from the heads of the screws and all parts that are visible. For the cylinder I just wiped around it and on the inside of the channels where the nipples go without it getting into the cylinder or the nipple threads.
3. I washed everything in hot soapy water and rinsed and put in the oven on a cookie sheet and turned it to 200 F to dry everything out. Using gloves I took it out and applied Birchwood Casey Plum brown to everything in long even strokes.
4. I washed everything out again with hot soapy water and into the oven to dry everything out again.
5. Now to simply remove some of the browning I just used fine steel wool and removed the browning where it was a little to dark and to the way I wanted it.
6. For the shinny brass trigger guard I simply covered it with liquid Blue and it immediately tarnishes and looks old.
7. Oiled everything and put it back together and that was it. Total time was about 2 hours from start to finish.
It looked good without the browning applied and I just might remove some more off it to just have a slight tinge of a tan color and that is it but for now it was kind of fun experimenting. My camera is horrible and someday I will get a new digital one, the lighting was kind of off also but it does look cool and looks like it has seen some hard use.

")