Andy Griffith
New member
Since no one has actually put together a pictorial of how to load them, and the Mrs. got me a new camera- I thought I would. Please note this is NOT the only way to do it, but this works for me. There are many variations of loads out there- so my loads may differ significantly from other shooters out there. If you have suggestions- let me know! I'm willing to learn and take criticism.
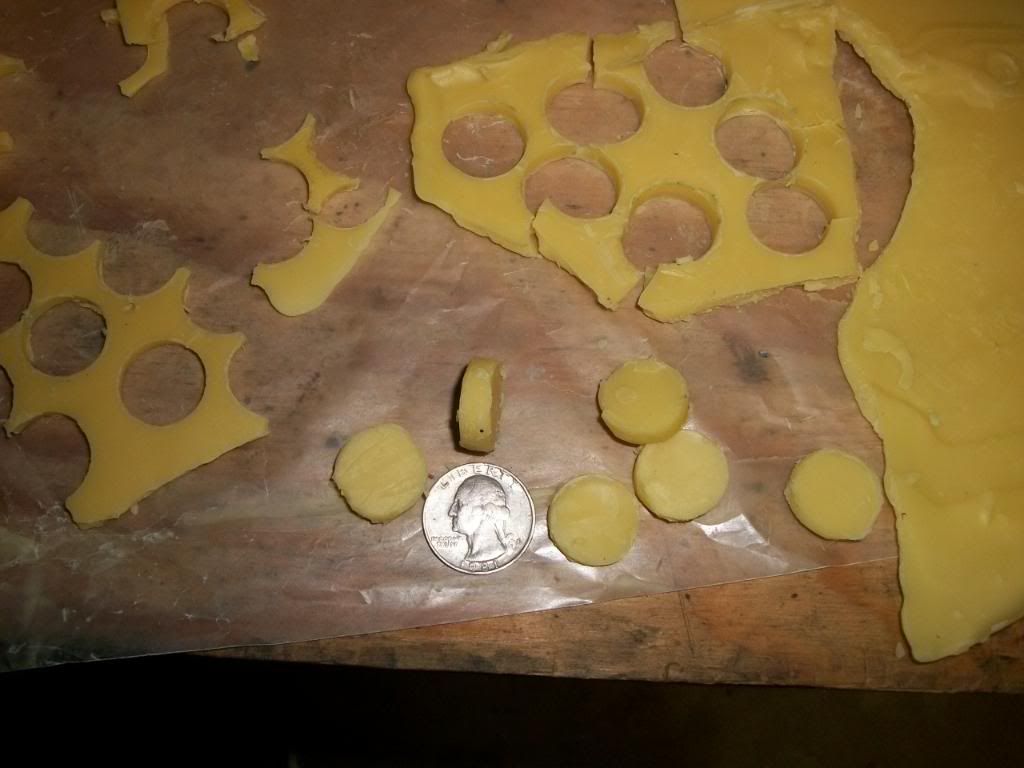
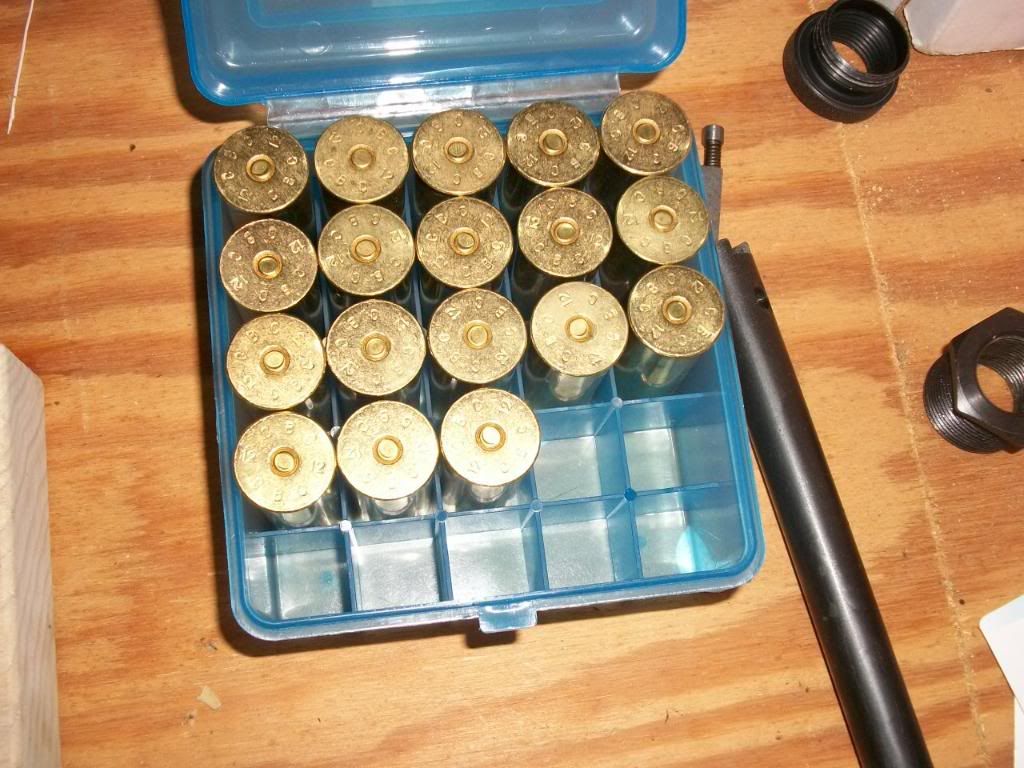
Starting with brass shells, and there are a plethora of them out there if you just start looking, and in all gauges from 8 all the way to .410.
I've got some of the commonly available ones found pictured below.
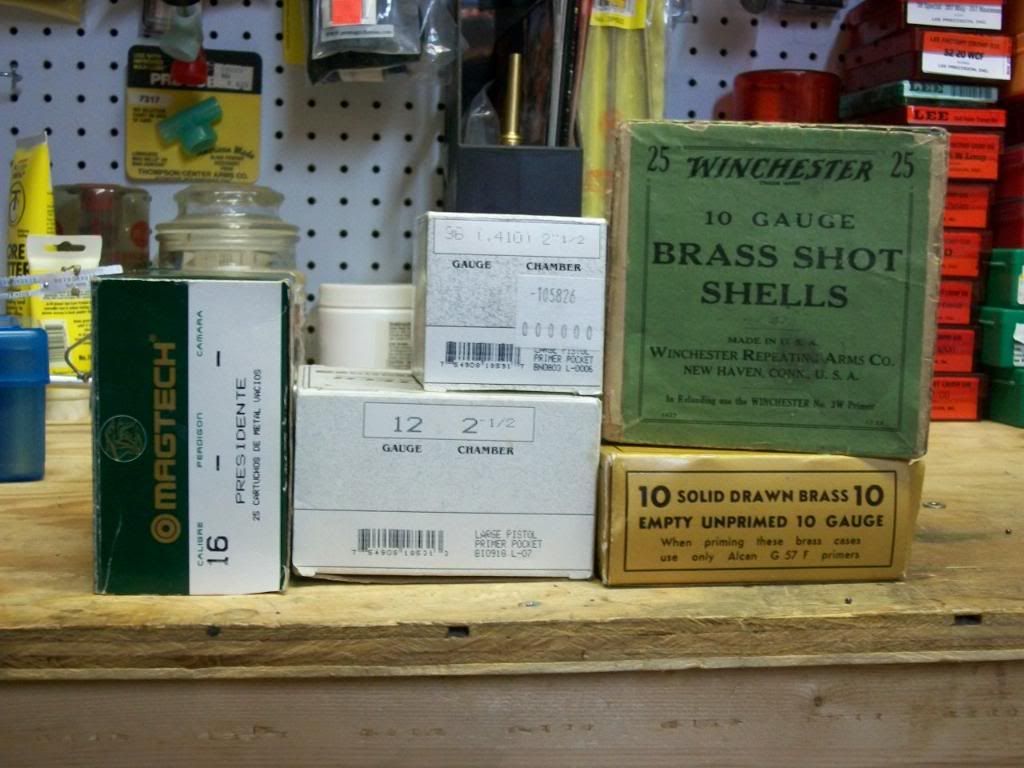
Some types I should mention but do not have pictured are the Alcan Zinc shells, Russian steel shells and the high quality, heavy, lathe-turned Rocky Mountain Cartridge shells. I'm going to get into those in number two or three when I show some smokeless loads.
All of the shells I'm going to show here are extruded and thin walled like pistol cases-not to say they aren't strong- they will last a lifetime with marginal care and cleaning after shooting with blackpowder. The Winchester hulls that I have pictured were last made far prior to WWII, and they are still going strong. I will state that not all antique brass hulls can be salvaged- many were used and never cleaned and therefore the brass could have been weakened by mercuric priming mixtures. Only a through inspection after a good cleaning can their ability to be reload be judged. If there are pits or black spots all the way through the case wall- do not use it. I have only found four or five in my scrounging that are unusable because of corrosion or complete wall splits that a simple trimming could not take care of.
Hulls themselves:
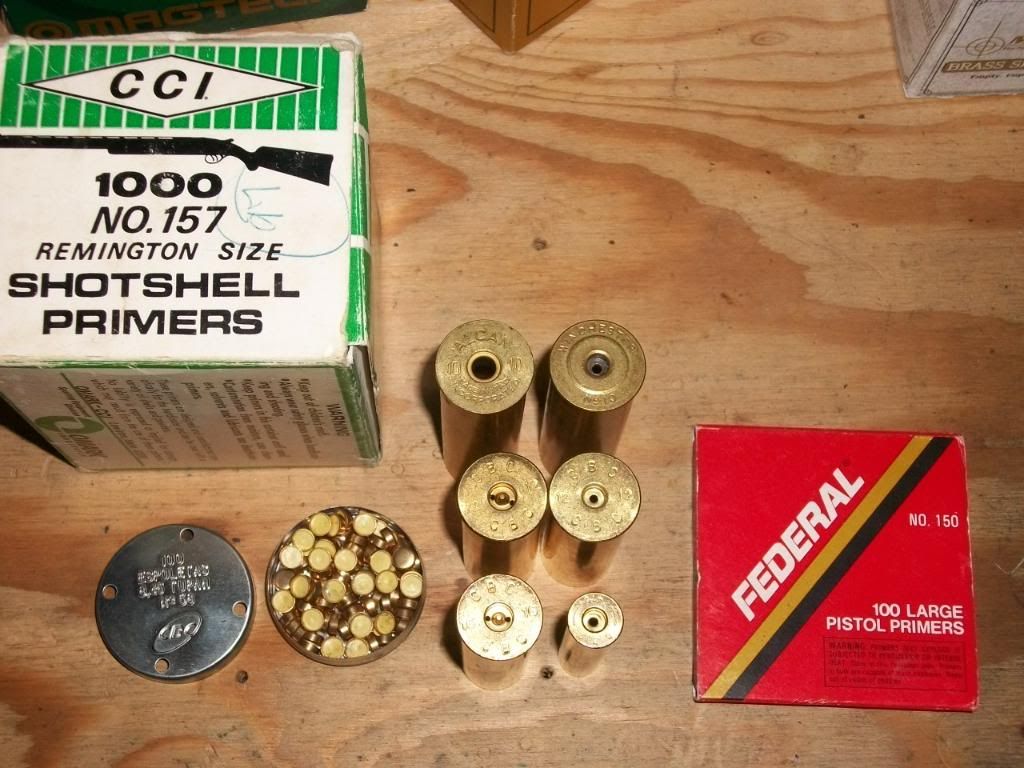
The Magtech, Winchester, Remington and the Alcan/Fiocchi hulls are the extruded hulls most commonly found by shooters.
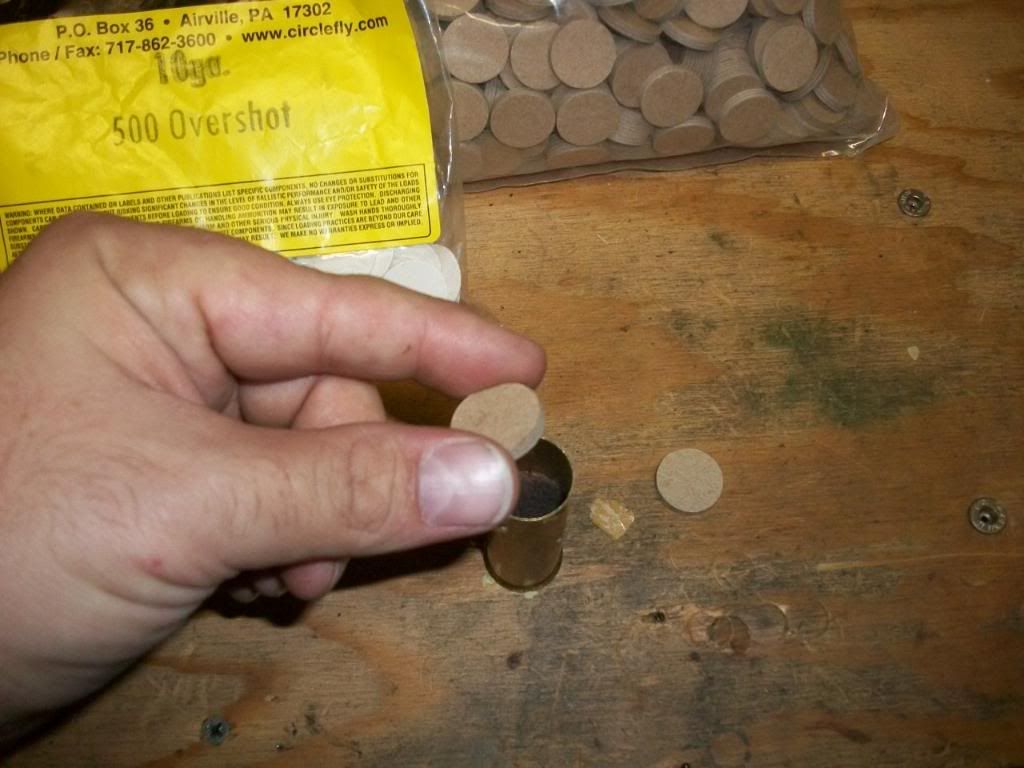
Magtech hulls come in 12,16,20,24,28,32 and .410 bore and are currently manufactured. Use caution, as there is a caveat when ordering or purchasing these hulls!!! Read Below.
Until about five or so years ago, all the Magtech hulls were Berdan Primed.
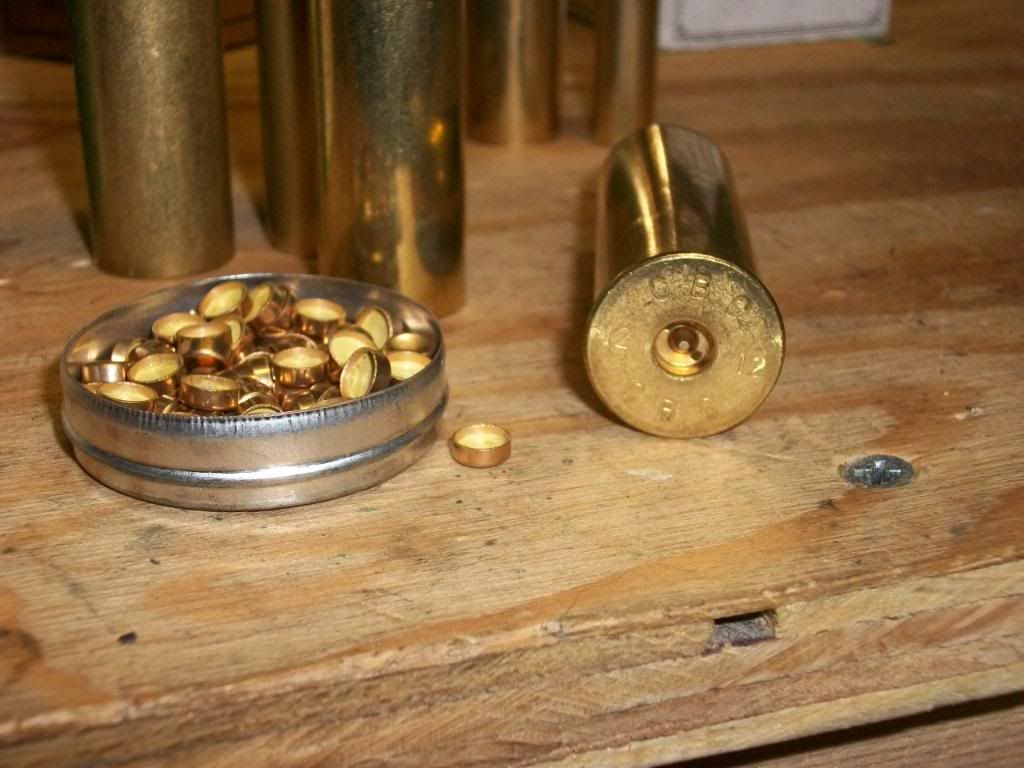
If you purchase them online or at a show somewhere, just make certain of what you are getting. The berdan primers are very soft, and most shotguns will pierce the Berdan primers about half the time. Magtech no longer sells or stocks the Berdan primers anyway- so if you can't get them, your only choices are, unloading them onto another unsuspecting su.....I mean selling them to someone else, or drilling them out to take 209 primers. I can't remember which bit is the correct size, but I'll insert it here later. The new Magtech hulls all take a pistol primer- but this still creates a small inconvenience because for some reason they don't taper or smooth the channel into the primer pocket very well:
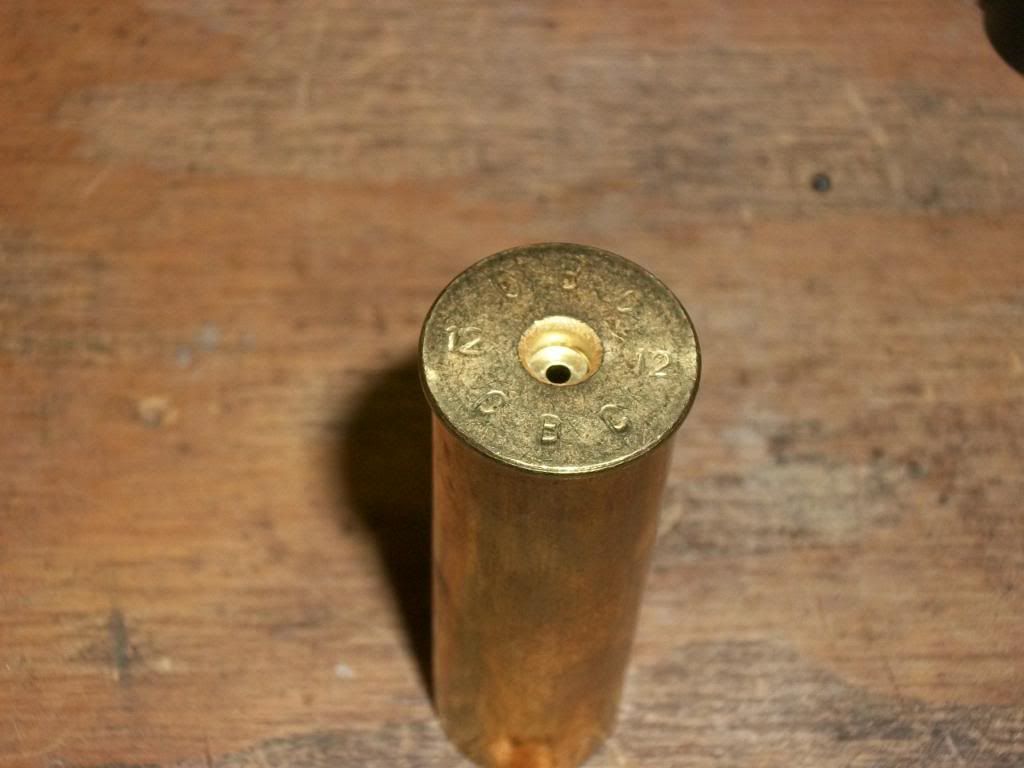
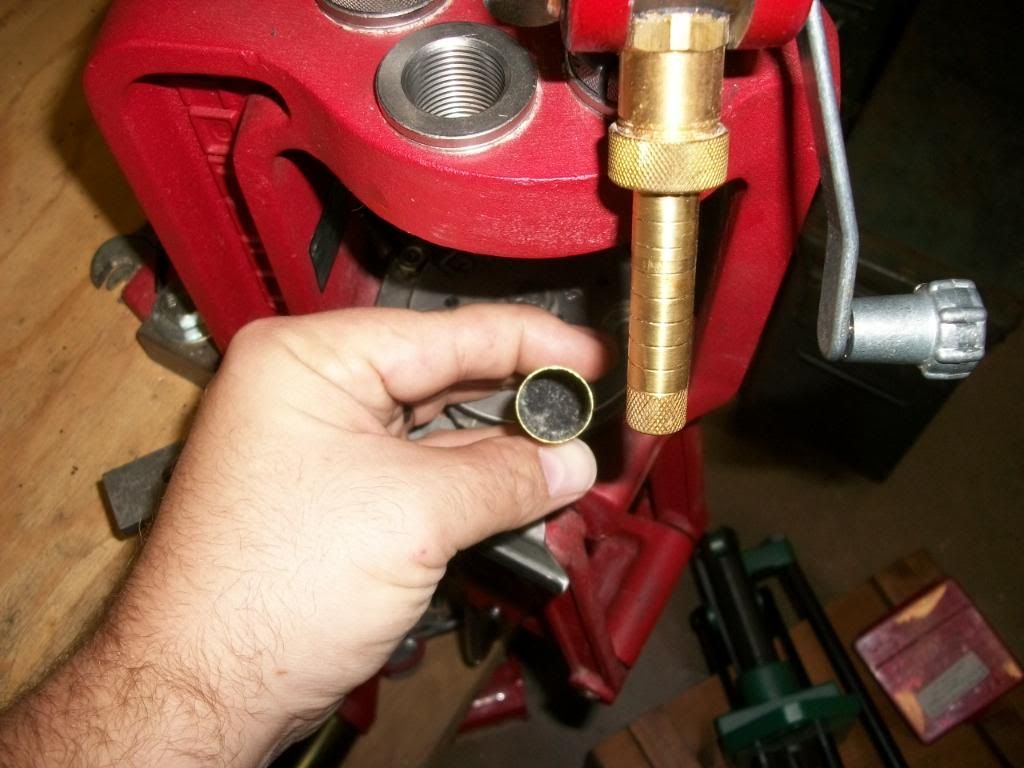
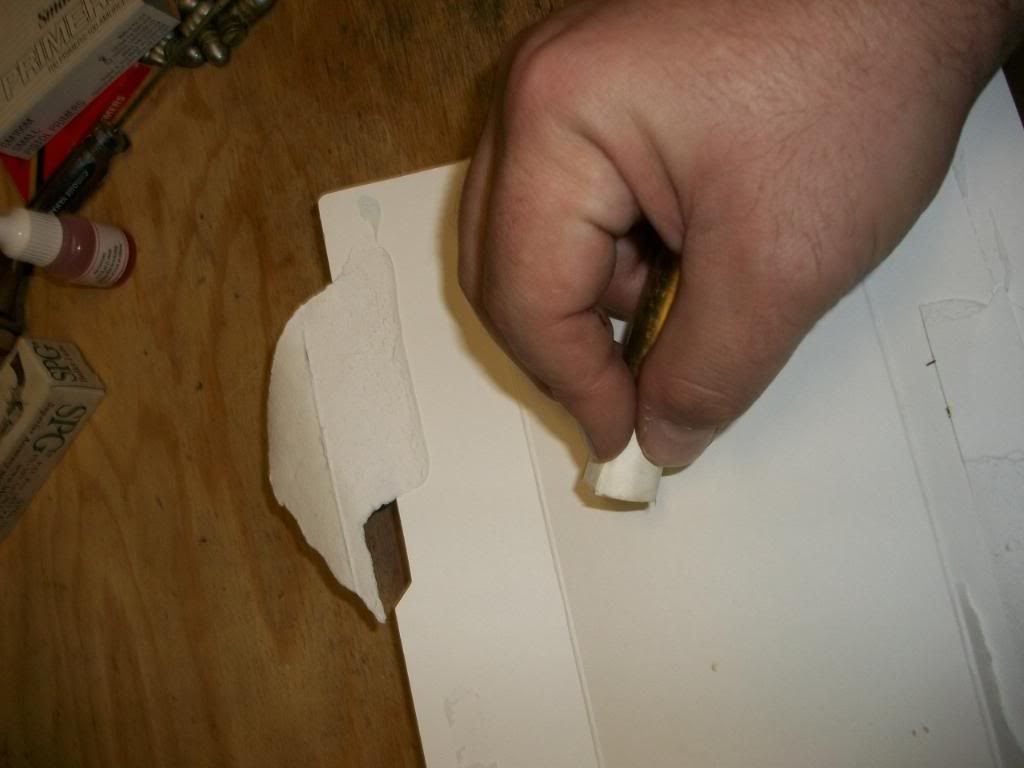
Primers seat very hard and won't look good on new Magtech brass
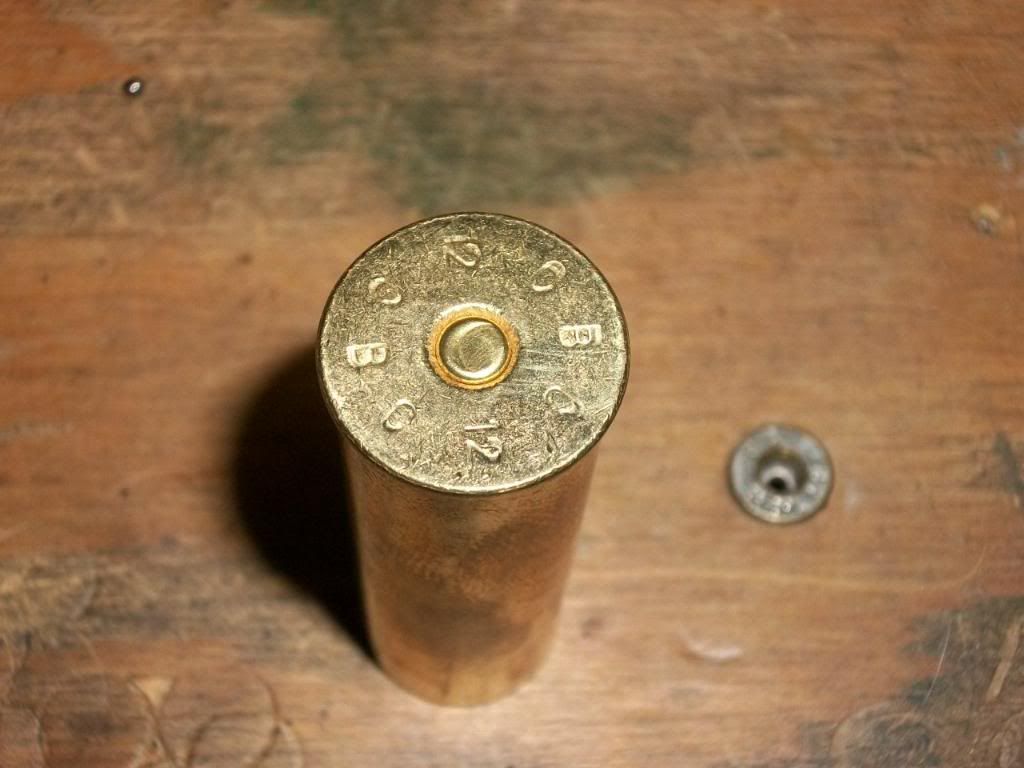
Once the brass has been fired at least once, is winds up priming just fine from then on. Go figure.
The Alcan/Fiocchi hulls are the next most frequently encountered hulls- which were made into the late 1960's. They are very good hulls, but typically they are found with collector pricing on them! The Alcan hulls take *57 or 157 primers which are smaller than their 209 cousins, but are larger than the *69 primers Remington used in their .410 loads for many years. The simple thing to do if you find the Alcans and don't have a stock of the correct primers, is to simply drill them out. Fortunately, I have a very large supply of 157 primers, so no worries for me. This is also a case of a simple drilling to open it up to take the larger 209 primers.
Finally, the Winchester and Remington hulls take pistol primers. I've never had any problems with them save one Remington 12ga hull that was neither a large nor a small pistol primer- it was in between. smiley: sick
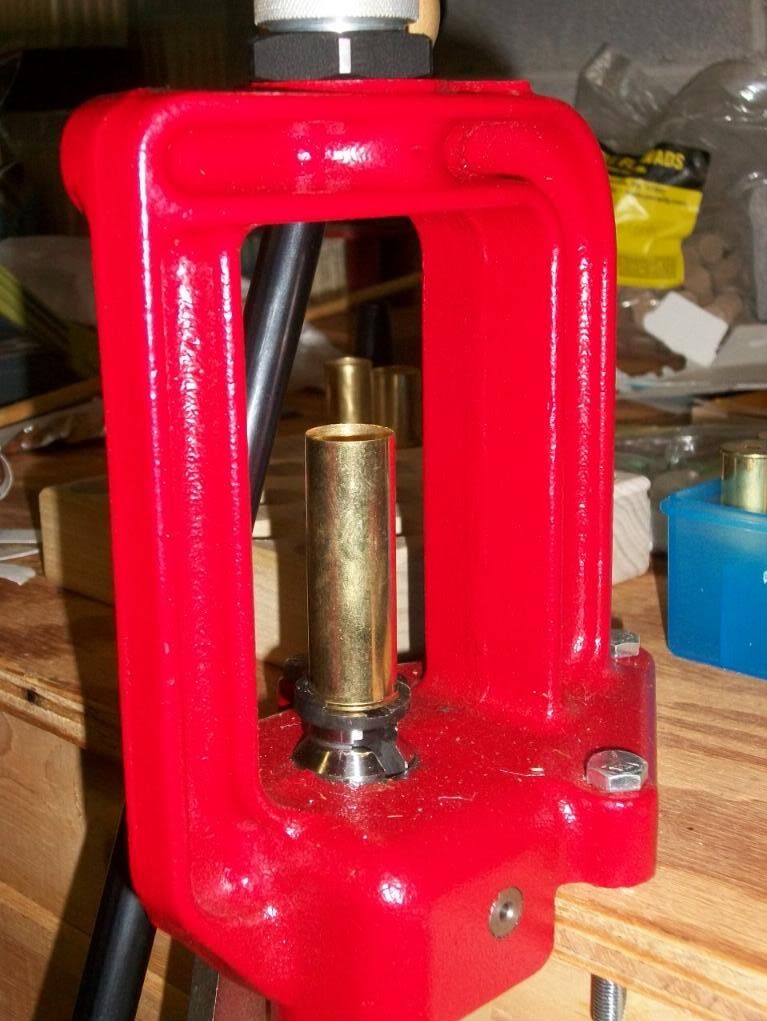
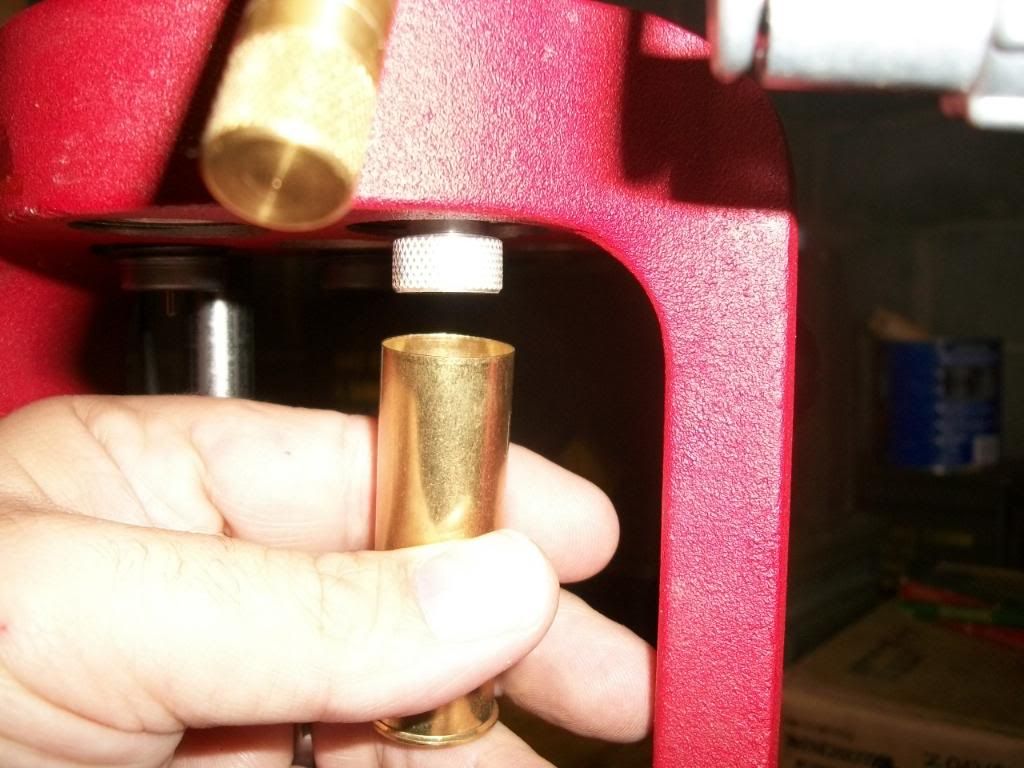
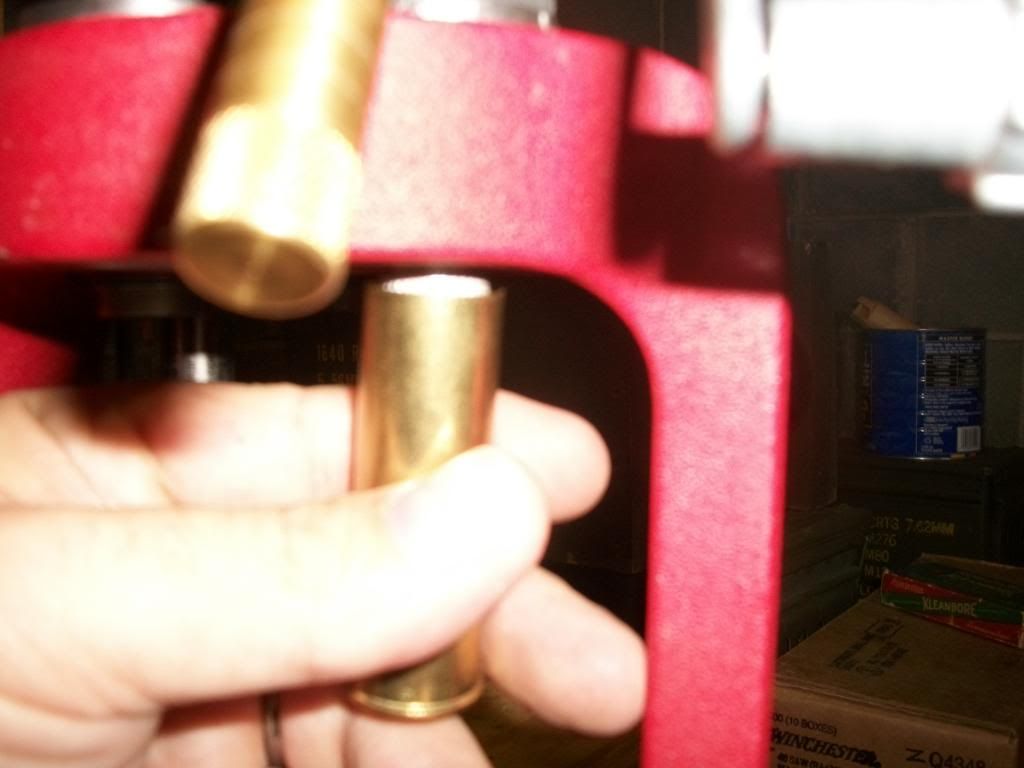
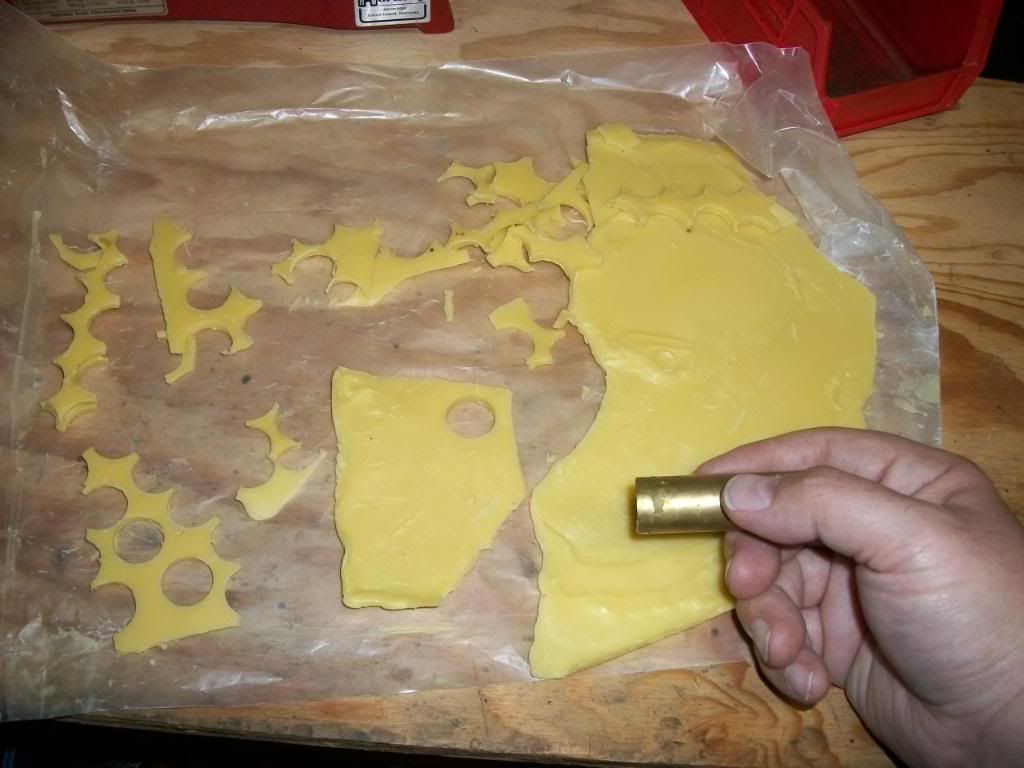
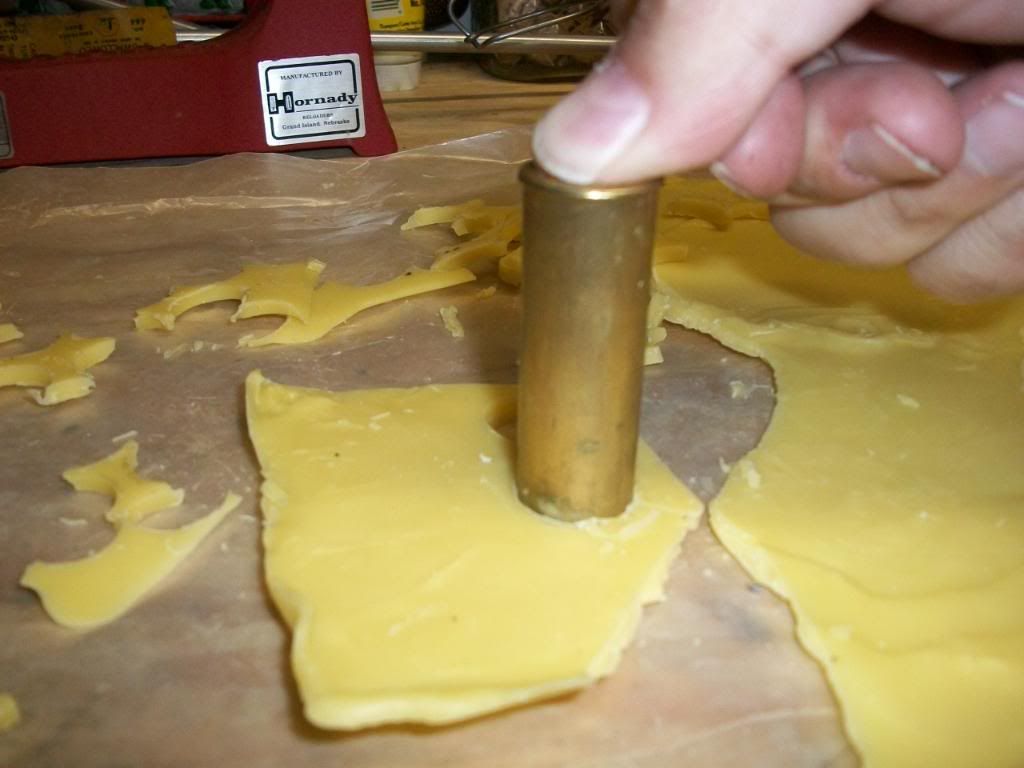
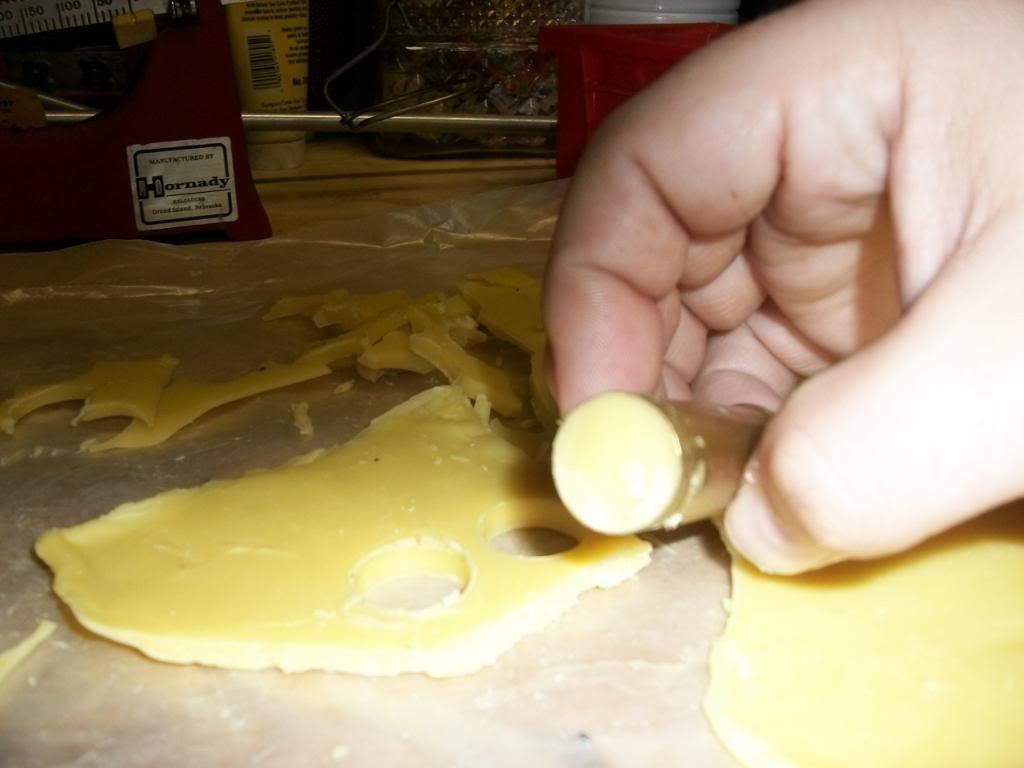
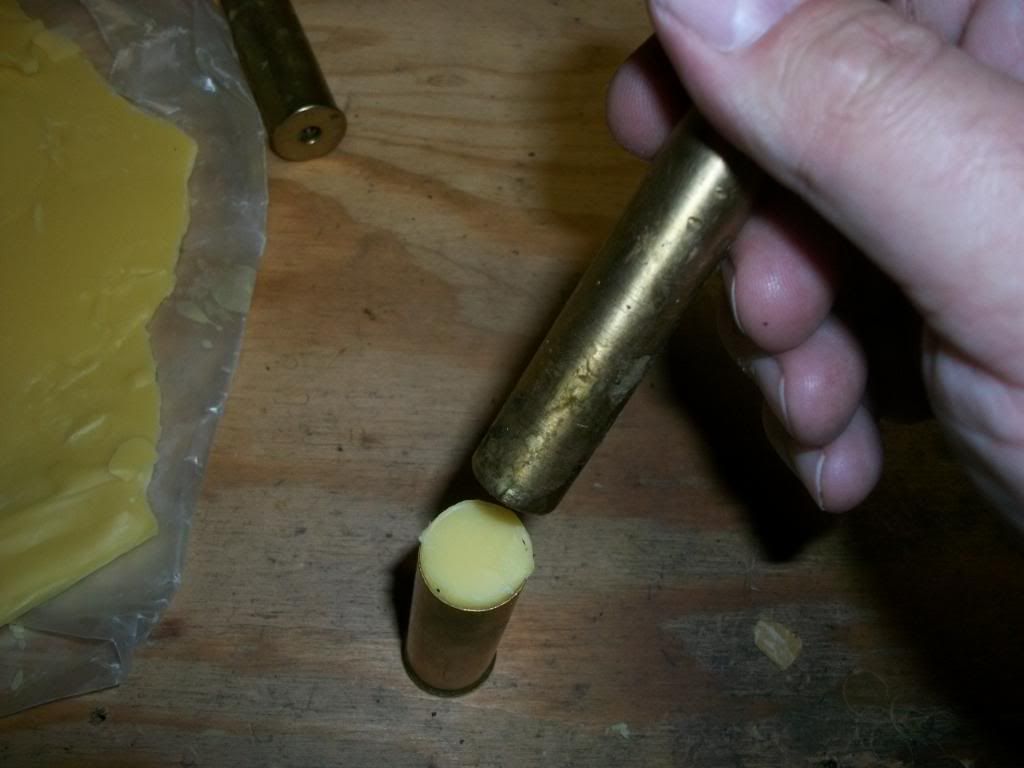
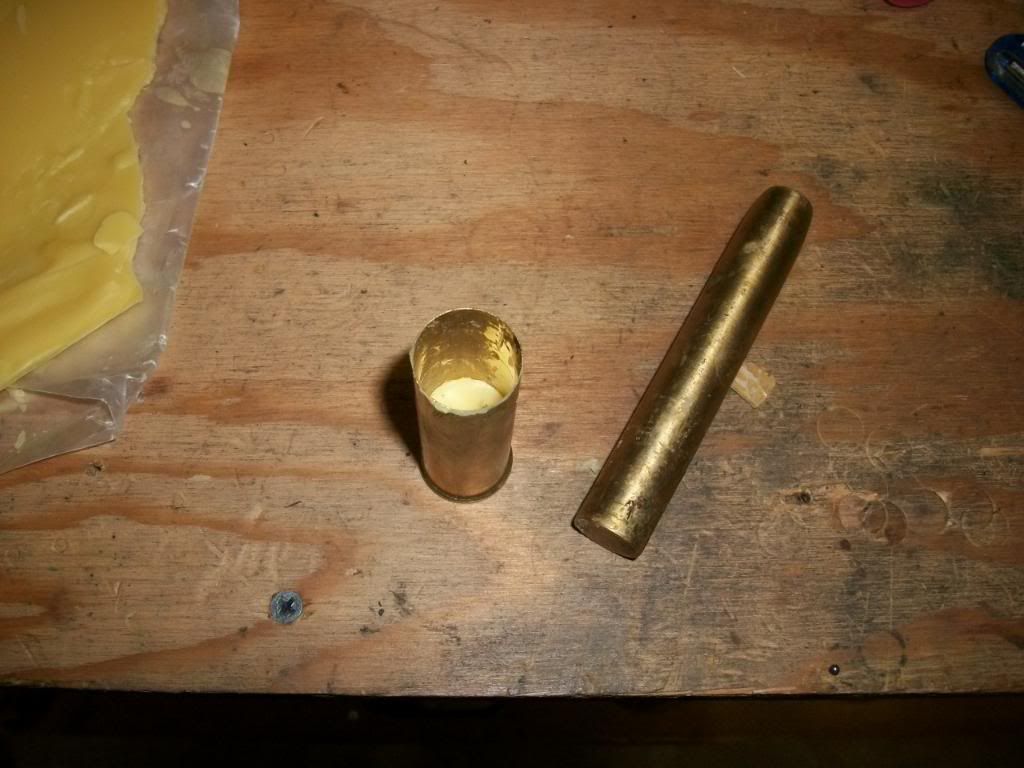
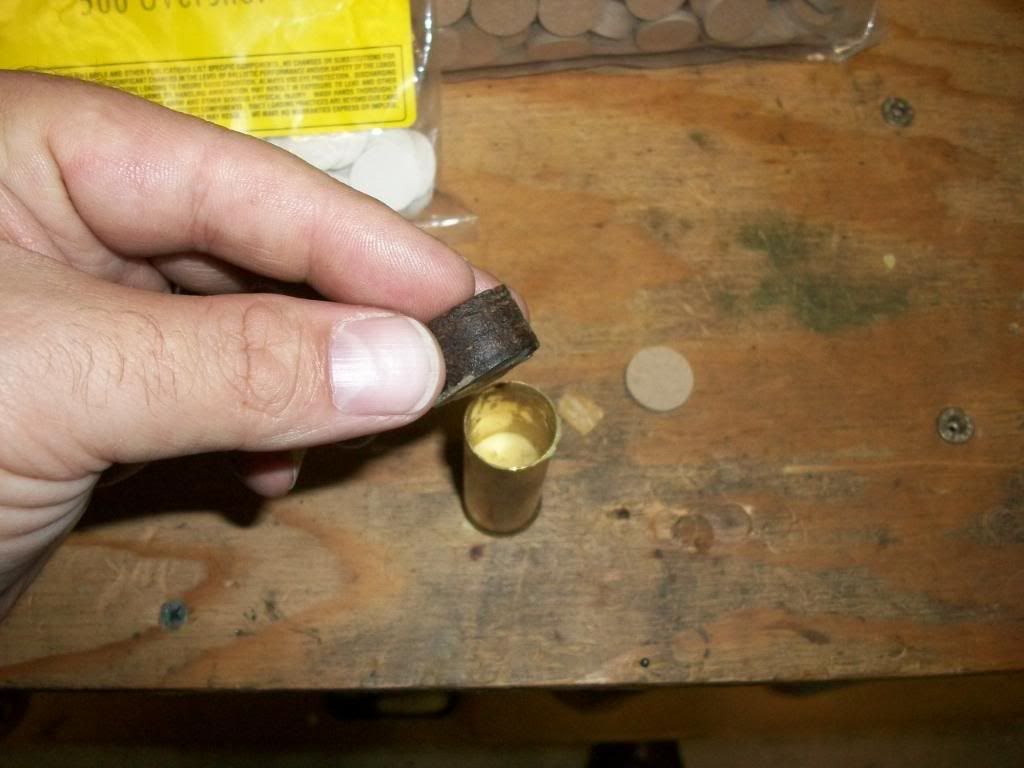
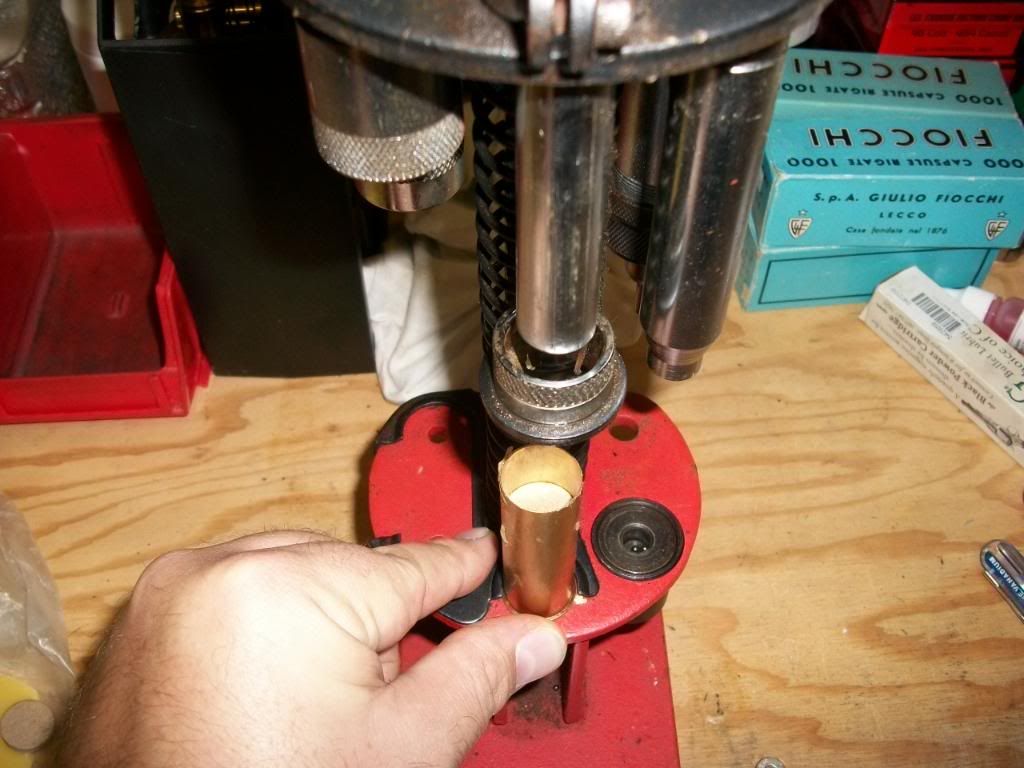
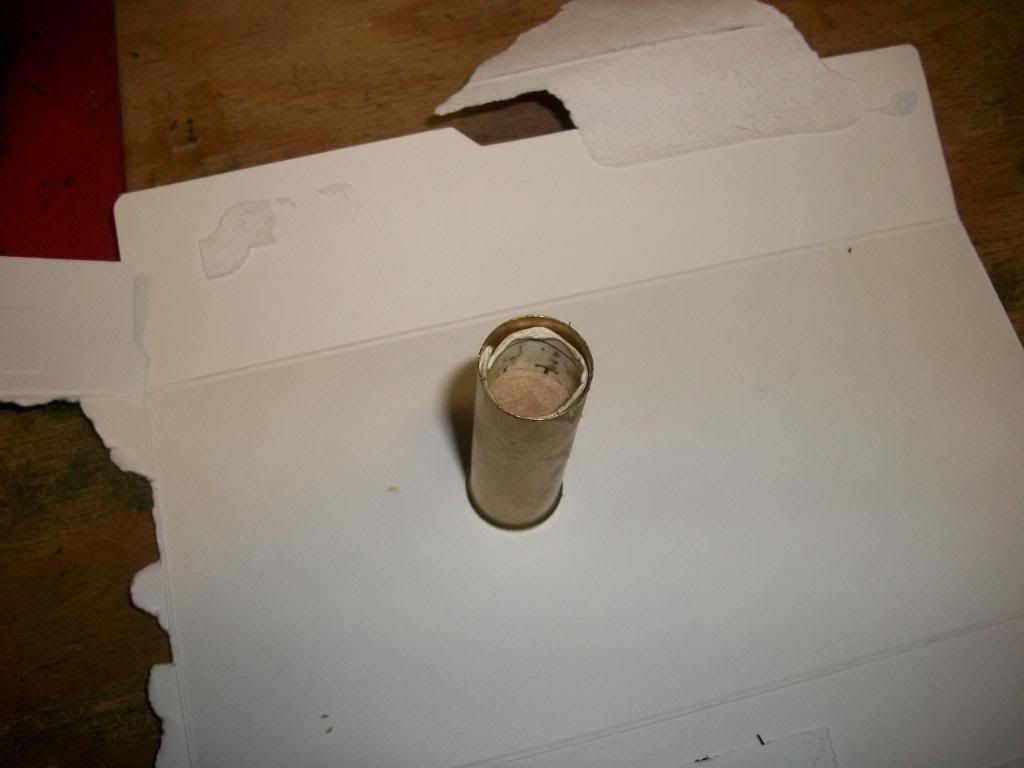
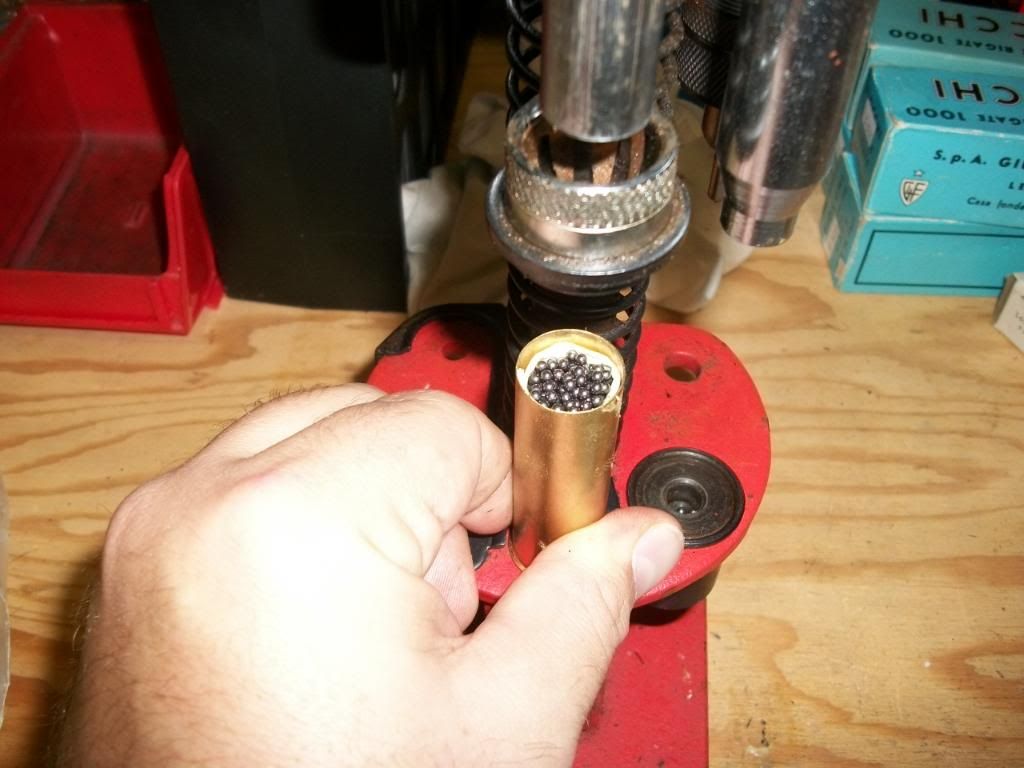
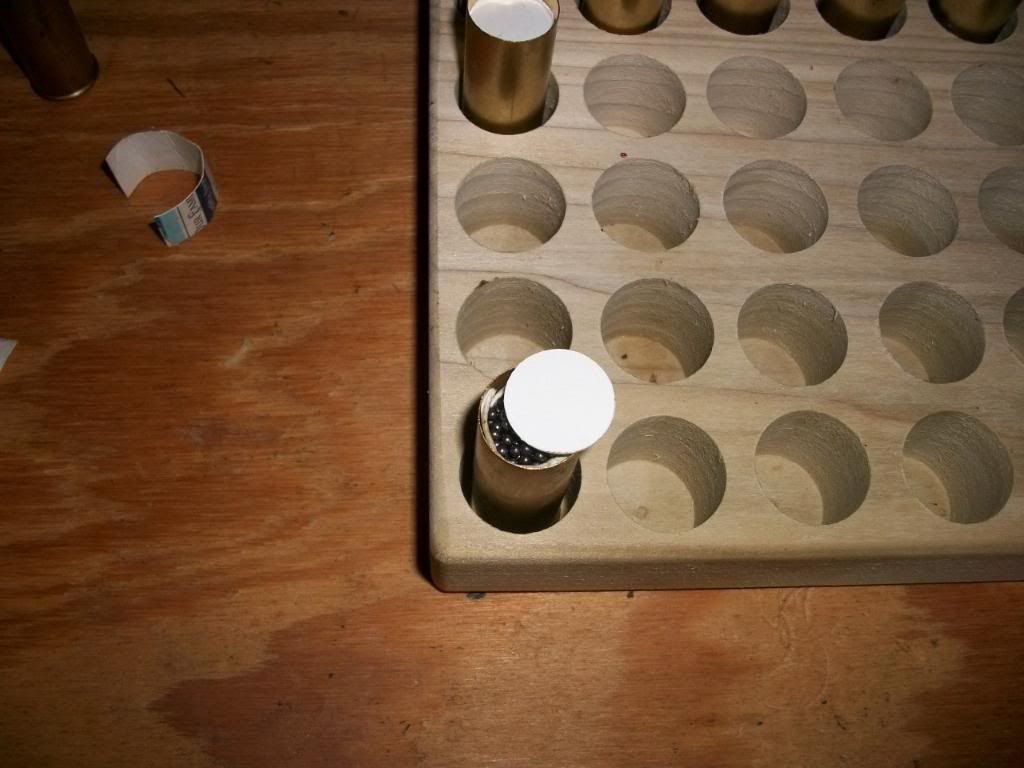
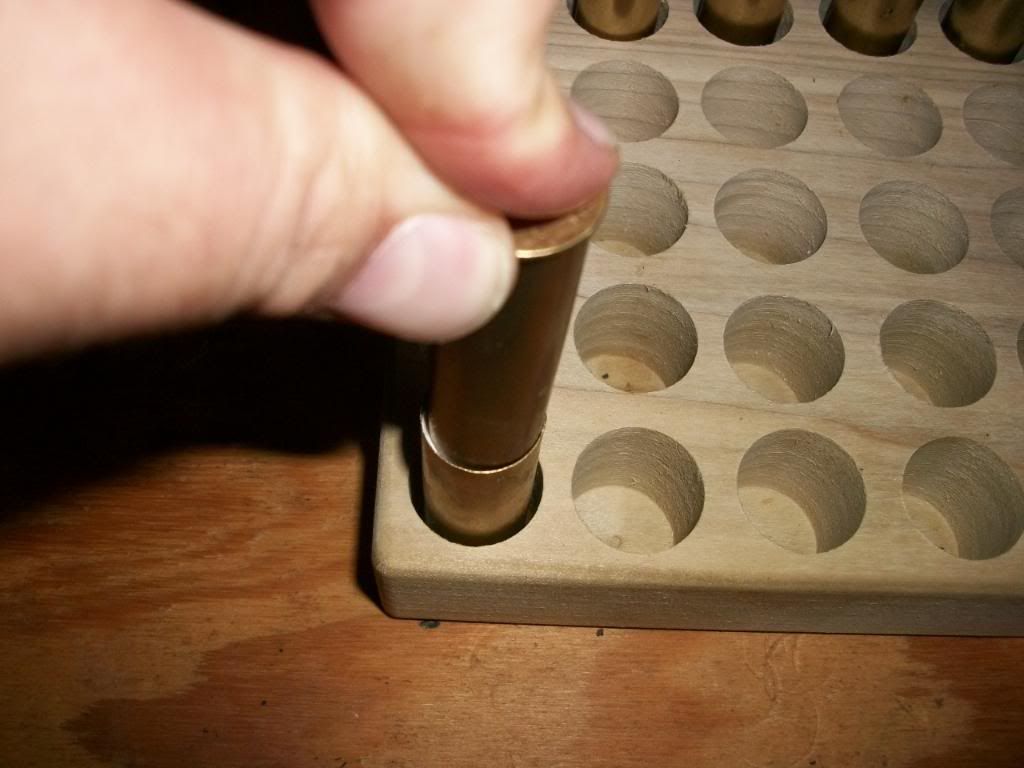
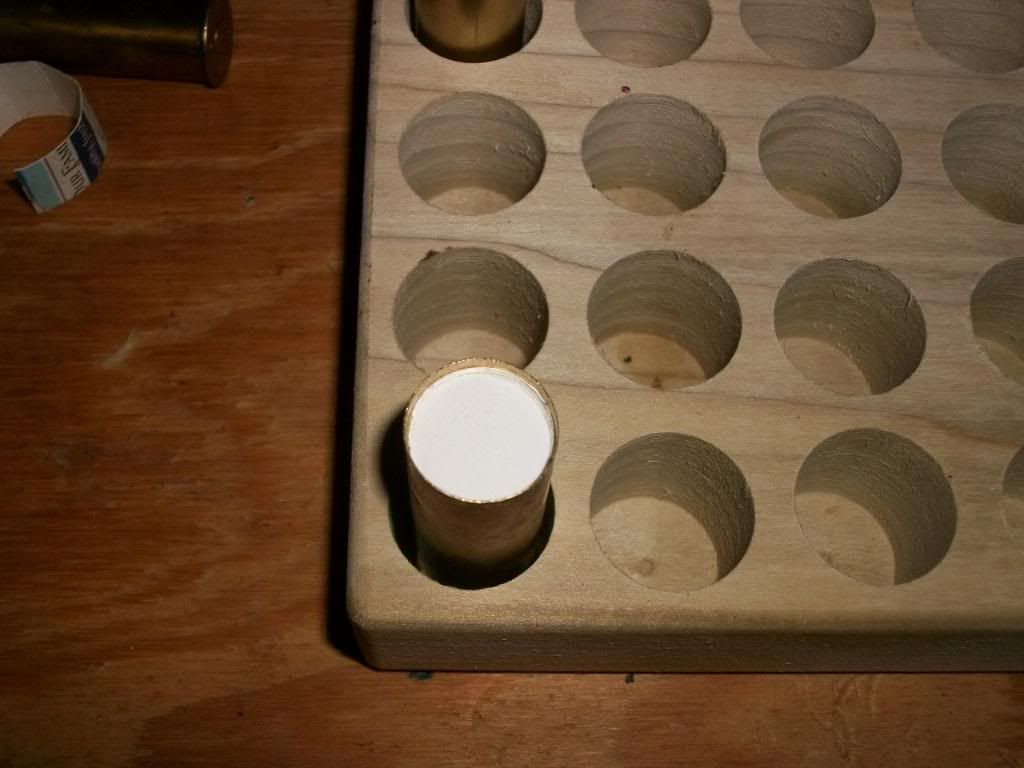
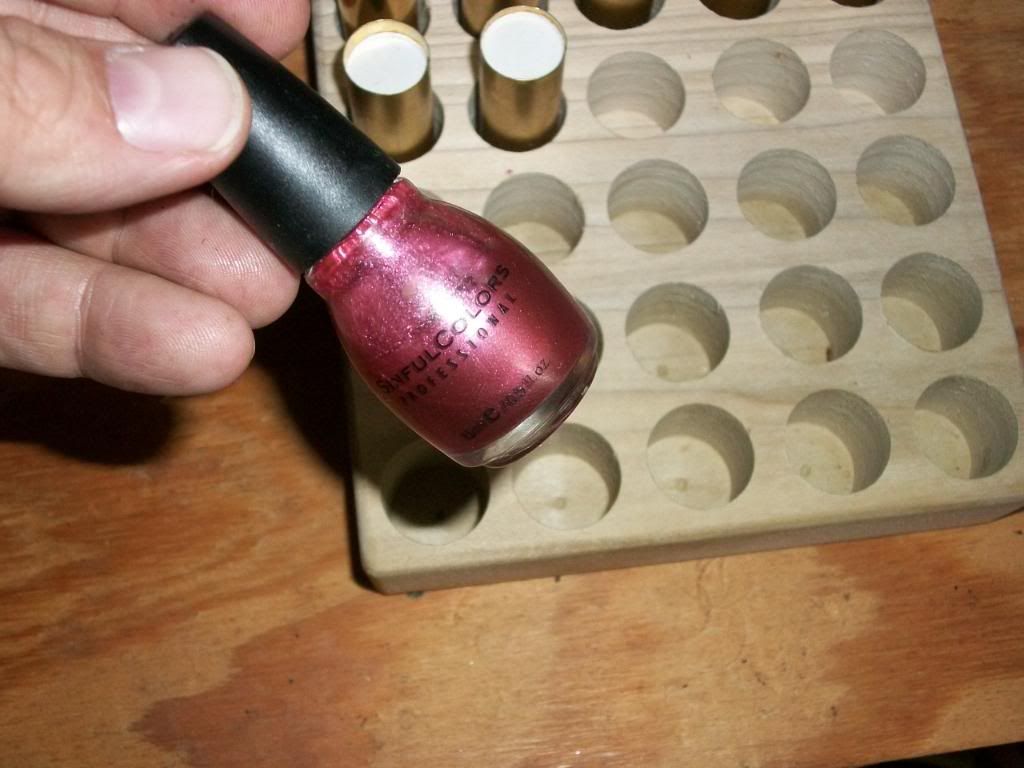
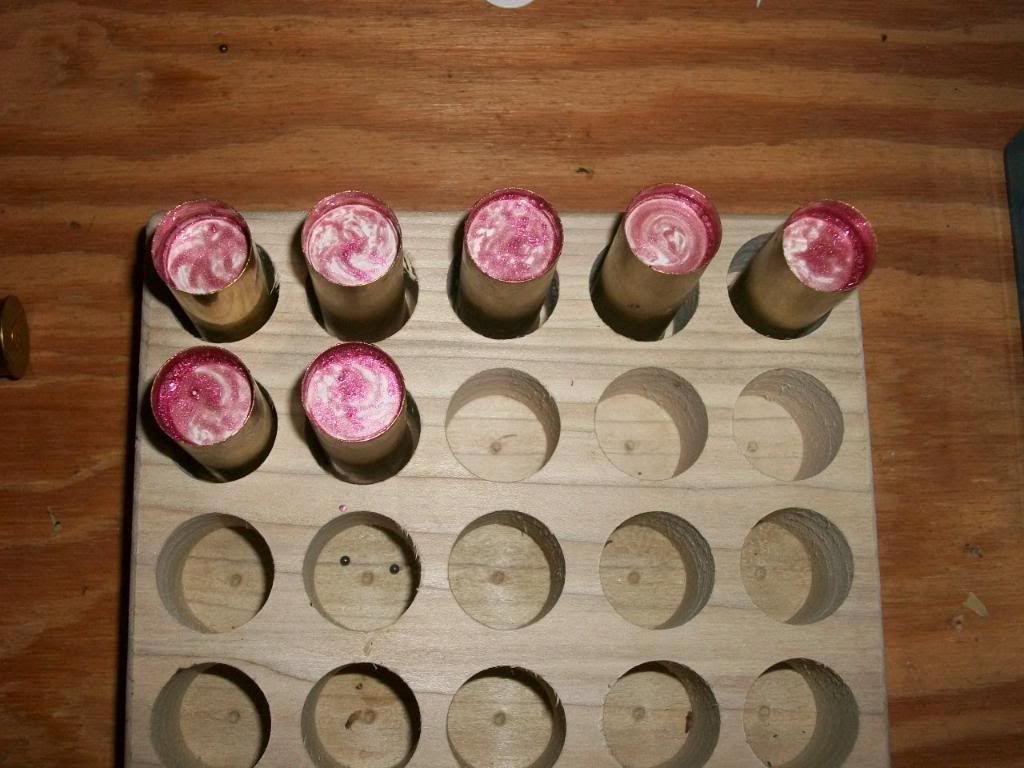
On to the loading! I'm showing how to load 12ga extruded hulls (such as the Magtech) here, machined hulls will be slightly different.
Starting with brass shells, and there are a plethora of them out there if you just start looking, and in all gauges from 8 all the way to .410.
I've got some of the commonly available ones found pictured below.
Some types I should mention but do not have pictured are the Alcan Zinc shells, Russian steel shells and the high quality, heavy, lathe-turned Rocky Mountain Cartridge shells. I'm going to get into those in number two or three when I show some smokeless loads.
All of the shells I'm going to show here are extruded and thin walled like pistol cases-not to say they aren't strong- they will last a lifetime with marginal care and cleaning after shooting with blackpowder. The Winchester hulls that I have pictured were last made far prior to WWII, and they are still going strong. I will state that not all antique brass hulls can be salvaged- many were used and never cleaned and therefore the brass could have been weakened by mercuric priming mixtures. Only a through inspection after a good cleaning can their ability to be reload be judged. If there are pits or black spots all the way through the case wall- do not use it. I have only found four or five in my scrounging that are unusable because of corrosion or complete wall splits that a simple trimming could not take care of.
Hulls themselves:
The Magtech, Winchester, Remington and the Alcan/Fiocchi hulls are the extruded hulls most commonly found by shooters.
Magtech hulls come in 12,16,20,24,28,32 and .410 bore and are currently manufactured. Use caution, as there is a caveat when ordering or purchasing these hulls!!! Read Below.
Until about five or so years ago, all the Magtech hulls were Berdan Primed.
If you purchase them online or at a show somewhere, just make certain of what you are getting. The berdan primers are very soft, and most shotguns will pierce the Berdan primers about half the time. Magtech no longer sells or stocks the Berdan primers anyway- so if you can't get them, your only choices are, unloading them onto another unsuspecting su.....I mean selling them to someone else, or drilling them out to take 209 primers. I can't remember which bit is the correct size, but I'll insert it here later. The new Magtech hulls all take a pistol primer- but this still creates a small inconvenience because for some reason they don't taper or smooth the channel into the primer pocket very well:
Primers seat very hard and won't look good on new Magtech brass
Once the brass has been fired at least once, is winds up priming just fine from then on. Go figure.
The Alcan/Fiocchi hulls are the next most frequently encountered hulls- which were made into the late 1960's. They are very good hulls, but typically they are found with collector pricing on them! The Alcan hulls take *57 or 157 primers which are smaller than their 209 cousins, but are larger than the *69 primers Remington used in their .410 loads for many years. The simple thing to do if you find the Alcans and don't have a stock of the correct primers, is to simply drill them out. Fortunately, I have a very large supply of 157 primers, so no worries for me. This is also a case of a simple drilling to open it up to take the larger 209 primers.
Finally, the Winchester and Remington hulls take pistol primers. I've never had any problems with them save one Remington 12ga hull that was neither a large nor a small pistol primer- it was in between. smiley: sick
On to the loading! I'm showing how to load 12ga extruded hulls (such as the Magtech) here, machined hulls will be slightly different.
Last edited:


")
