Defarb question

TemboTusk

New member
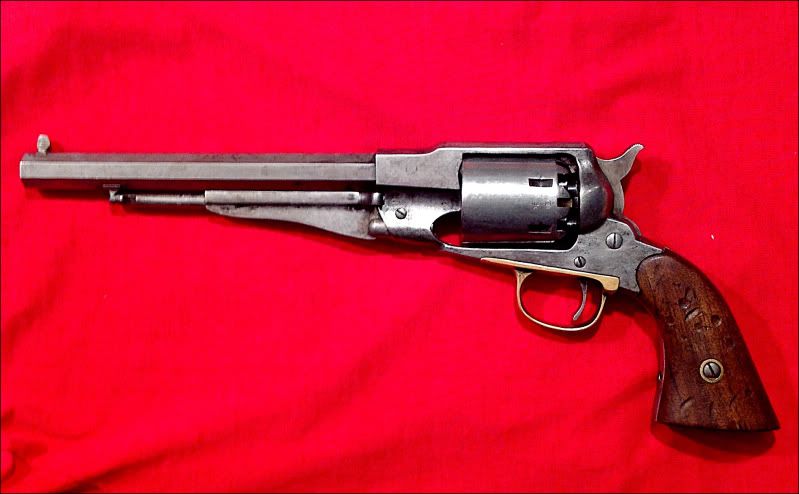
I would like to defarb a revolver without making a mess of the barrel. I plan on practicing on a beat up barrel first.

The lettering on the barrel appears to be more than surface deep. After the removal of the letters, does the barrel have a low area where the writing was removed? I would imagine if you put a straight edge along the barrel, light would shine through.

I have read some people use a file; others sand paper or even a mill. I would also like to get rid of minor nicks and scraps along the barrel.

A little bit more detail and pictures on the process would be great!

Thanks!
 
I used a square stone about the size of a pencil. After I got all the stuff off, I
wrapped a vinegar soaked towel around it overnight. Then smeared mustard
the next day. I wanted it to look old. Of course the inside of the barrel and
cylinder chambers are perfect . It is a Euroarms made in 1974.


91715dd7a59e1df263a2b18e817849e8.jpg
 
You can draw file it but keep watch so you don'g get the hollows you are fearing. It's not that hard and if you draw file say the top flat to remove the lettering or a side flat, do the others as well so in appearance it looks o.k. at a glance. Follow up by finer grits of emery cloth and oil to polish out. You speak of removing small nicks, etc. - those things add "character" to the gun. You obviously are going to have to refinish as desired.

Kiwhi's looks great. I recently did a '51 (aged it) and I ended up just taking the revolver apart and soaking all parts in vinegar overnight. Either soaking or wrapping will remove the blue. Kiwhi's mustard treatment worked well. I just polished everything down and then "browned" it with Plumb Brown. I was going to buff the high areas to show wear but I liked it so much browned that I just left it that way. I stripped the grips - carved a Masonic Square & Compass on the right grip area and then oiled it. I tried using brass blacking on the brass but really wasn't satisfied with the results. I finally just buffed the brass out and then will let it "age" - won't take long on a shooter.

Lot's of different techniques and ways to do it - you wont' mess it up. I admit it's hard to start in on a new revolver that's all pretty and nice but once you get started on it, you can really see the potential of your efforts and how you are making it "your's". Good luck! :)
 
I highly recommend the draw file then finish down to 320 grit sand paper.
 

Attachments

  • SnubbieBuild5.jpg
    SnubbieBuild5.jpg
    52.2 KB · Views: 132
When you put the barrel in a vise to hold it for filing or stoning, use a level to assure the barrel is level. That will help keep your strokes even. Go slowly and don't use too much pressure. If you search this forum you will find lots of examples of successful defarbing. I used a mill file and then 320 grit sand paper over the file. Clean the file often and use chalk on the file to keep filings out of grooves.
 
Thanks everybody! You give me the courage to start. I always hated the writing on the barrels; makes them look like a toy.

Well, I decided to use a stone for my defarb work. The stone in my mind was more forgiving than the file. The job took a couple of hours of on and off work and was very satisfying to watch the writing slowly disappear.

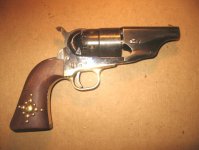
I have left a few nicks and gouges in the barrel to give it a bit of character. See the before and after pictures below. I intend to make a Sherriff model out of this barrel, so I will be cutting off a few inches and milling in a dovetail brass sight.

A bit of vinagar and finish sanding and I will be ready for my next step ... learning how to rust blue!


_D7K1413.jpg


_D7K1410.jpg


_D7K1417.jpg


_D7K1418.jpg


_D7K1464.jpg


_D7K1466.jpg
 
Rust blue

Do a search in this forum and you will learn a ton on this topic. Many of us here also like the Birchwood Casey plumb brown finish. Also a ton of info here on using that along with pictures. Forge ahead, knowing what you want it to look like and which way to go.

We want pics when u r done!

:cool:

Birch
 
Thanks BirchOrr!

I did a bit more work tonight. Cut the barrel down to 4 3/4" and cut the dovetail for the sight.

A couple of pictures for fun. I'll update when I do the bluing.


_D7K1468+a.jpg


_D7K1469a.jpg
 
Damn nifty work right there. Did you hand cut the dovetail and where did you get the sight?

Thank you!


I used my home hobby mill to cut the dovetail. In the past, I made my own sights, but for $8.99 its not worth all the work.


Track of the Wolf web site: Wax cast brass 3/8 dovetail base: FS-PA-38-B Rounded Blade Front Sight, .075" thick blade, 1/16" thick base, . . . $8.99

They have hundreds of sights to choose from.

.
 
Not being critical but... how deep is that dovetail? It almost looks like it made a very thin wall under the sight. I'm no expert by any means, just saying what it looks like to me.

That aside, it looks very nice.
 
The dovetail looks deep, but it is only an illusion. At .059" it about half the thickness of the barrel wall. The edge of the dovetail sight base is cut an angle to match the barrel which makes it look much thicker than it really is.

Funny thing is, when the dovetail bit is chucked in the mill and next to the barrel, it looks very deep. I practiced on an old barrel because I didn't trust my measurements the first time!

Now, I just measure three times before I cut!!
 
Very nice work, indeed. Tembo, you mentioned using a home hobby mill. May I ask what type and approximate cost? I'm looking for a small mill for clock repair. Thanks...

DJ
 
what can be said other than . . . "loooookin' goooooood"!

I like that sight! Looks like it's coming along well . . . you can be proud of your work! :)
 
TT

Yep.....

That is a nice job on the barrel. Shines like a ruby in a goat's a __ __.

I like the dovetail. just all around nice.
 
Back
Top