long rider
New member
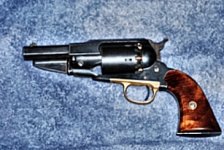
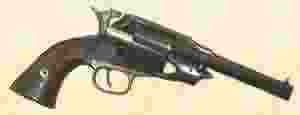
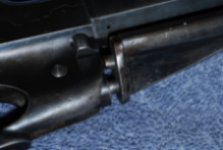
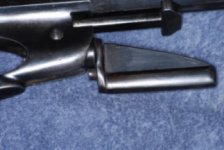
The down side? when you take away the loading lever
from a remmington, it no longer looks like a remmington.
the web on the loading lever is what makes the gun so
appealing ( to my eyes anyway ) you lose the lever you
lose the look, thats just my op, i am not telling you should
or should not.
from a remmington, it no longer looks like a remmington.
the web on the loading lever is what makes the gun so
appealing ( to my eyes anyway ) you lose the lever you
lose the look, thats just my op, i am not telling you should
or should not.


") )...
)...