Best workbench for indoor setup

I built mine. Used a 2x4 frame with a 1-1/8" thick beech butcher block (counter top) I got at Ikea and ripped to the depth I wanted.

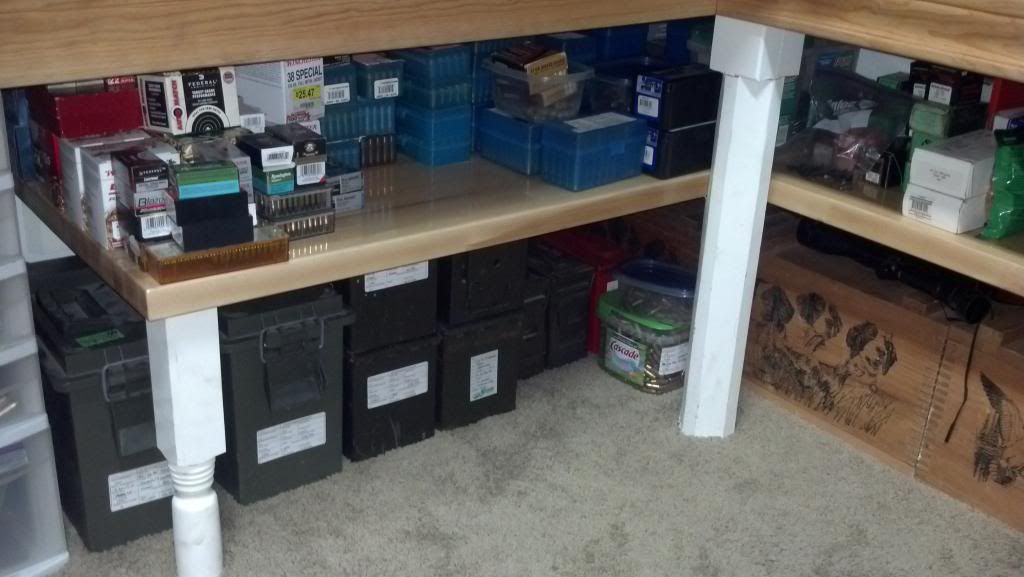
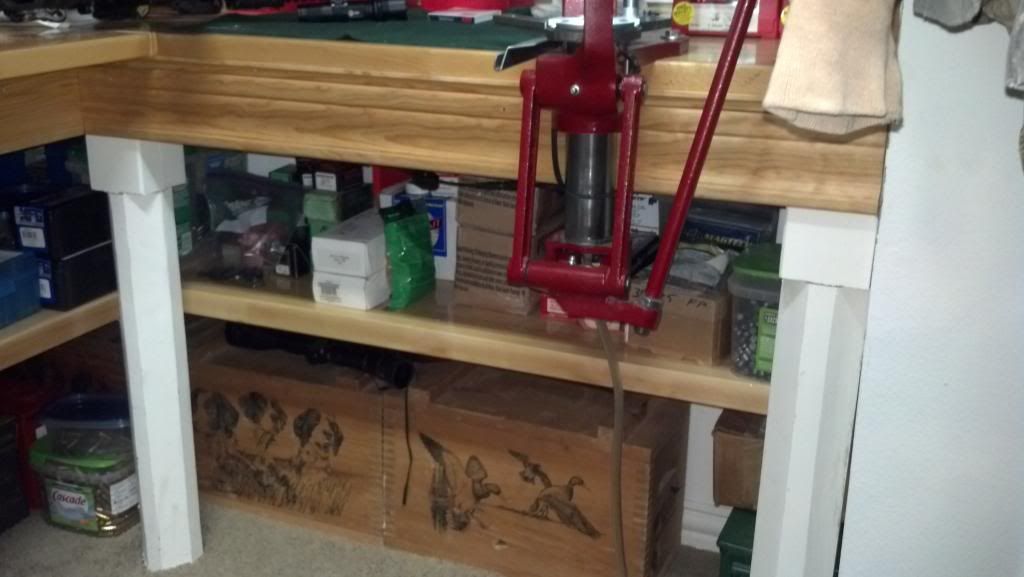
I installed t-nuts on the underside so that I can take the pieces of equipment (with the exception of my LNL) and move them to whatever configuration I wanted. Added some shelving underneath for storage, a good 4-6 coats of urethane (this is inside and I wanted it to look nicer - kept the ire of the missus at bay) and I am good to go. Solid as a rock, and even my wife uses it during Christmas and around birthdays to wrap presents, etc. on.

IMG00178-20120102-2047_zpsdc563cd1.jpg


IMG00181-20120108-2032_zpsa3e8d530.jpg


IMG00180-20120107-2035_zpsdba6d885.jpg


IMG00187-20120114-1457_zpse6951fd5.jpg


IMG00189-20120114-1902_zpsf22e000a.jpg


A picture of some of my equipment on the removable blocks with the plastic handles (all thread epoxied into the handle, threads through the block and bench to the t-nut on the underside)

IMG_20131018_192640_651_zpse14dcb68.jpg
 
Shelving underneath:

IMG_20130629_210311_194_zpsfgkysdzx.jpg


IMG_20130629_210322_012_zpsomxkppmj.jpg


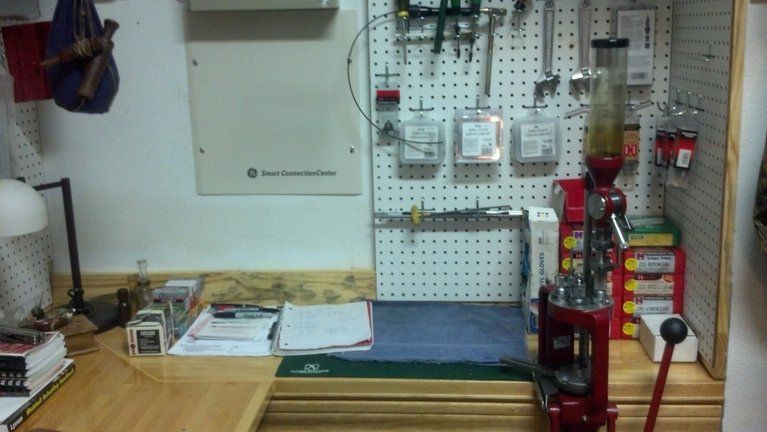
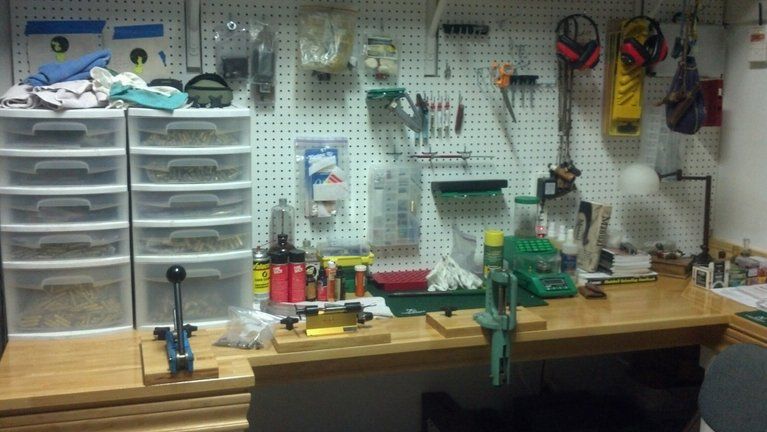
Overview - it's changed since these pictures, but still pretty close

photobucket-12091-1343273308350_zps63220e50.jpg


photobucket-8399-1343272982218_zpsfc5d7371.jpg


Not too bad for being relegated to the master closet. Works great for me anyway.
 
That is really very nice. A great use of the existing space. It looks great, too.

Plus you close the door and it disappears. Mine is in the attached garage, kind of hard to make it disappear.
 
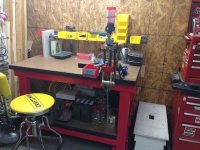
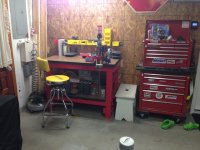
My bench...

The design is based on a set of plans I found on an airplane building website. http://www.eaa1000.av.org/technicl/w...l/worktabl.htm I modified the size to fit my one car garage and added the second plywood top and hardboard. It took me a day to construct.

The bench is 26x48. There is a 2-inch overhang on the front of the bench. I have it bolted to the wall with Toggler's. I painted it to match my tool box.

It is a dual purpose bench for work and reloading. I installed 'retractable landing gear' on both ends of the bench so I can move it around my garage.
 

Attachments

  • IMG_1553.JPG
    IMG_1553.JPG
    154.4 KB · Views: 36
  • IMG_1554.JPG
    IMG_1554.JPG
    135.7 KB · Views: 33
Not too bad for being relegated to the master closet. Works great for me anyway.

This is interesting. I could do something similar, but then where would my wife's 100 pairs of shoes go? Oh well, I guess I'll stay in the workshop...at least she won't come in there.
 
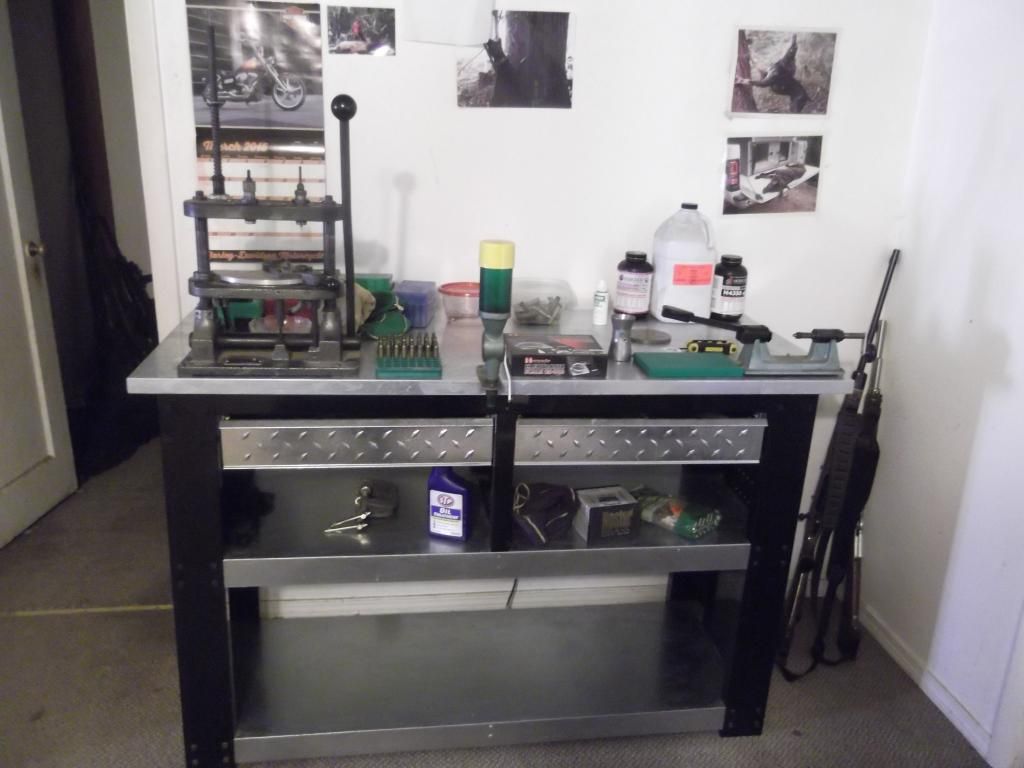
Here is mine, don't know who makes it. My boss gave it to me, he used to use it for building fishing rods. It works pretty good, a lot better than the old kitchen table that I had before.

 
Here's my setup. Shelving was already on the walls of the house when we moved in, just adjusted to my liking. My "bench" is a dresser that was left by the last tenant. I removed the drawers and some cross members to make a storage area. It's a tiny bit wobbly, but works for now.
132dc019779c4d373726ab0320e1cfa9.jpg
 
I built this for about $65 worth of materials I bought from Lowes. You can cut the wood at home if you have a miter saw or even have them cut it for you. ;)

  • 3 12ft 2"X4"s
  • 4 Carriage Bolts, washers & nuts.
  • 3 3/4" Birchwood plywood 24"X48"
  • Wood Glue
  • 2 boxes of Wood Screws
  • No Brush Polyuerthane

Bolts to wall studs and is rock solid. I am going to mount the press this weekend. I used 2 3/4" pieces of plywood for the top and 1 for the shelf.

 
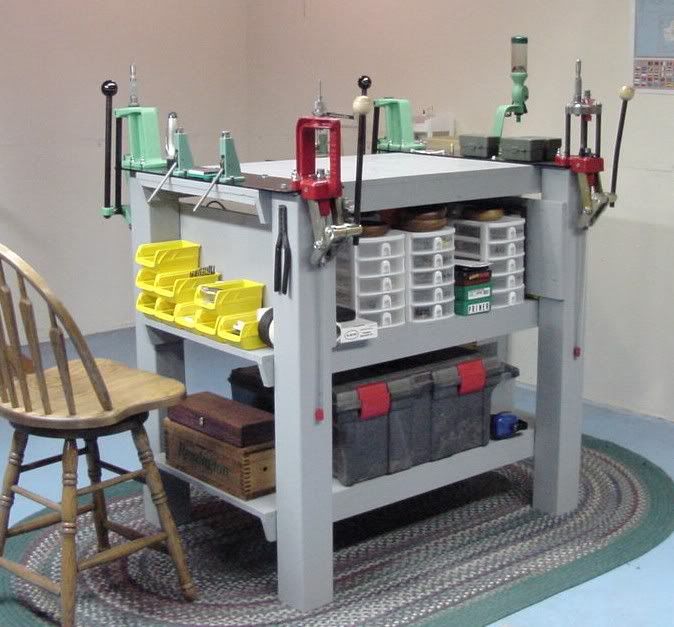
I went the island route when I built mine. I like having access to all sides and I really like having the press mounted directly over the heavy vertical upright. Zero flex.

 
Flashhole how high is your bench?

I have found a solid core door that will be used as a island bench like yours.

The door came from the ReStore and was new, no hinge cuts or holes for lock set.
 
My bench is 42" high. I like to stand while reloading.

A suggestion if you intend to mount presses over the legs - use stout material as it easily deals with all the vertical stress and flex. I used the fake wood deck material with a high resin content. Heavy and straight as an arrow. They measure just over 5-1/4" square and the as-purchased length was 48". I bought ones that were lightly scratched or had some nicks in them and got a heck of a discount. Didn't matter to me because I intended to paint it.

Aside from the legs, my entire bench was built from a single sheet of 3/4" plywood and some 5/4" runners for the shelf stiffeners. It's very stout. I glued and screwed every mating surface. The paint is Floor and Stair paint, it dried like iron. Painting was the longest part of the build process. I had to wait for it to dry completely between coats and painted every surface, top and bottom. It took about a week to apply the entire gallon of paint but it provided a super hard protective coat and it looks nice too.

The steel plates spanning the legs provide even more rigidness to the press mount.
 
Back
Top