It will vary a little depending on the case design. Some benefit from it more than others.
What can go right?
Extended life in the neck & shoulder area.
What can go wrong?
Uneven heating.
Heating to the wrong temp.
Heating too far back along the case body.
How often to do it?
Every 3~4 resizings, depending on case design.
Here's my cheap solution.
Cordless screwdriver (way better than trying to keep an electric drill running at a consistent low speed.).
Chuck adapter for same (about $25 from Lowes or Home Despot).
Deep well socket of the correct size to hold, but not grasp the case while holding it to the depth you want.
Bolt, nut washers Etc to build the tool (see pic).
(The "heat sink" is just washers & fender washers. Its not really needed for heat sinking, but to take up the excess shaft length of the bolt's un-threaded portion.)
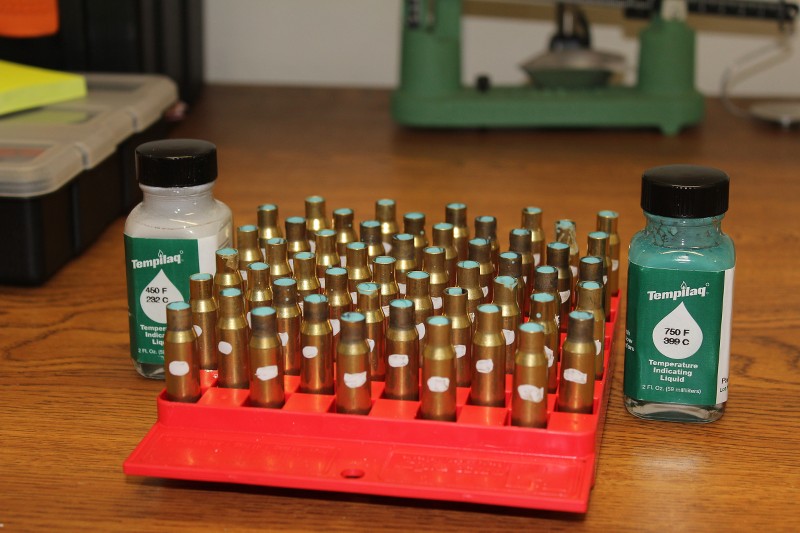
Heat marker crayon, I have 2, a 650 or the neck & a 450 for use behind the shoulder.
(It varies depending on case configuration where it works best)
A propane torch.
Plumbing fixings:
A 3" X 45 degree "T" fitting.
A 3 1/2" wall flange.
A scrap wood base.
A heat proof "catcher bowl".
Screws,glue & rubber feet as needed.
(
all images (C) WogPotter 2014)
How to use it:
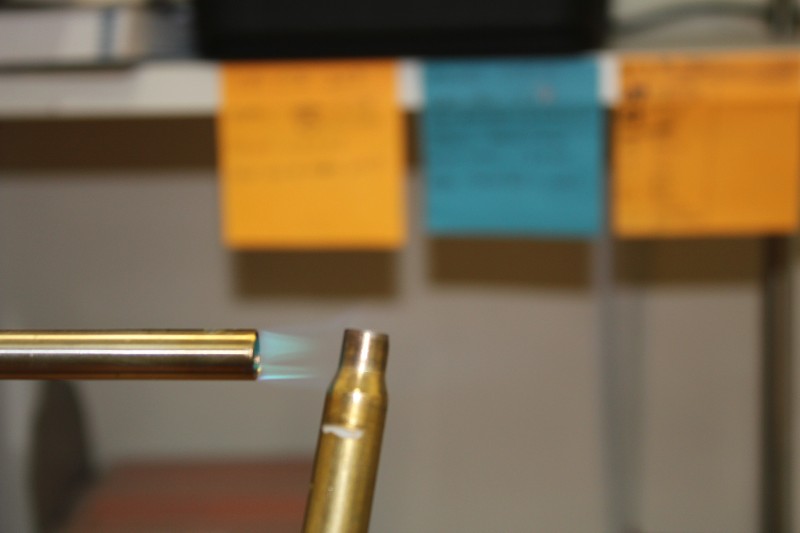
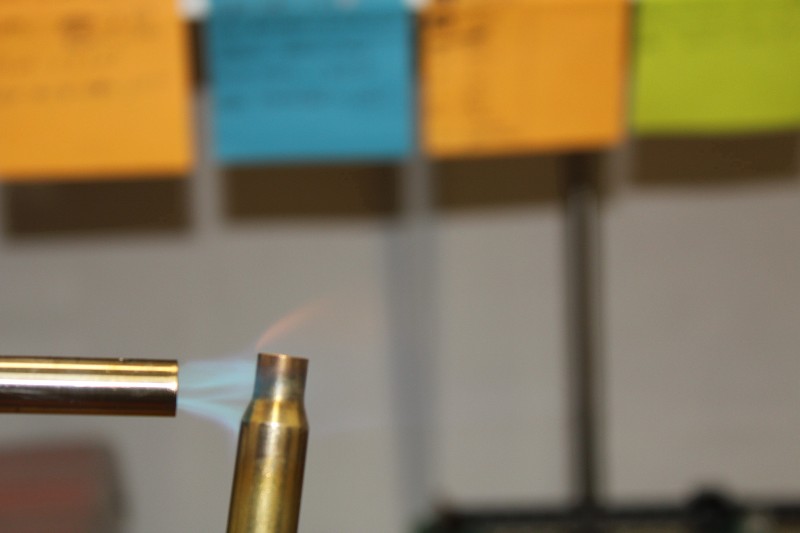
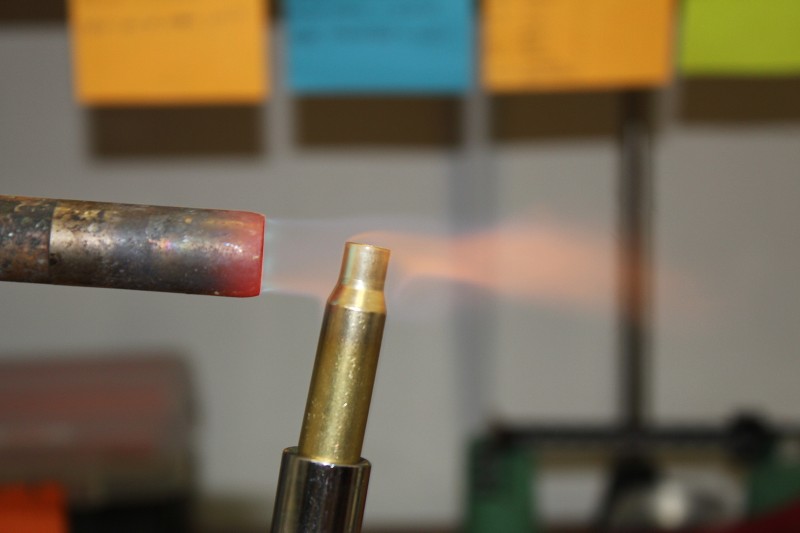
light the torch at the lowest setting you can maintain. drop the case into the socket/screwdriver tool. Press &hold the "GO" button. Lower the rotating case into the flame so the brush just contacts the shoulder & flows over the entire neck/shoulder area. Immediately bring the temp crayon into light contact with the area you've decided to use for temp check. Immediately the crayons starts to melt, remove from flame & tilt down to drop case in bowl of water.
Repeat for 3~5 cases.
Use the average time (4~6 seconds depending on case/flame) for the rest of the batch.
Why water? Almost nothing to do with the annealing, but it keeps the cats from getting burnt noses checking me out & keeps me from burnt fingers picking up a metal container with multiple hot cases in it.


