That chip of wood missing can be filled in with some wood inlet and have the inlet blend into the grain of the wood as much as is possible. Ink from a permenent marker may be used to make some darker "grain" in the wood there to hide anything that looks funky.
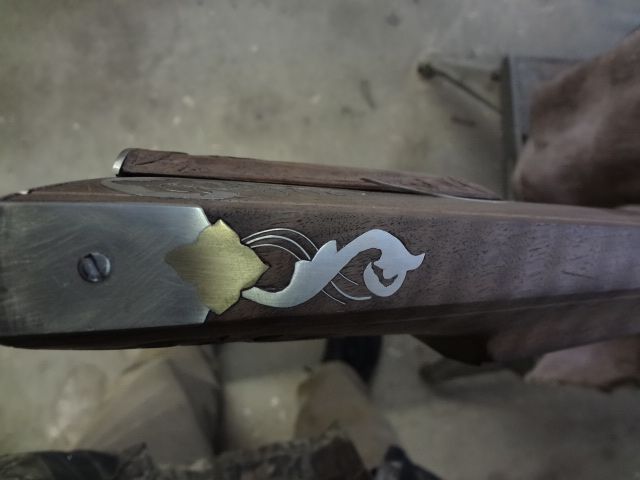
Even a metal inlay put there making it look like you planned it that way can hide the chip. Get imaginative and get artistic bout it.
Maybe make a matching inlay fer the other side to match.
Maybe fill the area in with a dark epoxy and ink by it to make a mineral stain to the wood there.
Maybe drill for a knot found from some other wood and inlet a knot hole there.

")
Knots are loose in wood sometimes and can be removed and placed in other wood.
Wood has stains and knots and mineral marks in it.
Glue or better yet epoxy(with an epoxy that's a dull dark grey/black) to fill the space and ink some natural lookin stain or mineral streak to the area to blend in or naturalize the flub up. Just use yer imagination and yer artistics and yer sneekiness and yer innovation to hide the flub up.
I've seen plain wood stocks with added ink marker maple dark grain put in here and there and it looked natural if done right.
Don't worry it'll be alright since it's a small mistake to cover/hide ect.ect. The rifle can still come out like a real nice rifle even with some small imperfections.
I knew a rifle maker that did all his rifles by Accra Glassing(epoxy) under and around all his inlet parts and then blended the wood stain to match. He said it was quicker to get the rifles done for he had a long list of rifles to make fer people.
He did the barrel channels with bedded barrels(Accra Glass Jell)and did under the breech end of the barrel channels and everywhere. I saw his finished rifles and he was really good at staining the wood to match the brown/black colored epoxy.
His blanks of wood with all the parts epoxied in looked horrible until he filed and rasped and shaped the rifle and all the epoxy around all the parts was not visible once the wood was stained. All his rifles were a dark color. ha ha ha .
He used release agent on the parts. He made nice rifles and got top dollar for them. He never let the customers see the wood blanks with all the parts epoxied in. ha ha ha ha No one ever complained either. He won all kinds of rifle building competitions and all that . Blue Ribbon rifles. ha ha ha ha
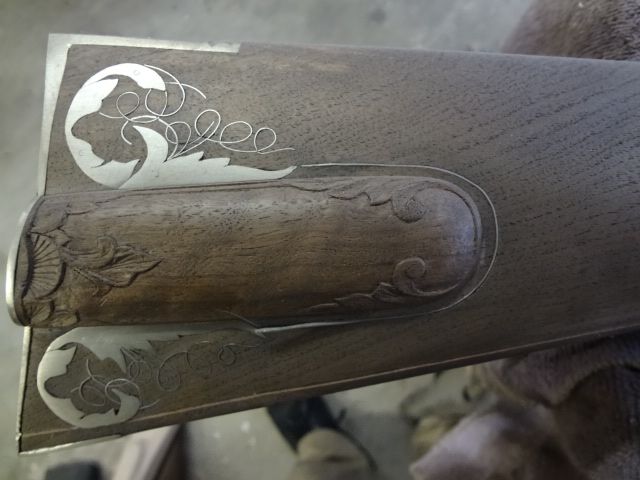
Examples of old antiques show me that pins can be soldered under the inlays and then tapped in the wood. The inlay stays in place while the cuts made around the part or a fine pencil outlines the the part and then the part removed to plung cut or knife the line and the inner wood removed.
I have the junk parts of what was once a masterpiece of craftmanship double shotgun before it was broken up by some monkey. It has the ecshusions(inlays for the two barrel keys) (silver inlays) with the pins soldered to the back pf the inlays and driven in thru the forearm and bent over inside the barrel channel. They ain't comin loose. I want to use them fer a project and I'll have to unbend the pins bent over in the barrel channel.
I like to bevel the edge of my inlays(lock plate,side plate or any inlay) carefully and then hold it in place with the pins/screws partially set in to hold the part.
Then scribe around the part with an exacto knife using the thickness of the blade to cut the wood outside the actual part leaving a small space outside the part. Cutting with the knife edge at the angle of the bevel around the inlay part. Judge the small space so when the beveled part is set in after the wood inside the line is removed the part when set in gets tight around the edge as it settles in the undercut that's just deep as the thickness of the part to settle flush with the surrounding wood.
I like to use inlet black to the bottom of the part to have all the under surface flush contact with the wood so....the part stays stable for a long time even if hit or bumped or whatever.
The heads of pins to hold inlays put in drilled holes in the wood or simply driven in the wood can be shaped to the bevel/countersink to the top of the inlays hole by making a simple tool.
The tool is a hunk of rectangle metal with a small hole (the pins can fit into) drilled into it with a bigger drill making the countersink top of the hole.
The pin is set in the hole where it bottoms out in the metalblock and the top is beat out to obsturate into the shape of the countersink at the top of the hole. The same drill used to make the counter sink in the block metal tool is used to counter sink the metal inlay holes. That way the hammer forged head of the pin fits the countersink of the hole in the metal part/inlay perfectly for a good stable fit.
Anywhooo....I like to bevel my parts around the edge with a file before the inletting.
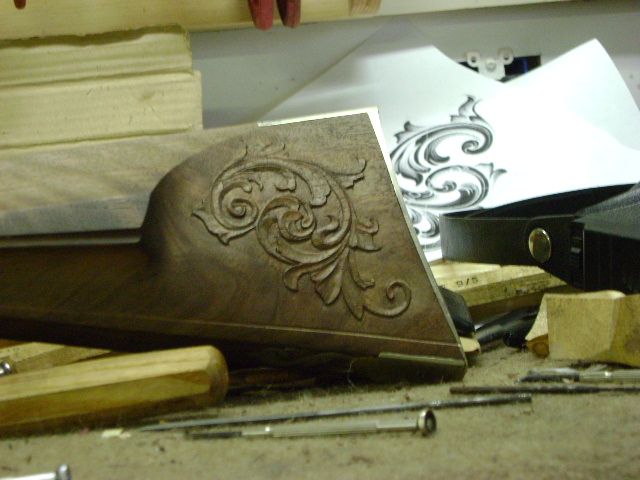
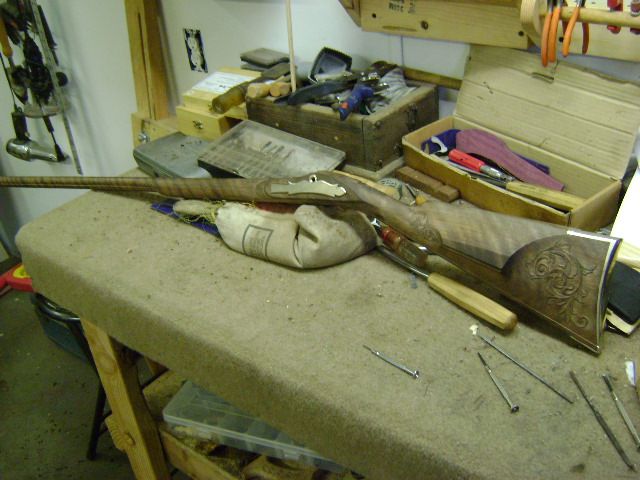
I like the carving in the pics above. That's good work. Nice carving. That Captchee is a real craftsman.
Captchee, I see some artwork on paper in you picture. I wonder where you got it? I like to collect artwork like that. Is that a rendition of Beck or Byers?
How can I get some copies of the artwork on the paper in your picture?