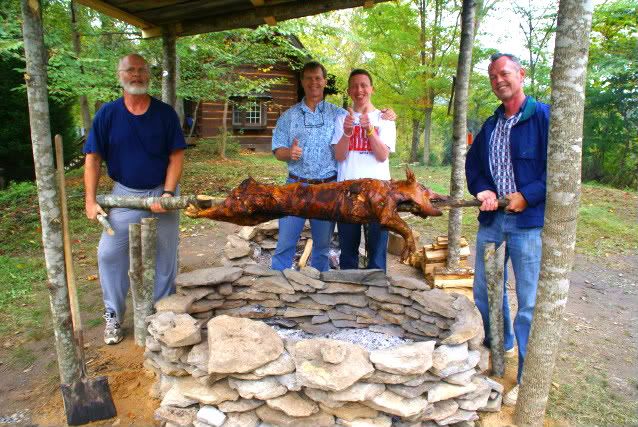
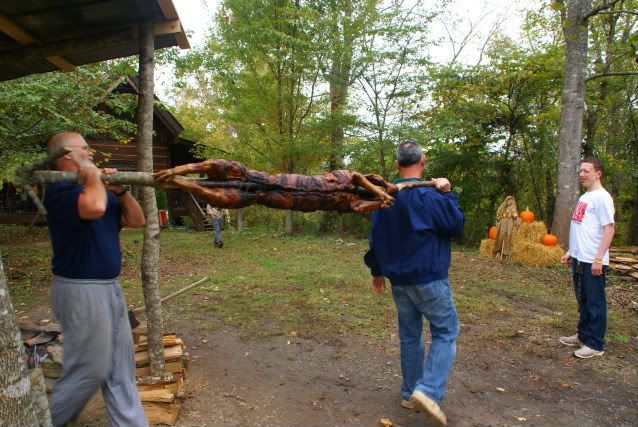
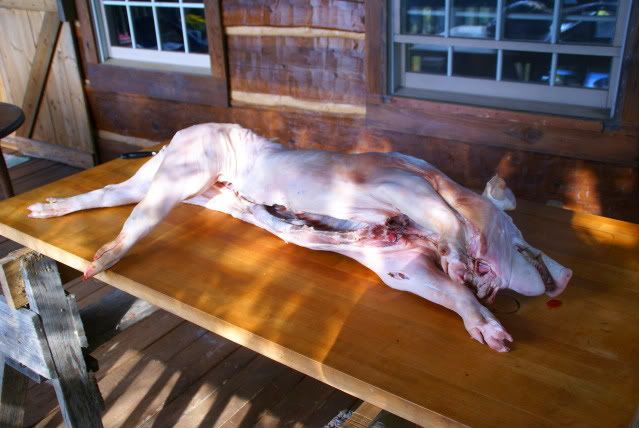
This is my 9th pig roast, but for the first time I used a "rib rub" recipe I got off the internet.
1 cup brown sugar
2 tbsp salt
7 tbsp chili powder
6 tbsp cumin
2 tbsp cayenne pepper
2 tbsp black pepper
2 tbsp garlic powder
2 tbsp onion powder
Mix together. Rub this on all the interior parts of the pig, an hour before you put the pig on the spit.
This stuff was a big hit. It is very spicy, but, you are only seasoning a small amount of the pig. So you get some real hot, tangy ribs.
We used 4 of the 16 ounce Pepperidge Farms cornbread turkey stuffing bags.
Mixed them up according to directions.
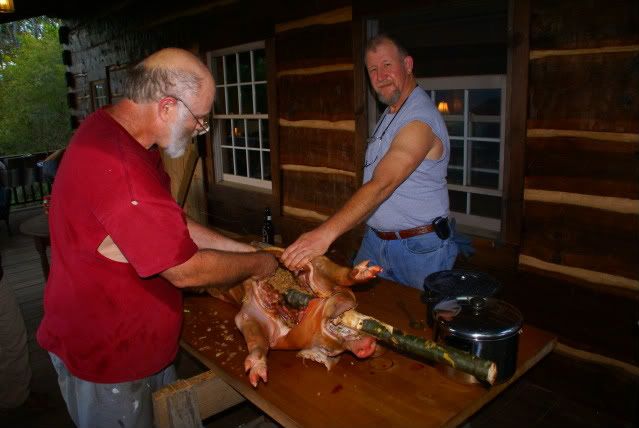
Stuffed the body cavity.
Then, sewed the body cavity up with rebar wire. This is steel wire, not galvanized, you don't want to use anything galvanized.
You cut the end of the wire sharp, and you can hold it with pliers and use it as its own needle as you sew up the body cavity. If you can't make the wire work as its own needle, you can use a small screwdriver, or 6d nail, as an awl to poke a hole through the edge of the tissue as you sew up the cavity. Make that hole through some thick tissue, at least an inch thick is needed to hold well.
Some of the guests loved the stuffing, I wasn't real wild about it. If you made it with pecans and oysters like you do for a turkey it would be real good.
Or, you can cut up five pounds of apples, 3 pounds of onion, and one of the big chunks of garlic, say, 20 cloves all sliced up, and use that instead for stuffing.
Or, you can skip the stuffing, in that event, you don't need to sew up the body cavity.
Get 4 six inch or eight inch steel nails, not galvanized. Wash them off real well. Nail the pig to the oak spit. One nail through each ham, one through each shoulder. This keeps the pig from sliding around on the spit.
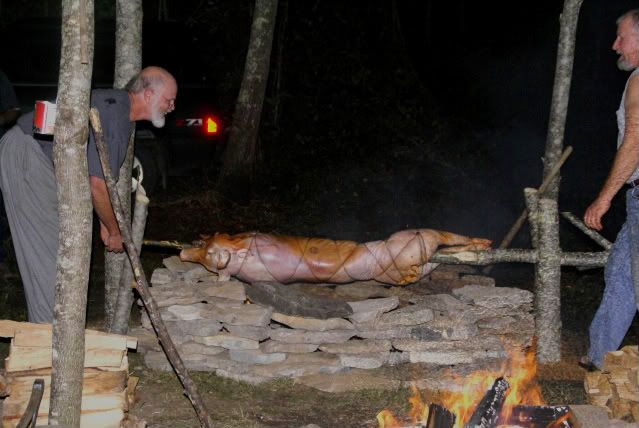
Then, with your rebar wire, attach the end of a ten foot piece of wire to a nail, then zigzag the wire around the pig, back and forth to the different nails.
Then, cut another ten foot piece of wire, fasten it to a nail, and wrap and zigzag around the pig from the other direction, always fastening to a nail when you get near one.
I cut the spit 3 days before the party, I want a nice green spit that won't burn. Oak or hickory are best for the spit, don't use pine, bad flavor. You want the biggest spit that will fit through the pig's mouth, my spit was about 1 1/2 inch diameter on the small end.
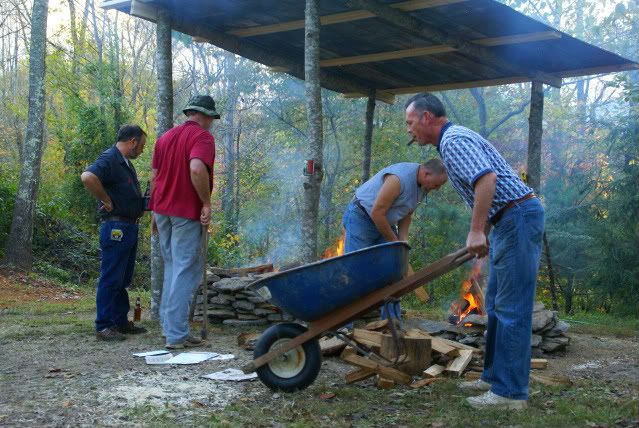
I used nice dry oak firewood that had been split and drying for 7 months. Of course hickory is fine.
Any fruit wood, such as apple, peach, or cherry wood will be good. For God's sake don't use pine firewood. You also could use charcoal.
Make one fire to burn the wood down, and shovel coals out of that into the fire pit.
The spit needs to be 22 inches off the ground.
Most people make the masonry pit from concrete blocks. They work great, but stone looks better.
The masonry surround reflects heat back onto the pig, and acts as a wind break. You save a lot of wood using the masonry surround [pit].
Don't put the coals under the pig. When grease drips down, if it hits hot coals you have a big fire.
Put the coals to the side and cook with indirect heat.
Most of the meat is in the shoulders and hams. Just put 4 piles of coals, to the sides of the shoulders and hams. Put the shovelful of coals right next to the rocks. You get the hams and shoulders cooked, and the ribs and pork chops will take care of themselves.
Set the pig right on its side and cook for 45 minutes. Then, flip over and cook on the other side. Don't cook with belly up, or belly down.
Just flip every 45 minutes, you don't need to rotate constantly with a motor.
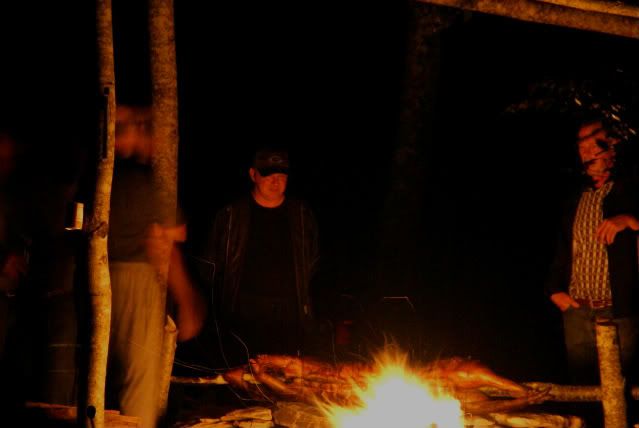
The pig needs constant attention, you need to add coals to the pig every 30 minutes, or so, and you need to add wood to the main burning fire about every 45 minutes.
You want a fire of 250 to 300 degrees. A simple test, hold your hand open at the level of the lower part of the meat, start counting. If you can hold your hand there for 6 seconds, add more heat.
You can make a "tent" of 3 pieces of wide extra strength aluminum foil, 6 feet long. Secure this over the pig with little rocks so the wind won't blow it off.
This makes a sure enough oven, and cooks much more efficiently, but, with a tent you can't see the pig.
We cooked the pig from 7:30 pm until 11:00 am on the open fire, no tent. We used a meat thermometer, the kind with a 5 inch metal prong that sticks into the meat.
No need to even stick the thermometer in until the next morning.
Stick it right into a ham, or shoulder, do not put it touching a bone.
At 11 am the hams were 142 degrees, the shoulders were 152 degrees.
Shoulders not as thick, cook faster.
We applied the tent. First, we hung an oven thermometer from the spit.
In five minutes, the oven was 350! Too hot, but no big deal, just don't add any coals for a while, let it cool down for 40 minutes, we were right at 275, perfect.
In 90 minutes with the tent the hams were 173, the shoulders were 172, that pig was cooked.
You want 165 to 170 degrees.
So the pig was cooked at 1 pm, but we weren't to eat until 4. No problem, remove the tent and just keep a low level of heat, about 200 degrees, until chow time. I didn't try to use the oven thermometer without the tent, for the last 3 hours just held my hand for a ten count. If I could hold my hand for 11 seconds, added more coals.
Don't worry about removing the nails, just put the pig on the table, cut the wire off and get out the butcher knife.
Yes the skin was fantastic, I ate a pound of it.
The meat is great, but it is not seasoned very much, except for the part that got the rub.
Get a big bowl of barbecue sauce for the guests to use. Some people loved the oak smoked pork as is, I preferred it with barbecue sauce.
