Rich Miranda
New member
OK, I needed a good, little bedroom safe for quick handgun access. I have small children so I have to keep any guns locked away. My first thought was a GunVault but I thought I’d better search TFL for ideas and alternatives. I found that GunVault had some negative comments associated with it.
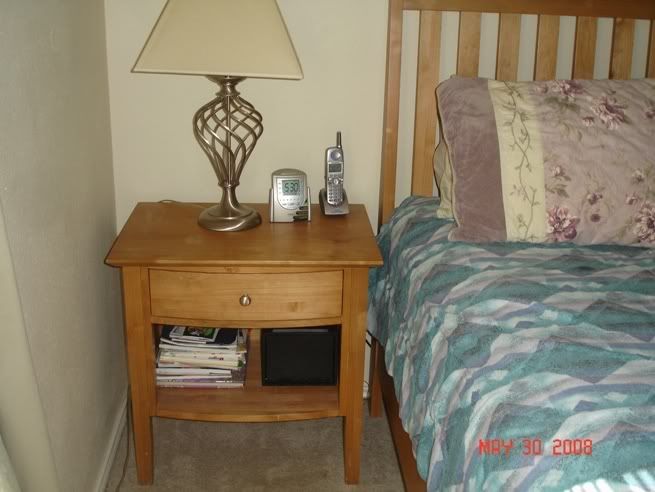
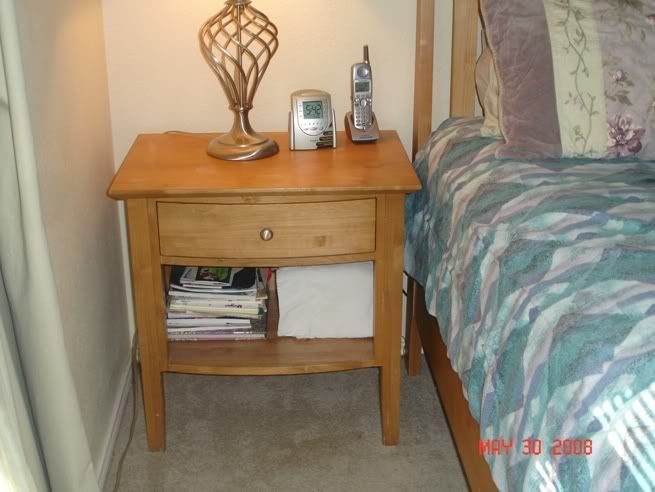
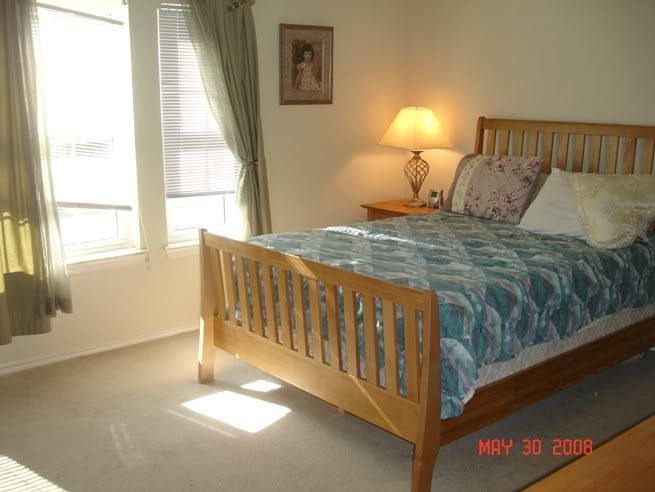
An alternative I found on TFL was the DAC Sportsafe from WallyWorld. At $62.98, it was about half the price of the GunVault. Yes, it’s made in China, but so are GunVault components. I ordered it and planned on installing it in my nightstand next to my bed. I did, and took pictures meanwhile. Since I like having a ‘how-to’ to look at and learn from, I figure others do as well, so I am posting it here.
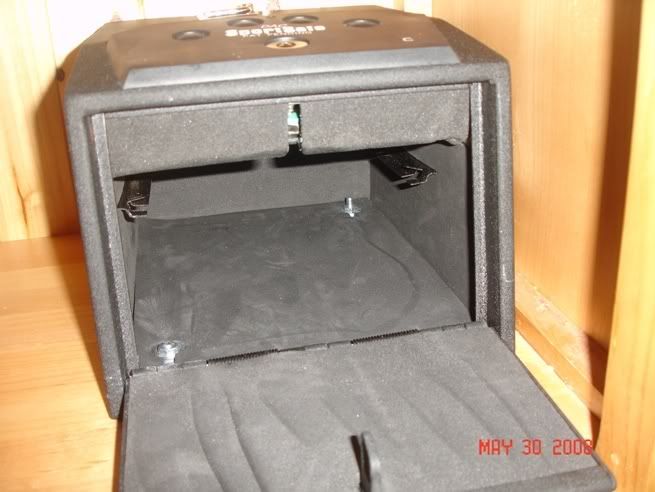
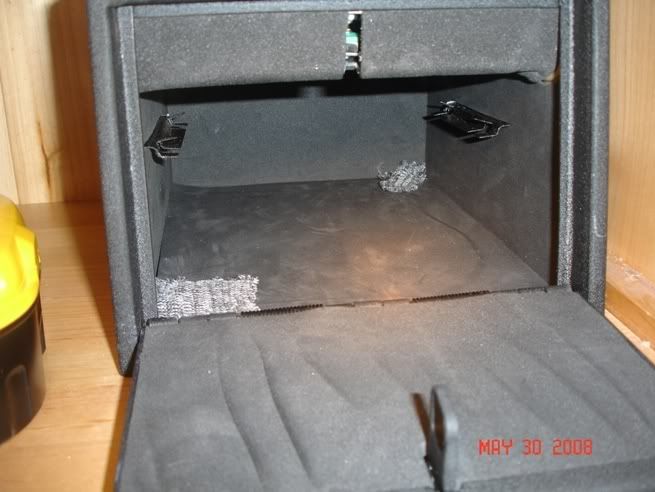
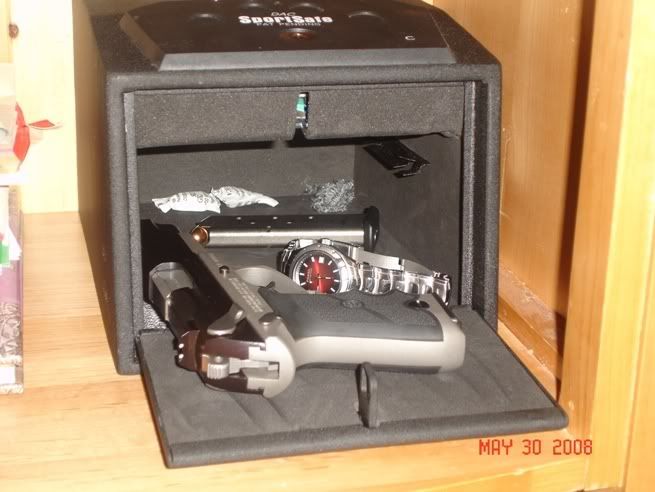
First to describe the safe. It’s a combination of quality build and cheap looks. It is built of relatively heavy gauge steel. There is nothing obviously wrong with it, but you can tell it’s made in China, just by its looks. However, it performs flawlessly. The buttons work as designed and it always opens when it’s supposed to. They shouldn’t have wasted their time with the weak, little light inside. The only annoyance is that the door slams when it opens. There are rubber pads but they are too small so I'll have to add something. The safe is coated in a black, slightly rough substance that gives the safe a nice finish. The door could be pried open relatively quickly but this is not a real gun safe per se. It’s to keep one gun handy for home defense while still keeping the kids away from it. The rest of the guns belong in a real, heavy duty safe. (I use the word ‘safe’ for this discussion because I can’t think of a better word, but you understand the difference).
Overall, this is a great safe, especially for the money. I recommend it. So, without further ado, here is what I did:
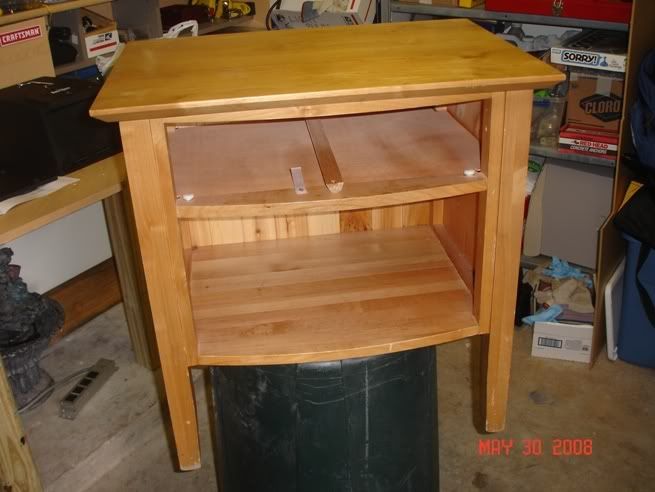
[size=+1]I started with the nightstand, drawer removed. I don’t have a big-enough work bench so I flipped over a trash can.[/size]
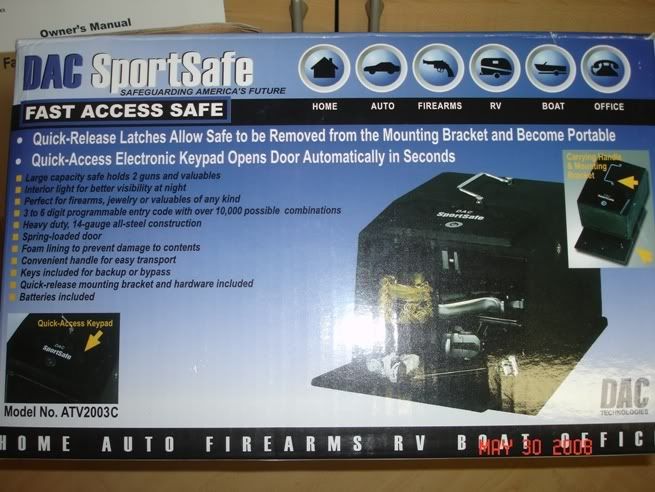
[size=+1]Then you need a safe. This is the box for the DAC Sportsafe.[/size]
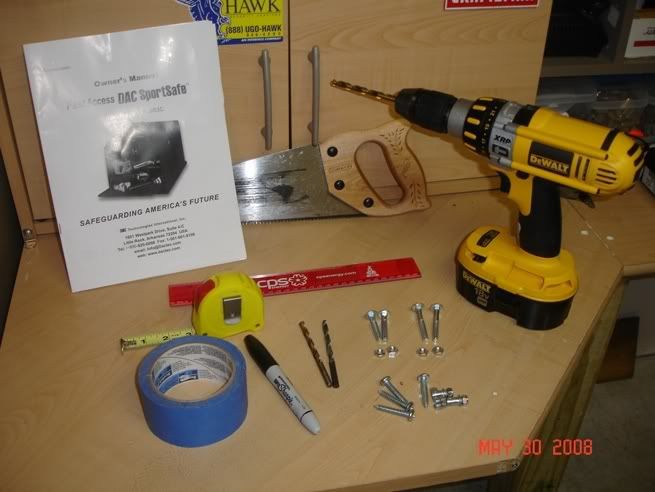
[size=+1]These are the tools I needed. The safe came with large screws to attach the base to the wood, but I didn’t use them since I wanted to use carriage bolts for a stronger connection.[/size]
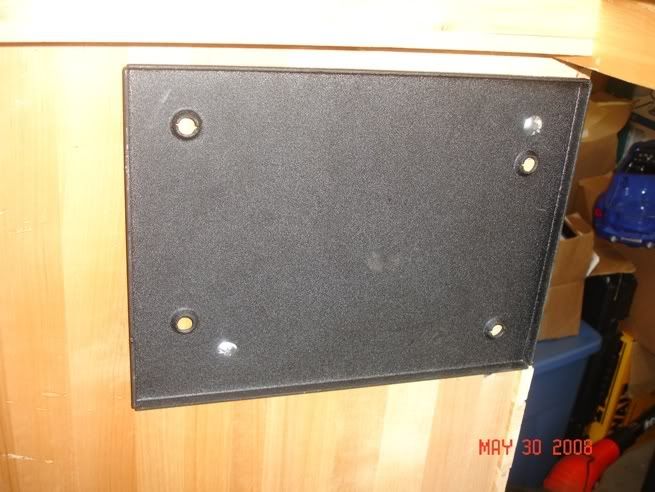
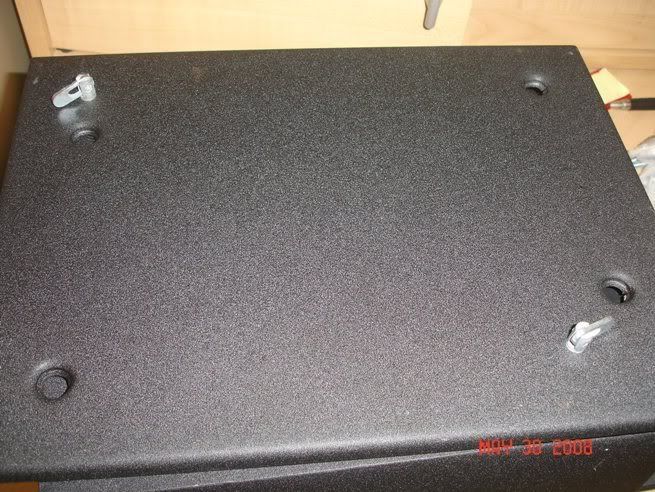
[size=+1]This is the top of the base plate. The idea is that the base plate attaches to the surface, then the safe attaches to the base. This makes the safe portable by adjusting the little sliders inside the safe and lifting the safe off of the base. However, I plan to keep the safe permanently attached, and I want a strong connection. The little sliders inside the safe look pretty easy to defeat by just tugging on the safe. So, I removed them and used carriage bolts through the same holes. Also, the base plate is supposed to go directly under the safe but since I am attaching my safe to a piece of wood furniture, I wanted to have steel on BOTH sides of the wood (this seems more secure to me), so I used the base plate on the opposite side of the wood.[/size]
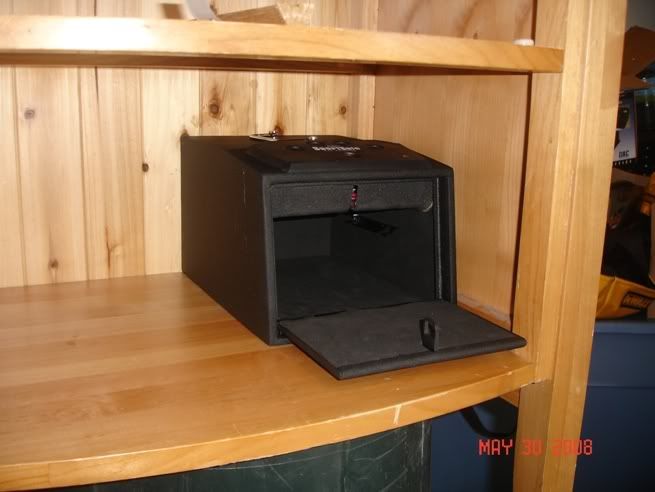
[size=+1]To locate the safe on the shelf of the nightstand, I selected as far right and back as possible. This is because I am right-handed, and because the way the room is configured, it will hide the safe better. I used a Sharpie to mark drill holes in the shelf.[/size]
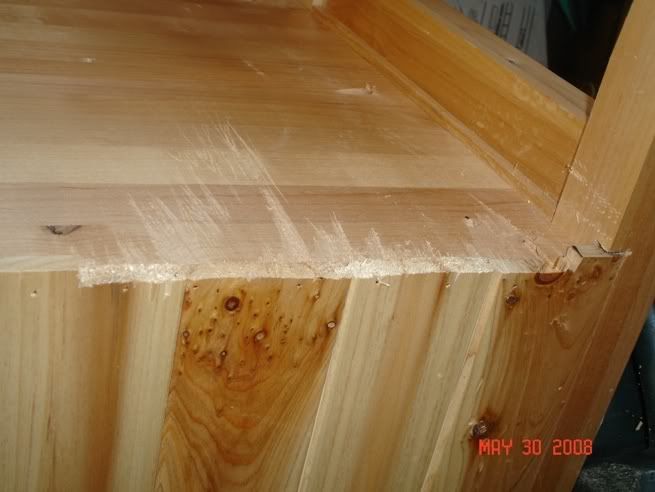
[size=+1]In order for the base plate to sit flat on the underside of the wood, I had to use a saw to nibble away some of the wood backing of the nightstand. The base plate is longer than the safe and I forgot to allow for this. The nibbled area will be hidden from view anyway, so no big deal.[/size]
(continued in next post...)
An alternative I found on TFL was the DAC Sportsafe from WallyWorld. At $62.98, it was about half the price of the GunVault. Yes, it’s made in China, but so are GunVault components. I ordered it and planned on installing it in my nightstand next to my bed. I did, and took pictures meanwhile. Since I like having a ‘how-to’ to look at and learn from, I figure others do as well, so I am posting it here.
First to describe the safe. It’s a combination of quality build and cheap looks. It is built of relatively heavy gauge steel. There is nothing obviously wrong with it, but you can tell it’s made in China, just by its looks. However, it performs flawlessly. The buttons work as designed and it always opens when it’s supposed to. They shouldn’t have wasted their time with the weak, little light inside. The only annoyance is that the door slams when it opens. There are rubber pads but they are too small so I'll have to add something. The safe is coated in a black, slightly rough substance that gives the safe a nice finish. The door could be pried open relatively quickly but this is not a real gun safe per se. It’s to keep one gun handy for home defense while still keeping the kids away from it. The rest of the guns belong in a real, heavy duty safe. (I use the word ‘safe’ for this discussion because I can’t think of a better word, but you understand the difference).
Overall, this is a great safe, especially for the money. I recommend it. So, without further ado, here is what I did:
[size=+1]I started with the nightstand, drawer removed. I don’t have a big-enough work bench so I flipped over a trash can.[/size]

[size=+1]Then you need a safe. This is the box for the DAC Sportsafe.[/size]

[size=+1]These are the tools I needed. The safe came with large screws to attach the base to the wood, but I didn’t use them since I wanted to use carriage bolts for a stronger connection.[/size]

[size=+1]This is the top of the base plate. The idea is that the base plate attaches to the surface, then the safe attaches to the base. This makes the safe portable by adjusting the little sliders inside the safe and lifting the safe off of the base. However, I plan to keep the safe permanently attached, and I want a strong connection. The little sliders inside the safe look pretty easy to defeat by just tugging on the safe. So, I removed them and used carriage bolts through the same holes. Also, the base plate is supposed to go directly under the safe but since I am attaching my safe to a piece of wood furniture, I wanted to have steel on BOTH sides of the wood (this seems more secure to me), so I used the base plate on the opposite side of the wood.[/size]

[size=+1]To locate the safe on the shelf of the nightstand, I selected as far right and back as possible. This is because I am right-handed, and because the way the room is configured, it will hide the safe better. I used a Sharpie to mark drill holes in the shelf.[/size]

[size=+1]In order for the base plate to sit flat on the underside of the wood, I had to use a saw to nibble away some of the wood backing of the nightstand. The base plate is longer than the safe and I forgot to allow for this. The nibbled area will be hidden from view anyway, so no big deal.[/size]

(continued in next post...)

