LJ-MosinFreak-Buck
New member
Hey guys, I finally managed to get ahold of another computer (thanks to a buddy who helped me get a job at his work). My old one crashed, so I haven't been able to get on the internet except on the iPod. So, because of that, I have only been able to post threads and reply to them. Couldn't post to YouTube or Photobucket.
This thread is a continuation of the thread I started last September titled, "Would You Like To See These Stocks On The Market?" (On The High Road, link at bottom of this post). I did post a link on this forum, but I lost it. The thread contained my ideas for making affordable replacement stocks for the Mosin Nagant rifles modeled after more modern designs. The idea quickly took off, had a lot of likes, and had a lot of support from quite a few members (moreso than I had thought).
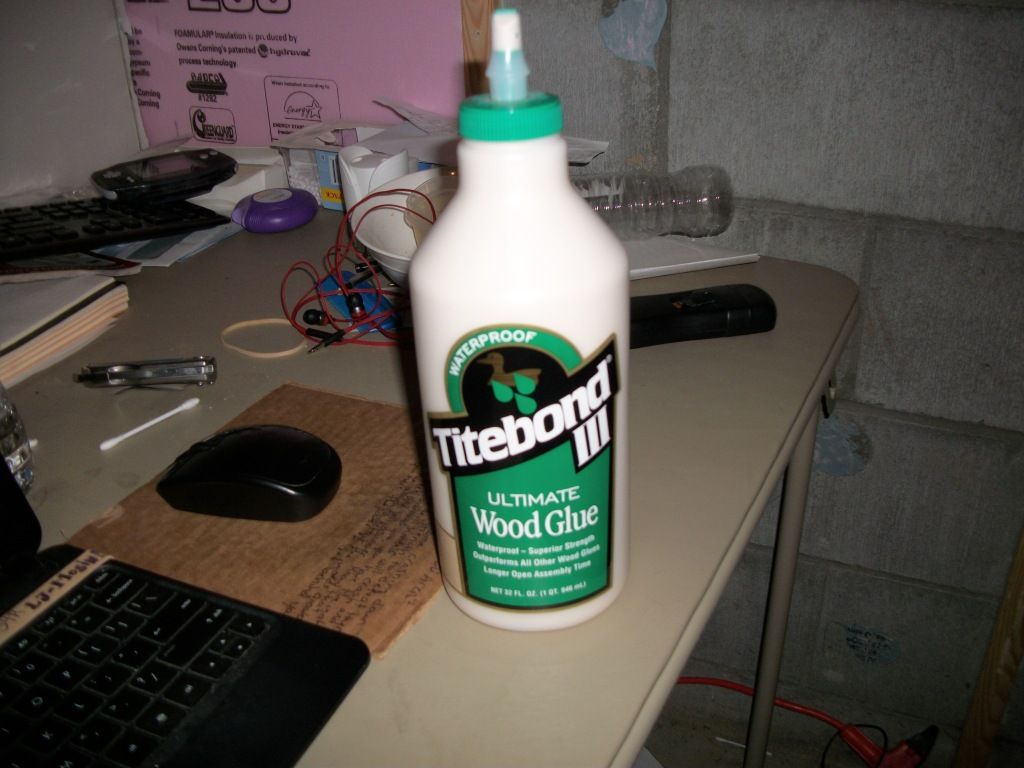
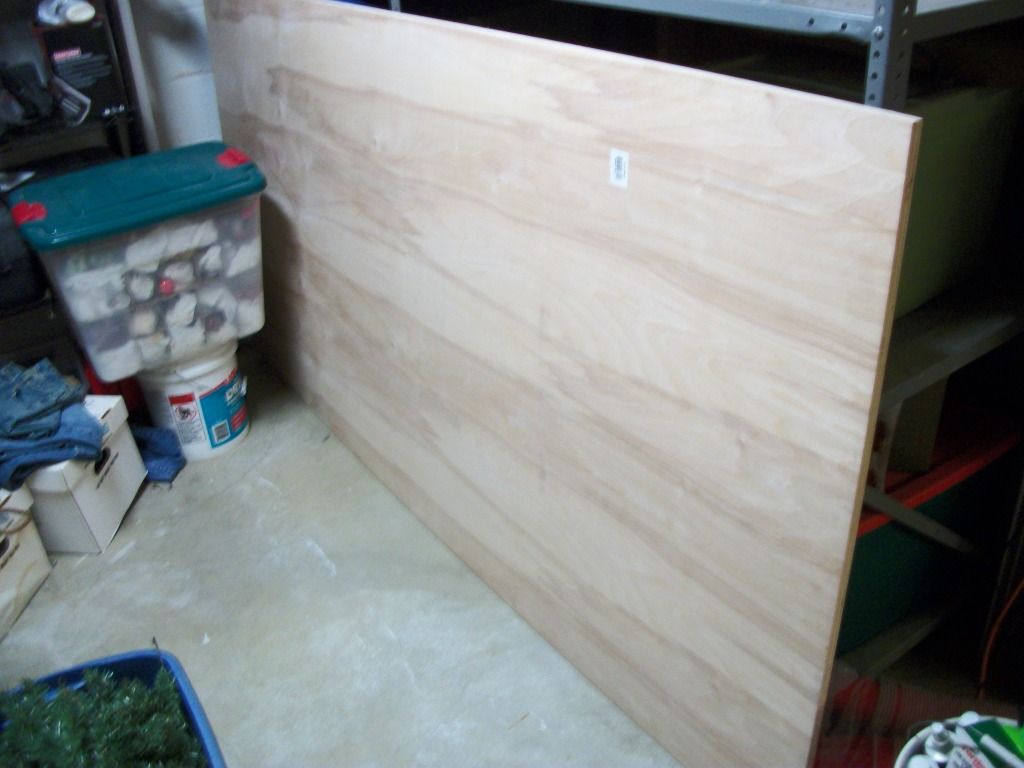
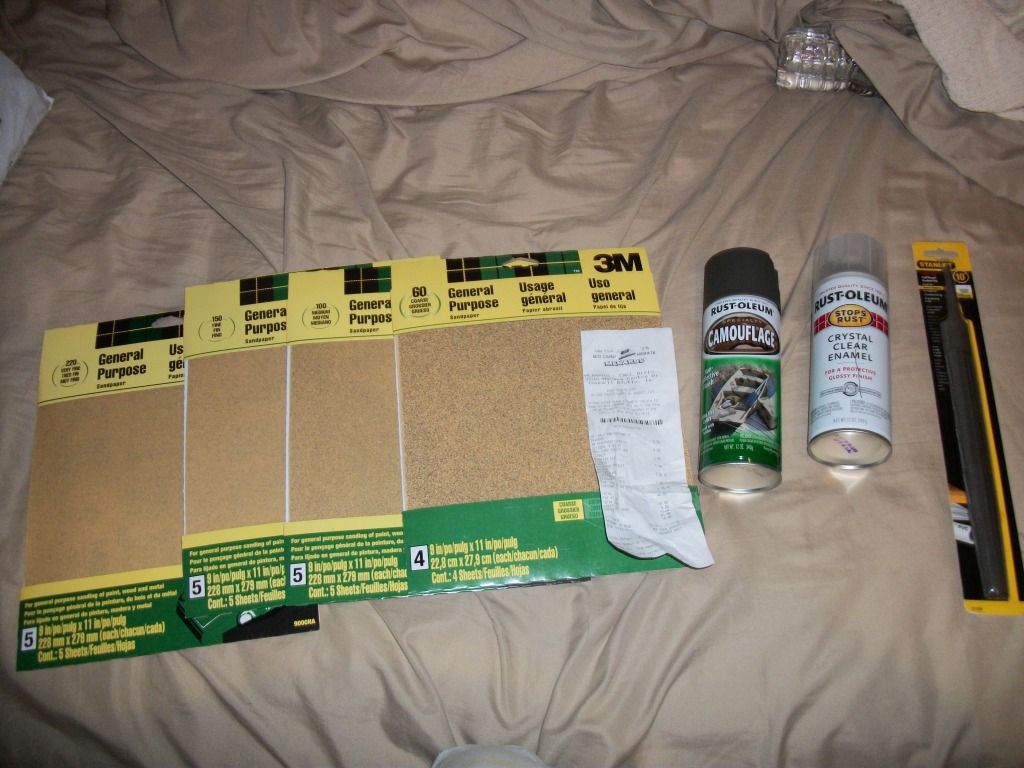
Through some help from other members, through donations, I was able to make the start on the project, even when I wasn't working. So firstly, a BIG THANK YOU to those who donated, LoonWulf, KAMAK, Savage1r, and there's one that I'm forgetting, but my appreciation is no less.
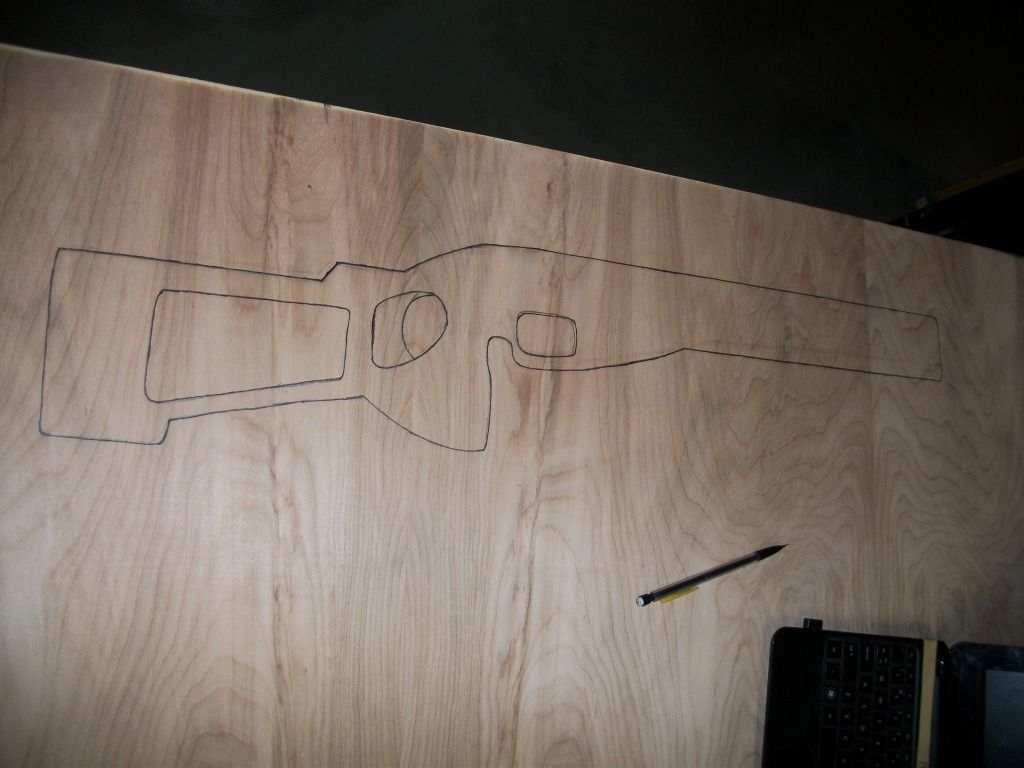
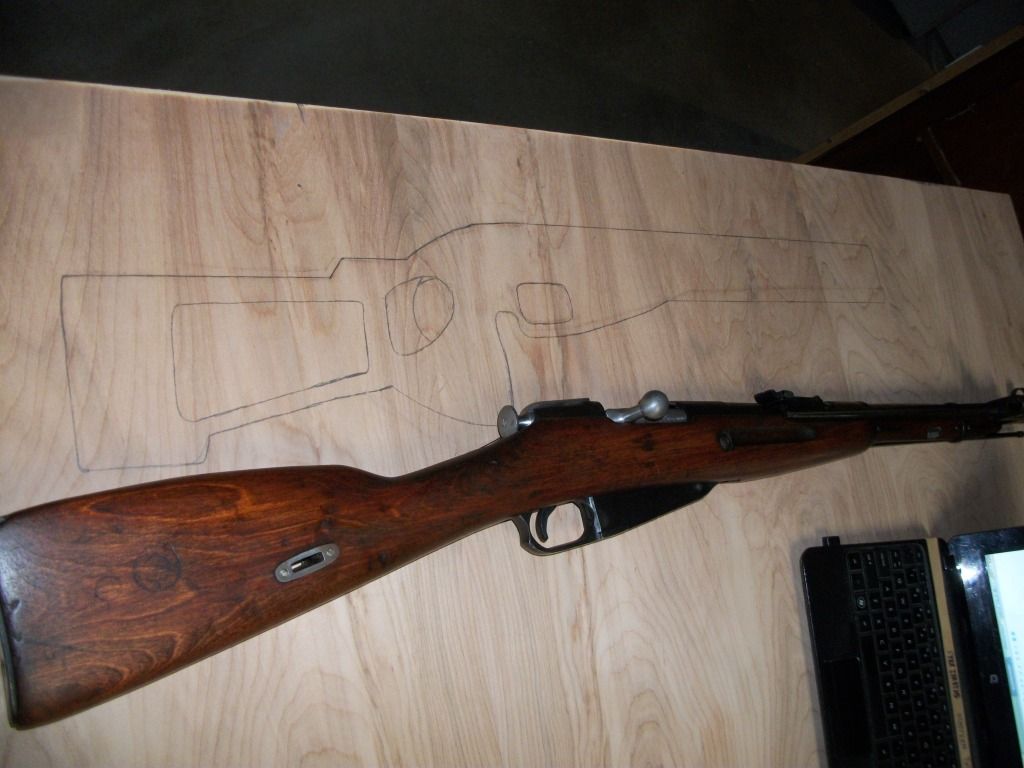
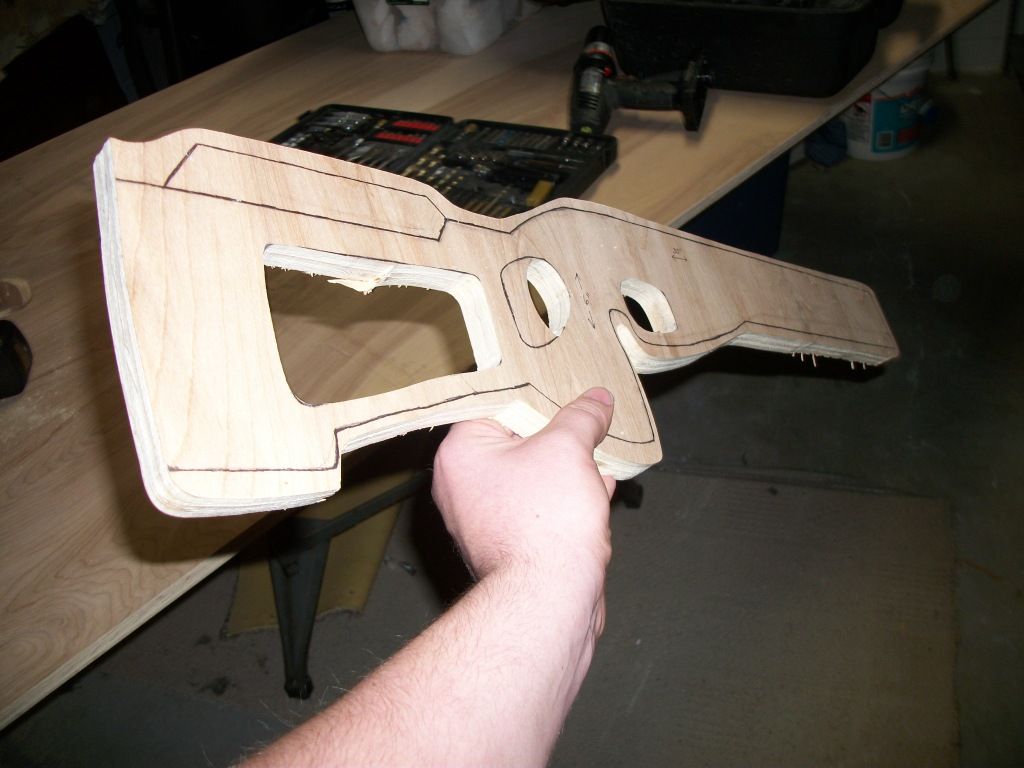
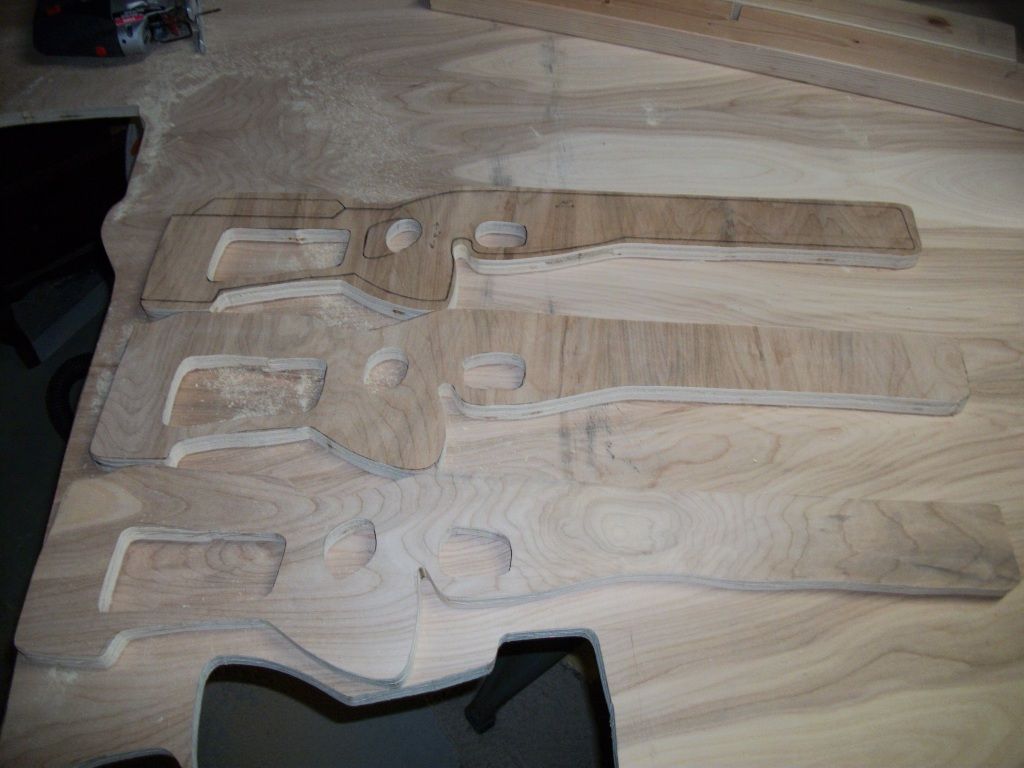
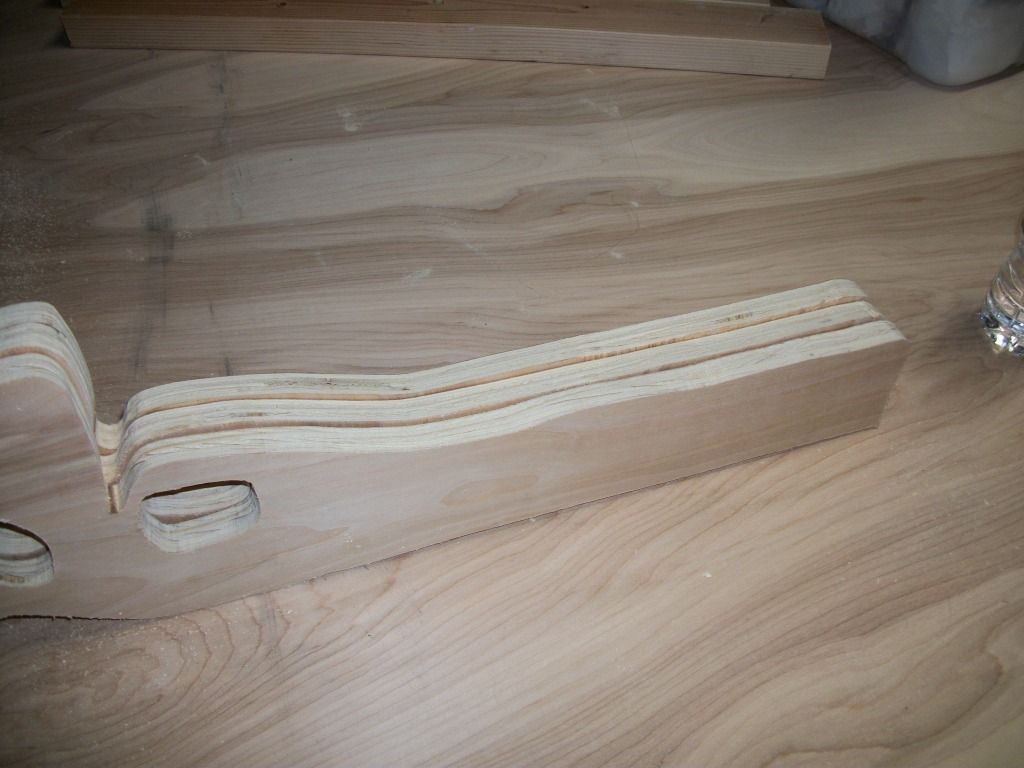
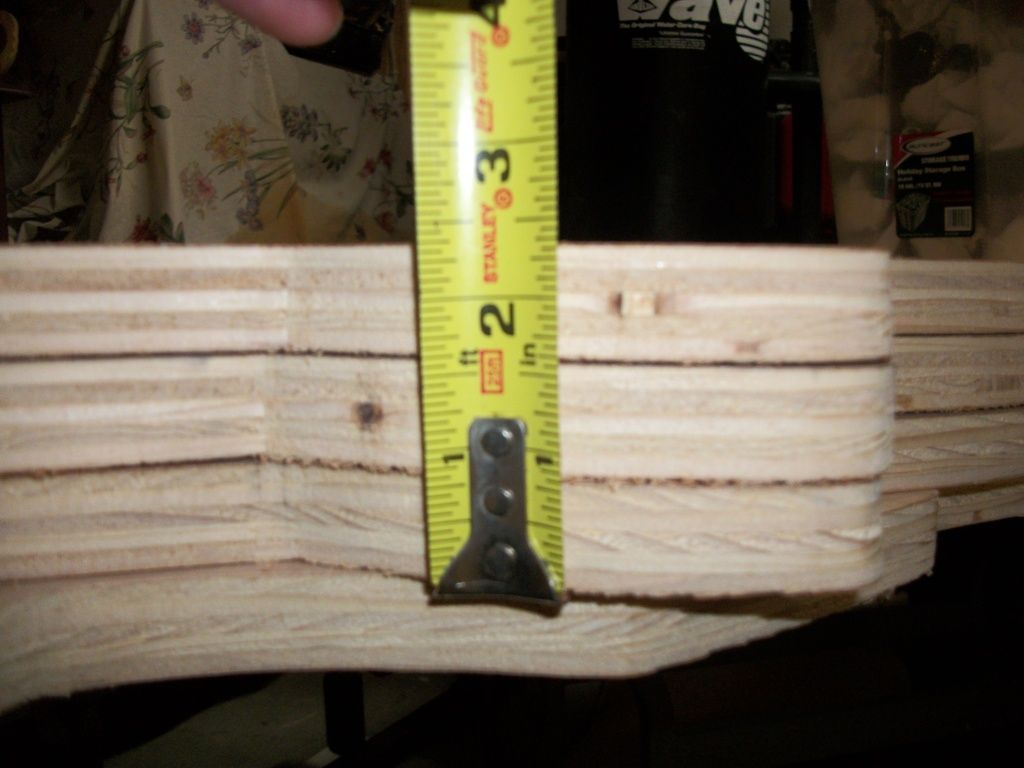
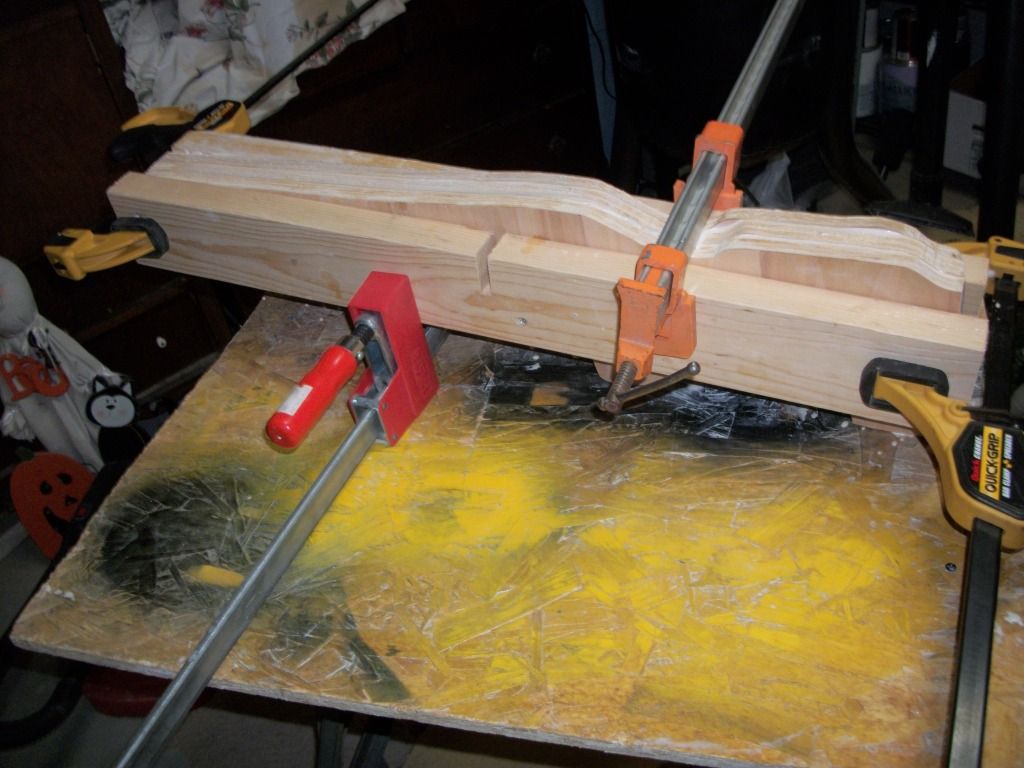
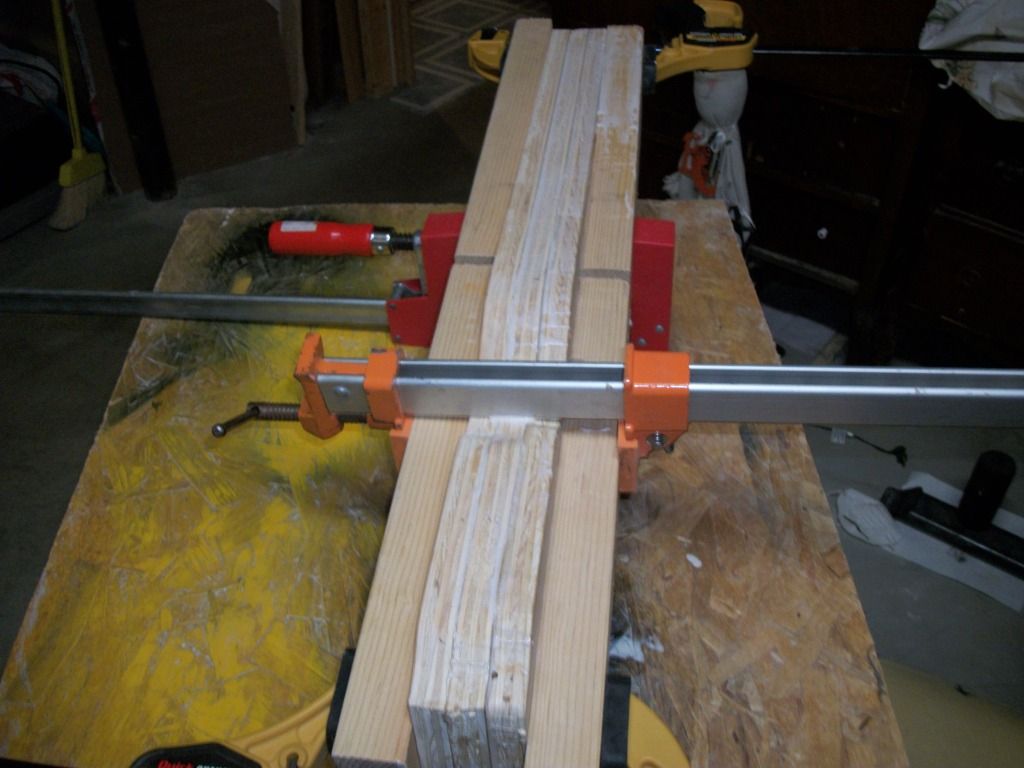
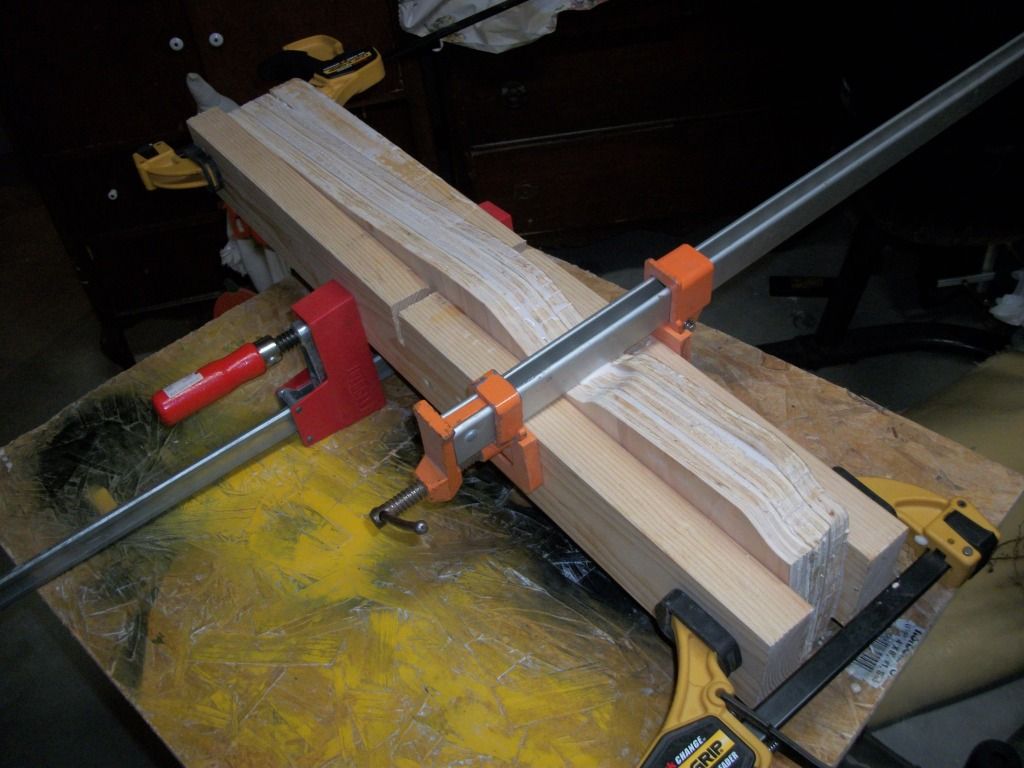
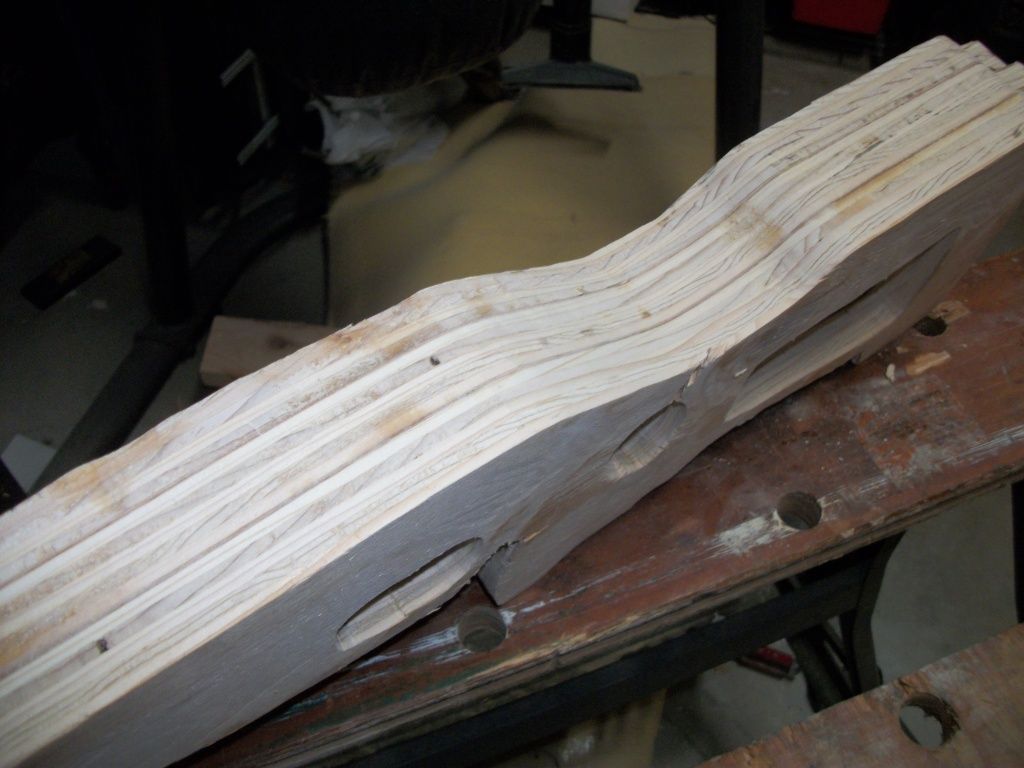
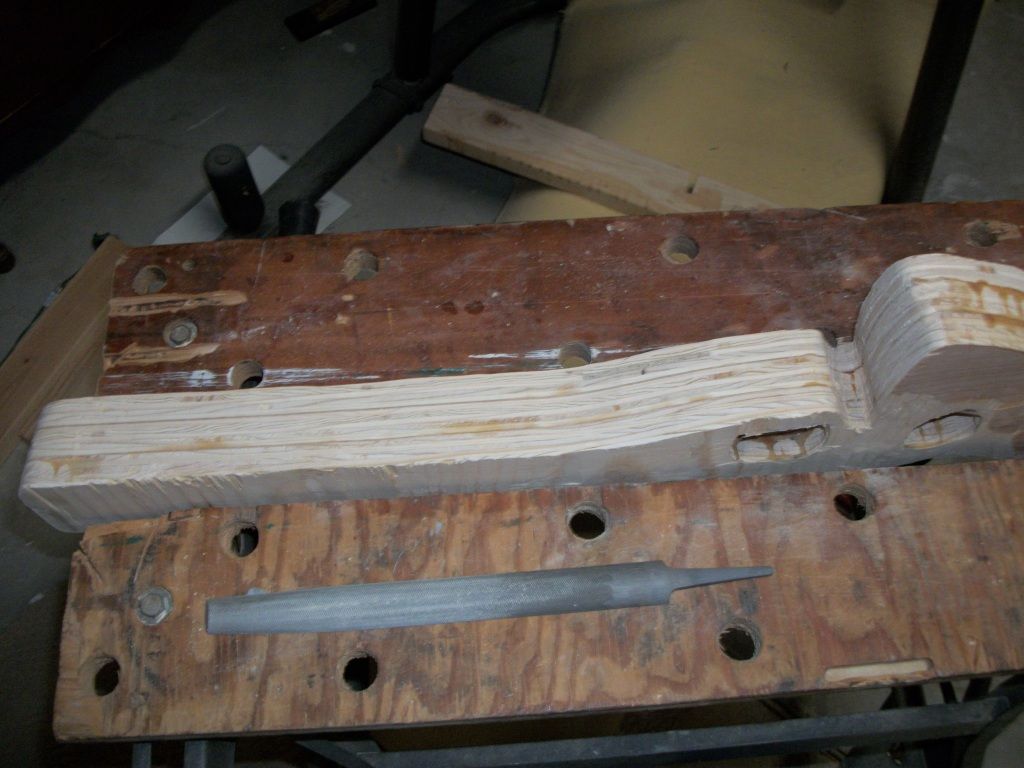
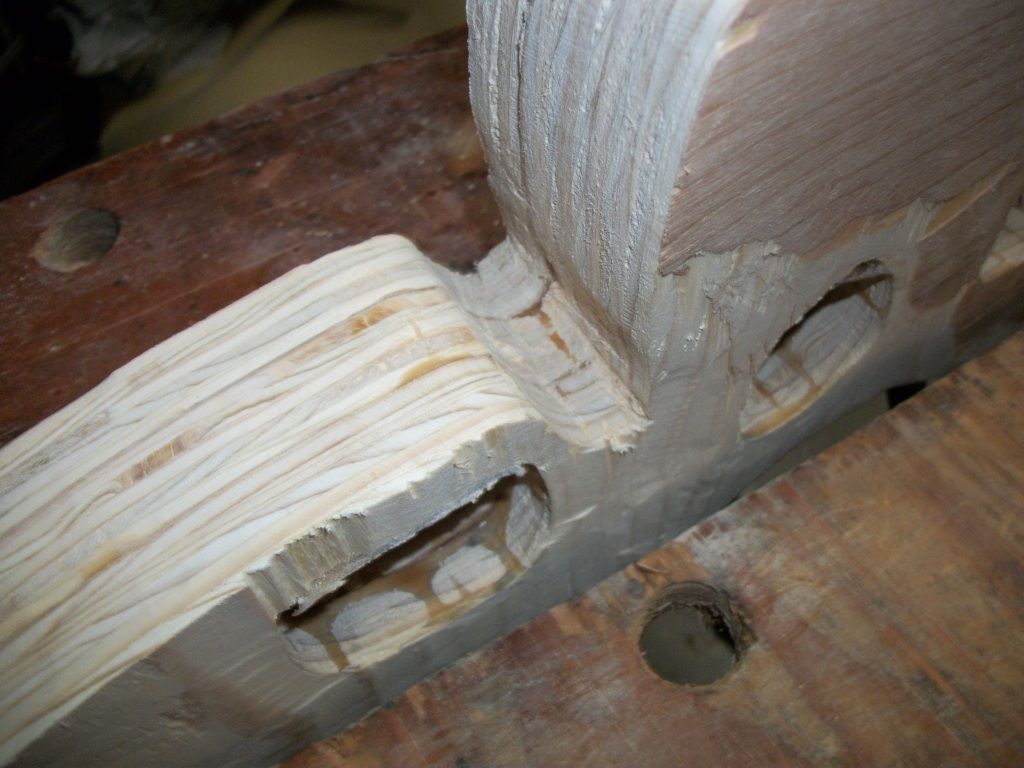
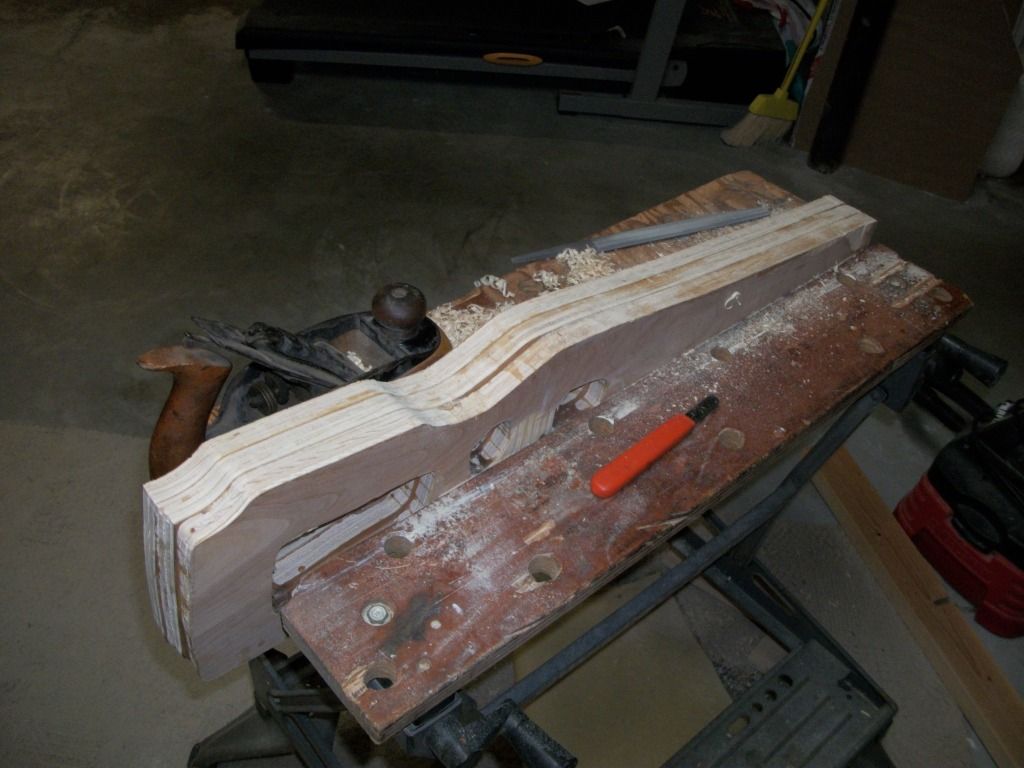
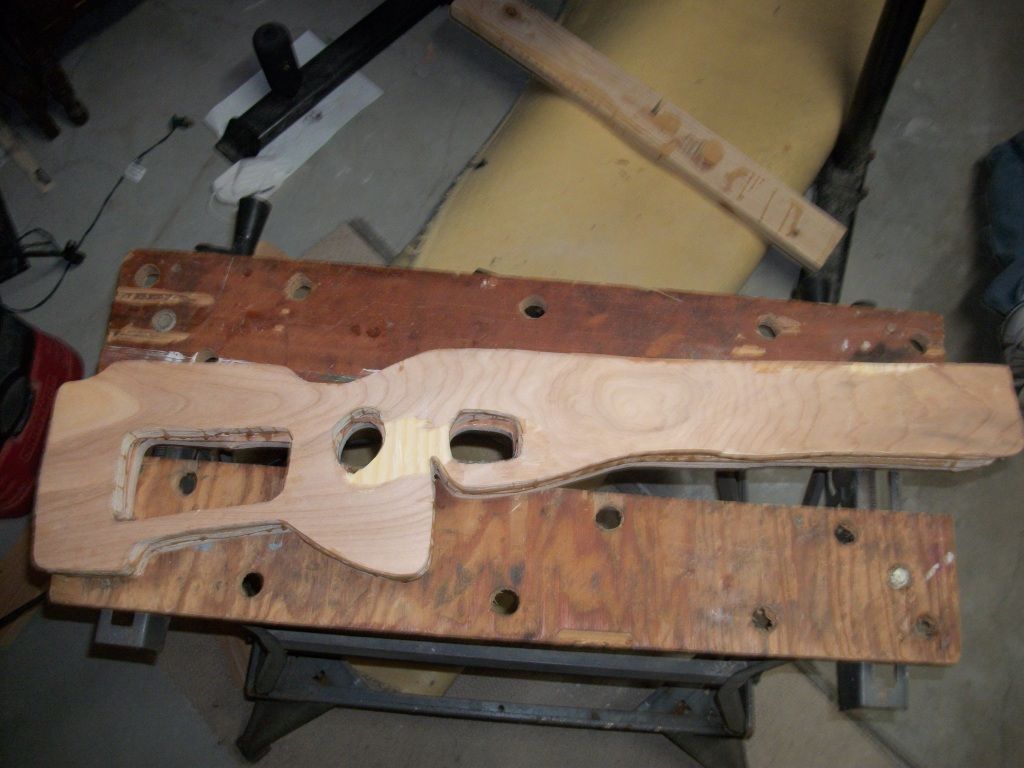
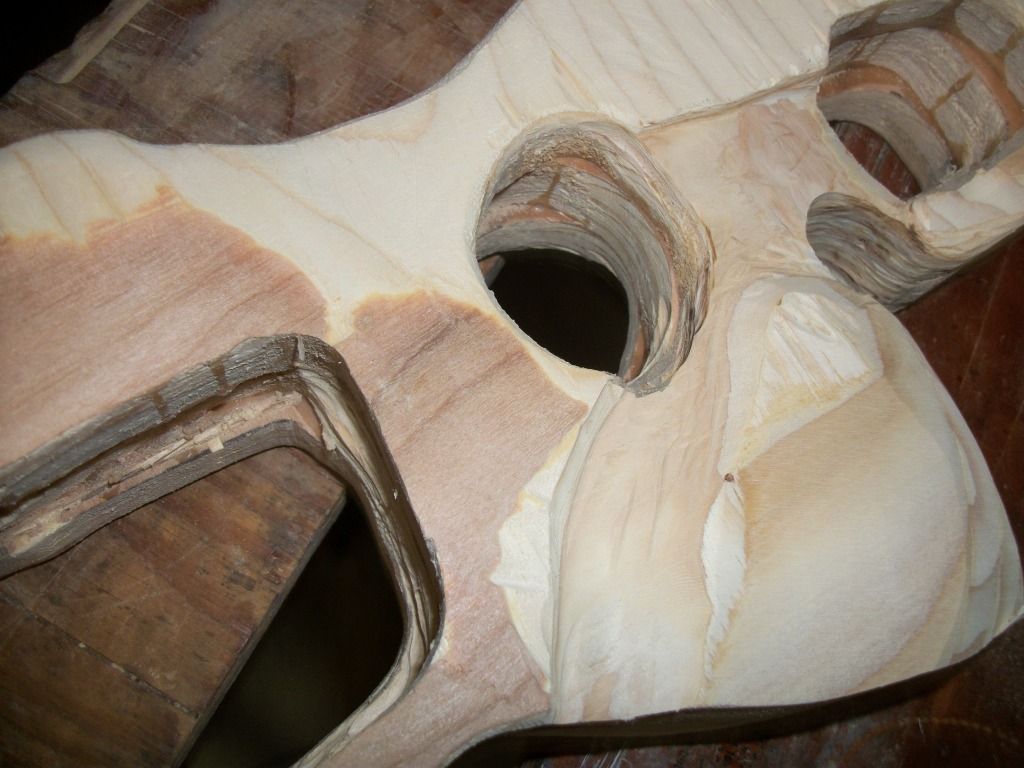
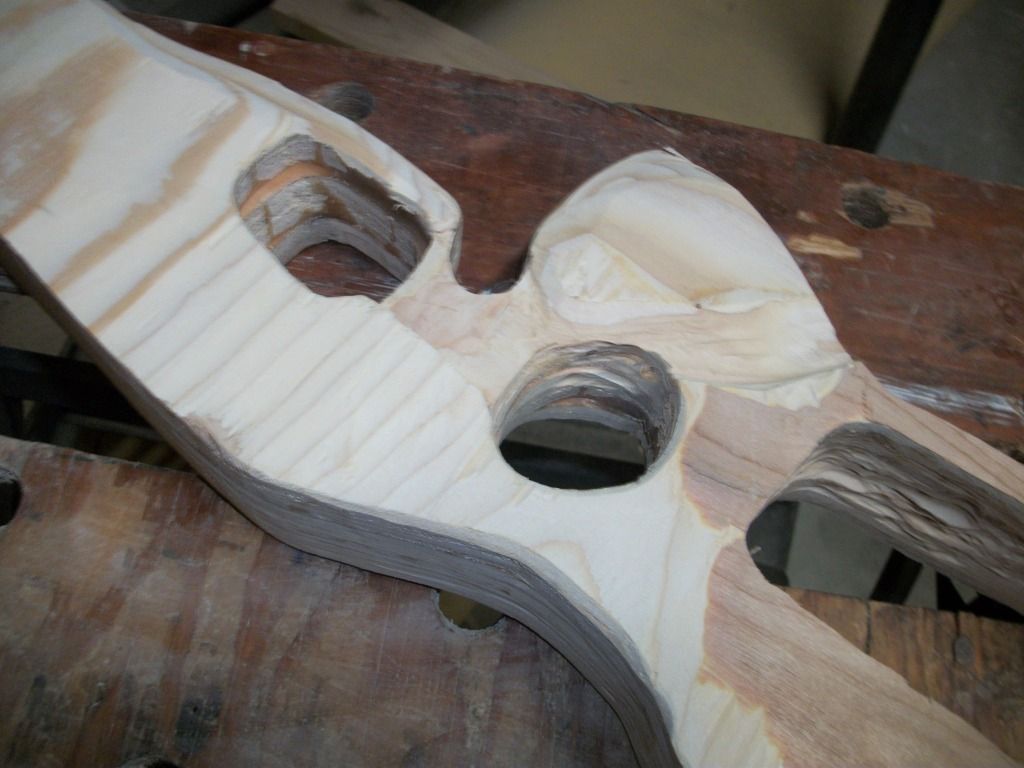
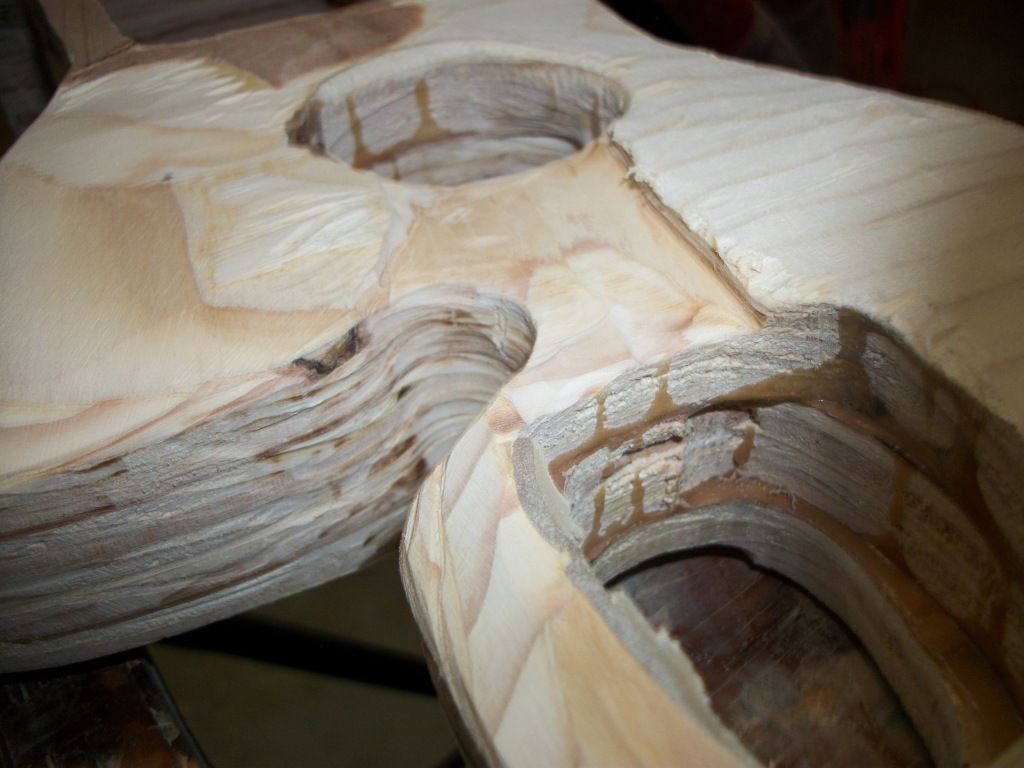
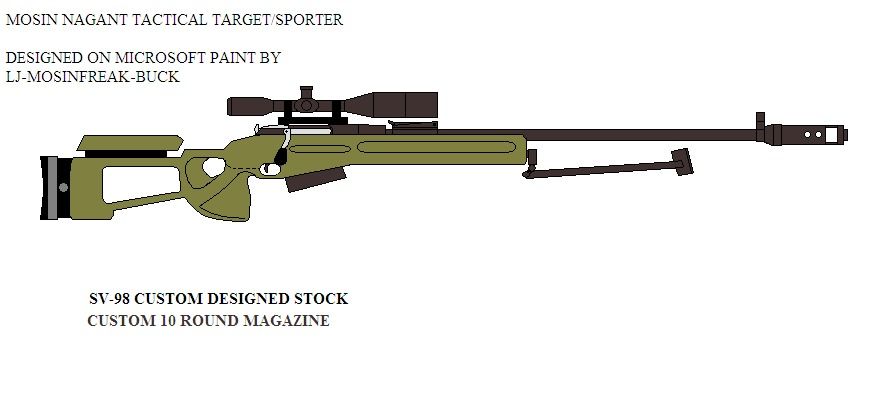
I started with the SV-98 design for the Mosin Nagant series of rifles through a popularity vote. Now, keep in mind, this stock that I'm about to show you my progress on is my first prototype. This will show me whether or not the materials I have chosen will hold up through the abuses of recoil, the elements, and some fair abuse. It probably isn't going to look too much like the SV-98, though the similarity is there. Once I know for sure that this is going to work using materials, I will build a more accurate rendition of the SV-98 stock, to which I'll build an accurate rifle on, to see exactly what kind of accuracy gains I'm going to get.
Here's a picture of the SV-98 design (drawn using Microsoft Paint):
Here's a link to my other thread (original one over on THR, for further reading, and background:
Original Thread, Click Here
(Further information can be found on my original thread here, along with some other designs, and various discussions about this project. Also found on the thread is the Materials List, with prices included.)
This thread is a continuation of the thread I started last September titled, "Would You Like To See These Stocks On The Market?" (On The High Road, link at bottom of this post). I did post a link on this forum, but I lost it. The thread contained my ideas for making affordable replacement stocks for the Mosin Nagant rifles modeled after more modern designs. The idea quickly took off, had a lot of likes, and had a lot of support from quite a few members (moreso than I had thought).
Through some help from other members, through donations, I was able to make the start on the project, even when I wasn't working. So firstly, a BIG THANK YOU to those who donated, LoonWulf, KAMAK, Savage1r, and there's one that I'm forgetting, but my appreciation is no less.
I started with the SV-98 design for the Mosin Nagant series of rifles through a popularity vote. Now, keep in mind, this stock that I'm about to show you my progress on is my first prototype. This will show me whether or not the materials I have chosen will hold up through the abuses of recoil, the elements, and some fair abuse. It probably isn't going to look too much like the SV-98, though the similarity is there. Once I know for sure that this is going to work using materials, I will build a more accurate rendition of the SV-98 stock, to which I'll build an accurate rifle on, to see exactly what kind of accuracy gains I'm going to get.
Here's a picture of the SV-98 design (drawn using Microsoft Paint):

Here's a link to my other thread (original one over on THR, for further reading, and background:
Original Thread, Click Here
(Further information can be found on my original thread here, along with some other designs, and various discussions about this project. Also found on the thread is the Materials List, with prices included.)

