Ithaca M37 disassemble and reassemble

mr kablammo

New member
How difficult is it to break down a M37 for a part-by-part cleaning and to reassemble? This looks to be of the 'fitted barrel' era. Were guns of that time blued or rust blued?
 
An Ithaca M37 is not difficult to break down completely. It is actually quite simple once you know how. I recommend a good disassembly/assembly manual, most have pictures and instructions for the M37. M37s were caustic blued or phosphated.
 
They're not particularly complex, but when you are reassembling them they can be a bit fiddly getting everything to line up properly.
 
If you go to www.shotgunworld.com and in the Ithaca forum you can find the Model 37 take down guide. The guide is actually in steves pages but the forum is a direct link to it.

Please note when taking down the Model 37 the butt stock MUST be removed before trying to disassemble the action. Pressure from the stock locks the triggerplate screw in place as if it was loc-tited in to place.

You will find that the Model 37 has less parts than any other pump gun made. This all go's back to when the gun was designed. Original concept was from JM Browning and then improved at Ithaca.
 
there is a bolt with a slotted head in the Ithaca butt stock. When ever I need to take mine off, I take a driver bit and tape it into a 1/4 driver socket. Then I wrap masking tape around the socket until it is built up just enough so slip into that access hole. The tape will keep the bit in the slot.

There is also the possibility you might have a socket that will fit the stock bolt also. Regardless, trying to do it with a screw driver is a definite PITA.
 
When I took up shotgunning, I had a lot of trouble with the stock coming loose. I, too, found using a screw-driver awkward.

But, it's a slotted hex bolt head and I found that using a nut-driver *much* easier. In the event, I made a special "M37 Stock-Driver".

Take a length of, say, 8mm bar. Grind a 1/4" square on each end. On one end, fix a 3/8" (or whatever it was) socket. On the other, a Philips / Pozidriv / whatever screw-driver bit for the two butt-plate screws. Finally, weld a short length of bar at right-angles near the screw-driver bit. Et, voila! A tool that makes things *much* easier.

What's really annoying is that my stock cracked and so I acquired a Choate plastic stock; the hex head is a different size thus making my tool useless...

Regards,

Mark.
 
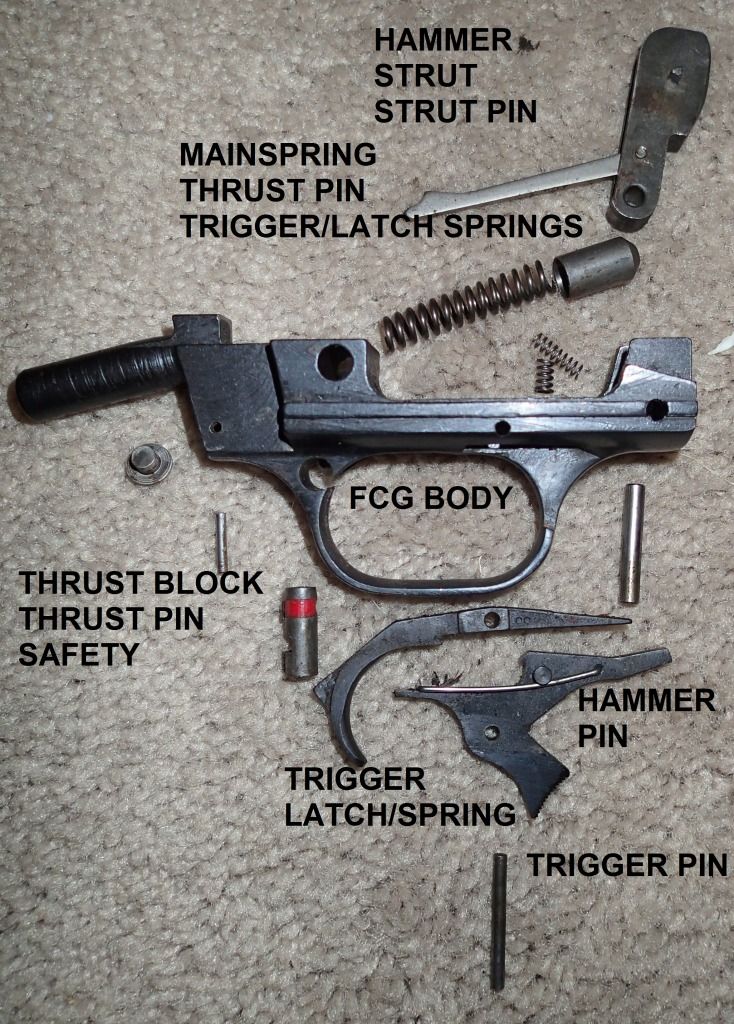
Saw this and thought some diagrams I made earlier for my M90 build were pertinent:
OverallDisassembly.jpg

FCGDisassembly.jpg

I missed the safety detent-pin and spring. They're tiny, and sit on the left side of the trigger plate above the safety in a tiny little hole--don't lose them when you pop out the safety! Oh, and my 1976 has a bolt with a square head for some stupid reason. Luckily I managed to find a metric socket that grabbed enough to break it loose.

I'm no gunsmith, so my terminology is bogus, but hopefully these will help you out. It's always a good idea to document dissassemblies like this with photos to help retrace your steps :)

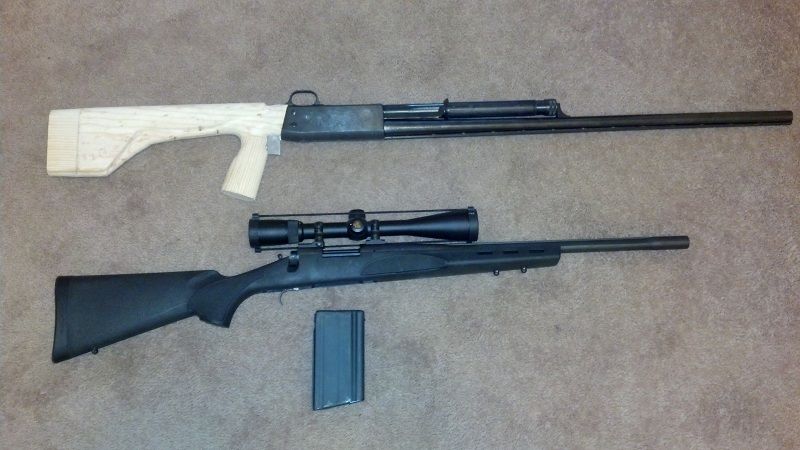
Here's the build so far (and my 700 SPS destined for a FAL magazine); got the dummy-stock inletted for the modified trigger/bolt release controls:
StockAssy1_zps8496c45c.jpg


TCB
 
Last edited:
Back
Top