kirbythegunsmith
New member
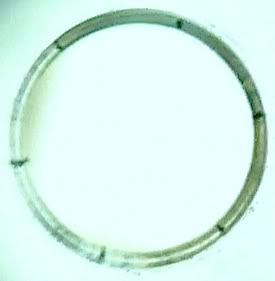
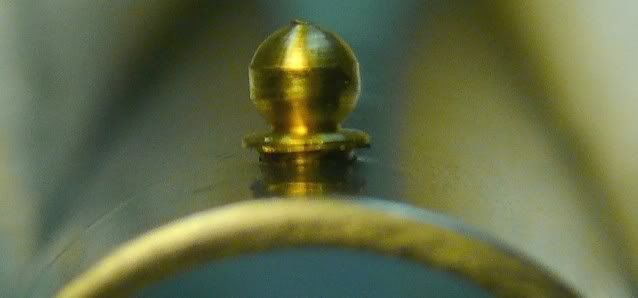
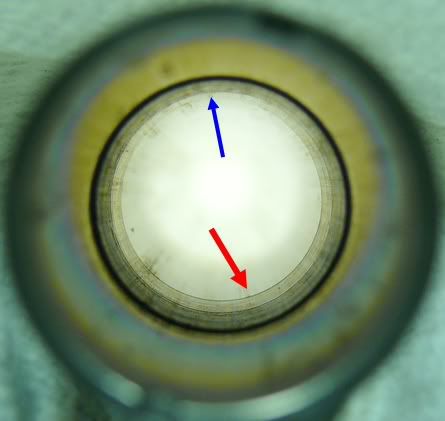
This is a pictured choke installation in a thin Winchester Model-12 barrel that was previously done by someone as a gunsmithing student project that went awry some years back, and recently was sent to me for a barrel change. Notice that there was no meat left to retain a bead, so no bead was installed in this cut-down barrel that was then just over minimum legal length. The one side is considerably thinner than the other (and the thick and thin areas are marked with the added arrows) and a choke wrench slipping made the indicated muzzle deformity- evidently some time in the past.
Due to the thin side present, the owner decided that the barrel might have been better scrapped rather than take a chance on the choke flying free and splitting the barrel wall. The barrel would have been too short if the offending choke had to be cut off, so in the mind of the owner, the original barrel was useless.
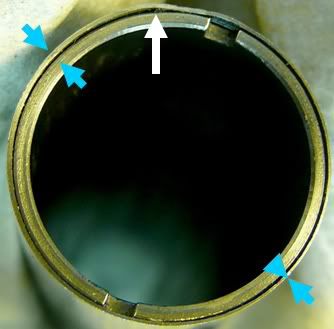
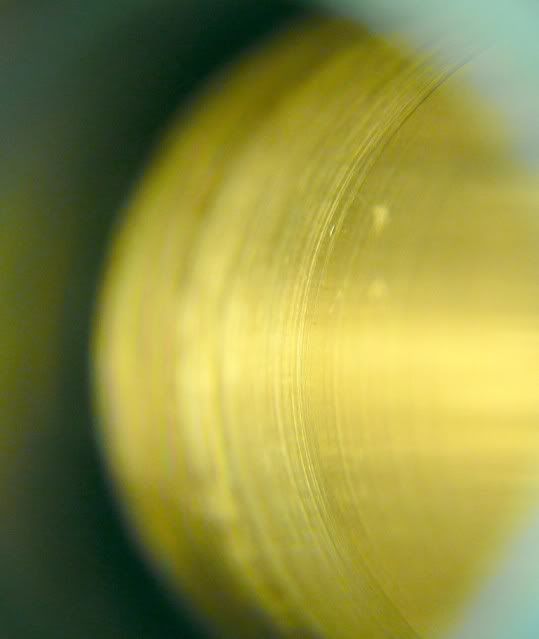
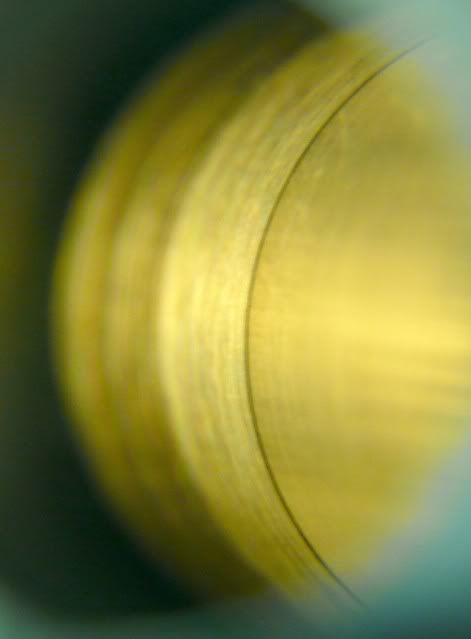
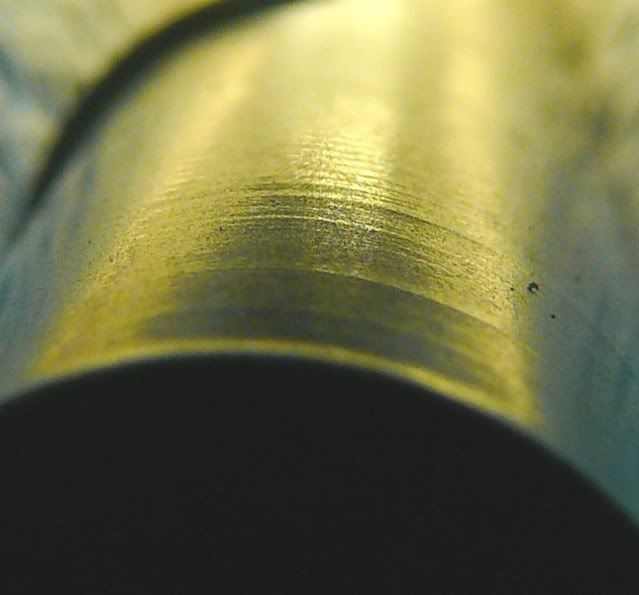
A close look into the interior shows the type of marks that have made me thoroughly detest any aftermarket choke installation done with (in my professional opinion) defectively-designed tooling that was designed to bore out the existing choke in a barrel with an extended section of the reamer front end, since that section of cutter can drift and cut heavier on one side due to piloting alignment limitations.
See that the marks behind the choke tube hole are uneven and actually has one side of the barrel bore untouched past a certain point, and the opposite side is heavily scraped.
That is a problem that I noticed was unavoidable when those tooling designs were first offered to the trade, and I knew I would not be able to perform a straight and precise high quality choke installation with those tools that seem to be in use in a large number of establishments.
My question to those firms would be whether they had put any thought into the tooling design prior to use and realized that it was less than optimal but still all that was conveniently available, or just decided if everyone else does it, it must be good enough for the uninformed public?
I say it is definitely not OK, and will never use any such type of tooling. The other main issue I have with that tooling is the fact that the pilot is attached to an extended nose shaft that is several inches long ahead of the cutting section to reach past an existing choke in a barrel, and the pilot must be attached after being inserted from the chamber end of the barrel and screwed in place with a 3 foot screwdriver. How can a cutter go straight when a pilot is mounted several inches from the cutting section? This is still the situation in a cut off barrel with no choke present- such as in the example pictured. See why I believe the tooling design has limitations? Imagine in the .410 size the amount of shaft flex that could be induced with little force. Recipe for disaster?
Just because a tool is being sold to the trade, doesn't mean that it is up to doing an accurate and suitable job as a buyer would expect. If it sells, that makes it a success to the maker, but the people have been known to buy a Pet Rock, so what does that tell you?
If you have an aftermarket tube installation in a shotgun barrel, check to see if you have a similar scraped section inside the bore behind the choke tube hole. If your bore was especially small, there will be a sizable counterbored section cut all around behind the choke tube hole, and I've never seen even one of those installations that had a little polishing done (even a minimal level of effort) to that horribly scraped area behind the choke. (If your barrel bore is larger than the diameter of the choke relieving section of the tool, there may be a remnant of the original fixed factory choke remaining in the barrel to affect pattern performance)
I have had many shooters that I told about this problem state that their installation was exactly just as I said, with loads of fouling likely to be present in that roughened area.
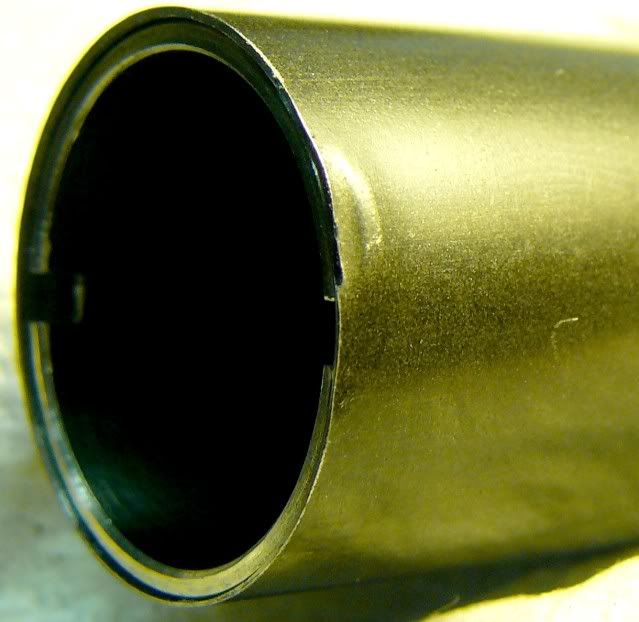
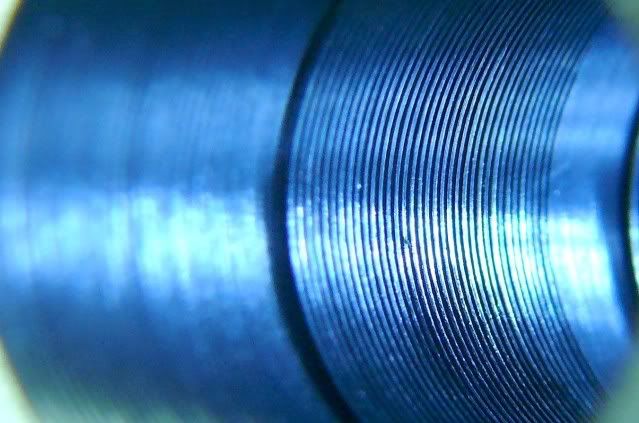
See how thin the barrel wall had become from the unfortunate choke installation and even had visibly obvious threads showing in the exterior profile.

This view is even more shocking.
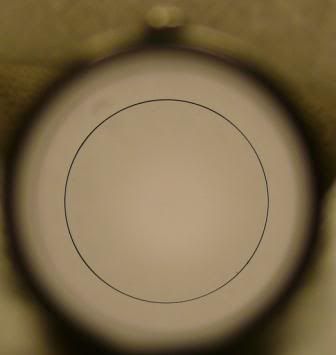
Another barrel was expected to be installed in place of the condemned original barrel, but it was found to have been bent and reworked by an inexperienced person that created bore deformities that were visibly obvious and made the replacement barrel an undesirable alternative. The distortions are visible in these next pictures.
I have seen many barrels in various stages of damage- from dents/dings, warps and bends, kinks, and can say that about the worst is probably the dog-leg i.e. been bent and straightened in a spot other than the offending bend.
Anything that I tell a shooter, I can explain and in almost every case, can drag out a picture from my archives. I don't need to make a brand-new picture to make a point of a relevant job that I may have pictured almost 2 years ago, such as a Winchester 101 internal parts configuration, for instance.


The necessary alternatives that were offered and subsequently performed for the owner will be detailed next time. The repair was actually less than anyone charges for just a barrel swap on any Model-12, by the way.
Kirby
I hope this information does not upset readers that were taken in by defective choke installations, but the alternative of remaining blissfully unaware is something that may not necessarily be realistic in the long term. I show the reality and hope that the maturity level is sufficient to withstand the revelations I post.
Due to the thin side present, the owner decided that the barrel might have been better scrapped rather than take a chance on the choke flying free and splitting the barrel wall. The barrel would have been too short if the offending choke had to be cut off, so in the mind of the owner, the original barrel was useless.

A close look into the interior shows the type of marks that have made me thoroughly detest any aftermarket choke installation done with (in my professional opinion) defectively-designed tooling that was designed to bore out the existing choke in a barrel with an extended section of the reamer front end, since that section of cutter can drift and cut heavier on one side due to piloting alignment limitations.
See that the marks behind the choke tube hole are uneven and actually has one side of the barrel bore untouched past a certain point, and the opposite side is heavily scraped.
That is a problem that I noticed was unavoidable when those tooling designs were first offered to the trade, and I knew I would not be able to perform a straight and precise high quality choke installation with those tools that seem to be in use in a large number of establishments.
My question to those firms would be whether they had put any thought into the tooling design prior to use and realized that it was less than optimal but still all that was conveniently available, or just decided if everyone else does it, it must be good enough for the uninformed public?
I say it is definitely not OK, and will never use any such type of tooling. The other main issue I have with that tooling is the fact that the pilot is attached to an extended nose shaft that is several inches long ahead of the cutting section to reach past an existing choke in a barrel, and the pilot must be attached after being inserted from the chamber end of the barrel and screwed in place with a 3 foot screwdriver. How can a cutter go straight when a pilot is mounted several inches from the cutting section? This is still the situation in a cut off barrel with no choke present- such as in the example pictured. See why I believe the tooling design has limitations? Imagine in the .410 size the amount of shaft flex that could be induced with little force. Recipe for disaster?
Just because a tool is being sold to the trade, doesn't mean that it is up to doing an accurate and suitable job as a buyer would expect. If it sells, that makes it a success to the maker, but the people have been known to buy a Pet Rock, so what does that tell you?
If you have an aftermarket tube installation in a shotgun barrel, check to see if you have a similar scraped section inside the bore behind the choke tube hole. If your bore was especially small, there will be a sizable counterbored section cut all around behind the choke tube hole, and I've never seen even one of those installations that had a little polishing done (even a minimal level of effort) to that horribly scraped area behind the choke. (If your barrel bore is larger than the diameter of the choke relieving section of the tool, there may be a remnant of the original fixed factory choke remaining in the barrel to affect pattern performance)
I have had many shooters that I told about this problem state that their installation was exactly just as I said, with loads of fouling likely to be present in that roughened area.

See how thin the barrel wall had become from the unfortunate choke installation and even had visibly obvious threads showing in the exterior profile.

This view is even more shocking.

Another barrel was expected to be installed in place of the condemned original barrel, but it was found to have been bent and reworked by an inexperienced person that created bore deformities that were visibly obvious and made the replacement barrel an undesirable alternative. The distortions are visible in these next pictures.
I have seen many barrels in various stages of damage- from dents/dings, warps and bends, kinks, and can say that about the worst is probably the dog-leg i.e. been bent and straightened in a spot other than the offending bend.
Anything that I tell a shooter, I can explain and in almost every case, can drag out a picture from my archives. I don't need to make a brand-new picture to make a point of a relevant job that I may have pictured almost 2 years ago, such as a Winchester 101 internal parts configuration, for instance.


The necessary alternatives that were offered and subsequently performed for the owner will be detailed next time. The repair was actually less than anyone charges for just a barrel swap on any Model-12, by the way.
Kirby
I hope this information does not upset readers that were taken in by defective choke installations, but the alternative of remaining blissfully unaware is something that may not necessarily be realistic in the long term. I show the reality and hope that the maturity level is sufficient to withstand the revelations I post.


