1858 conversion project

scrat

New member
Some of you guys may have seen this on THR

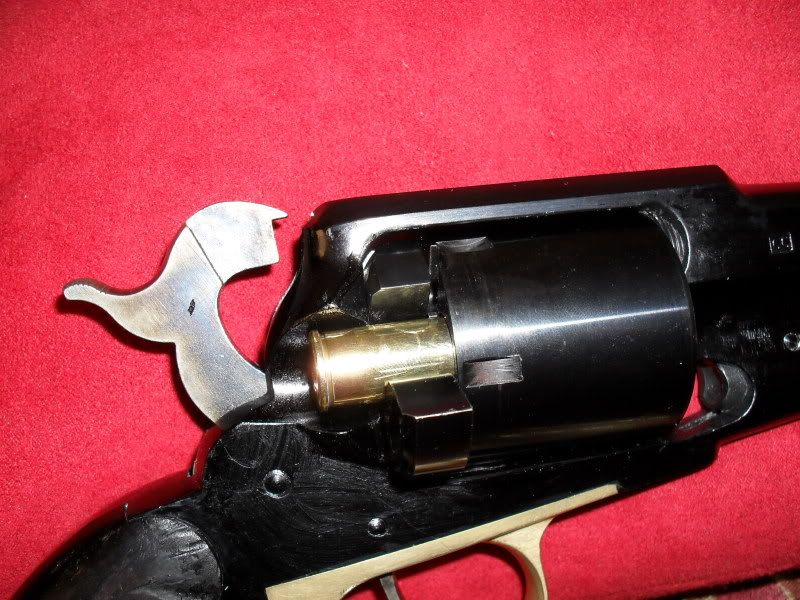
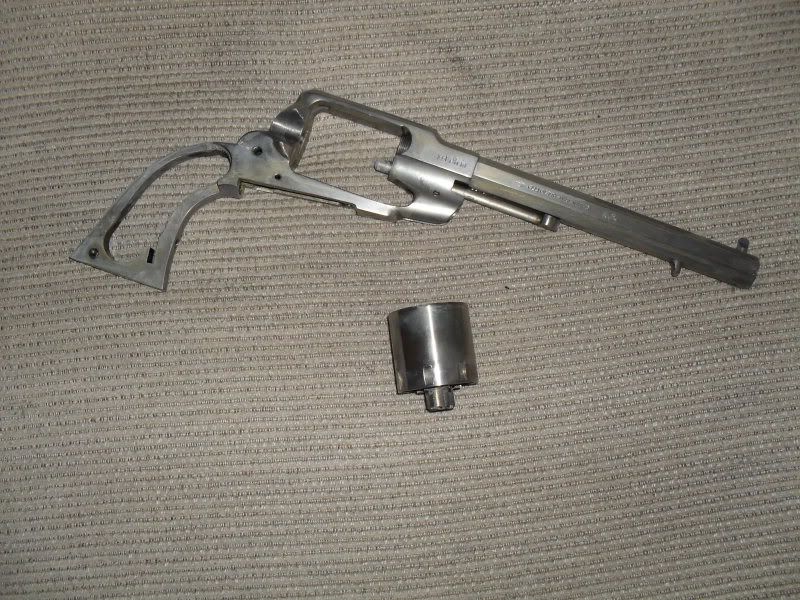
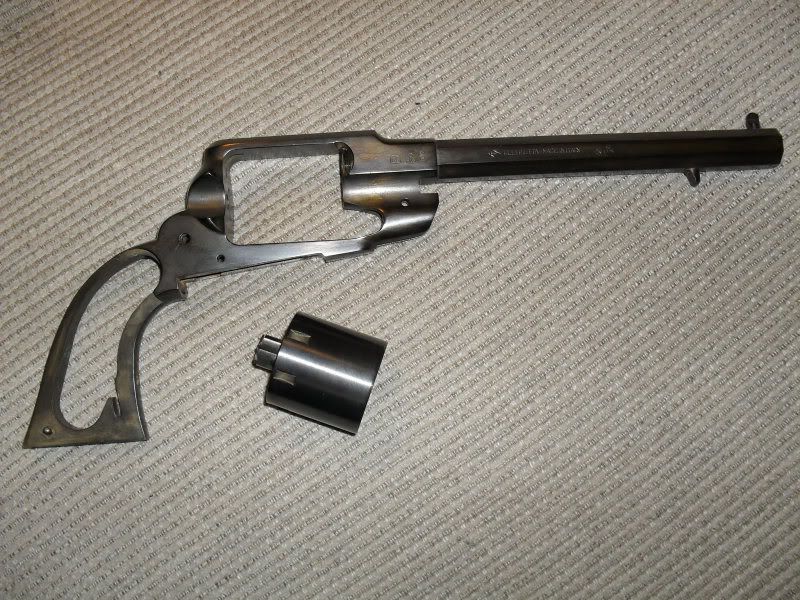
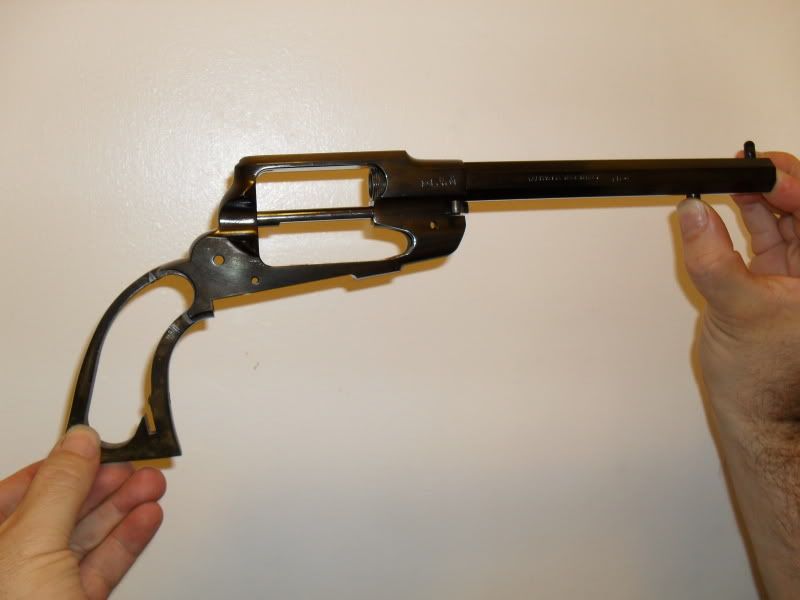
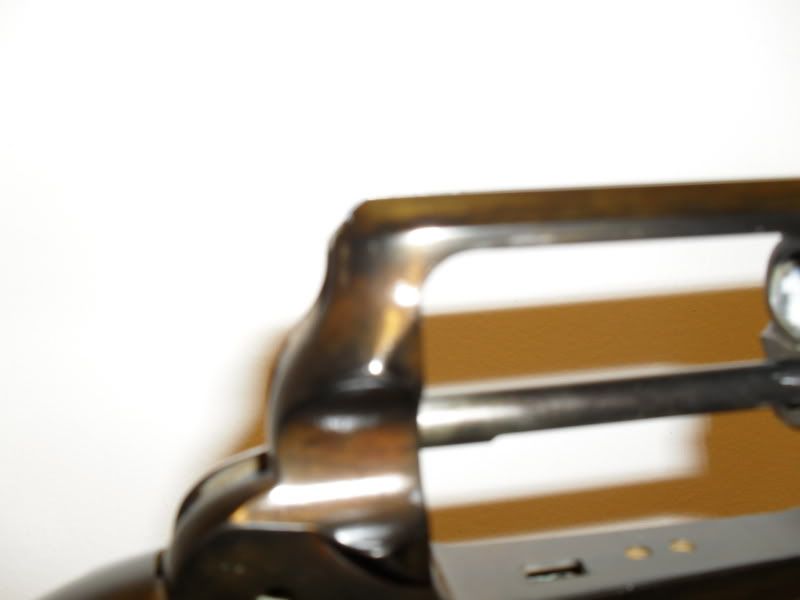
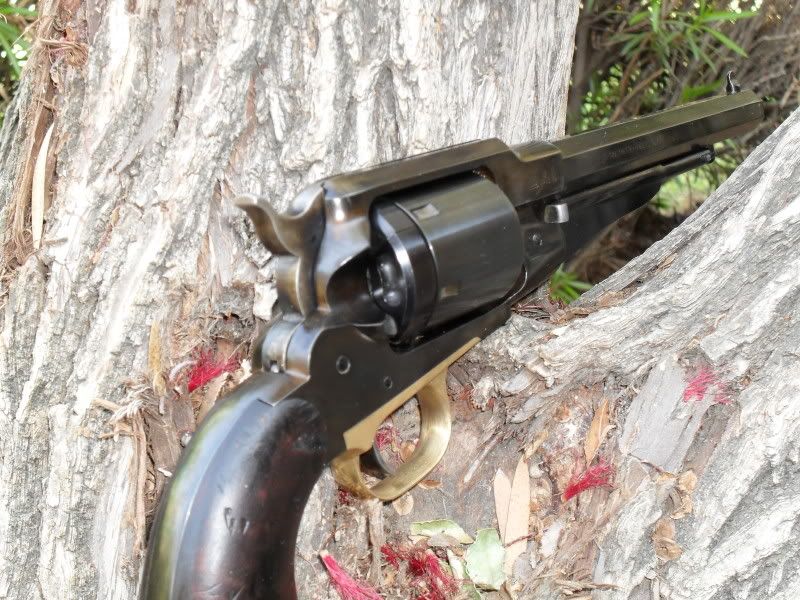
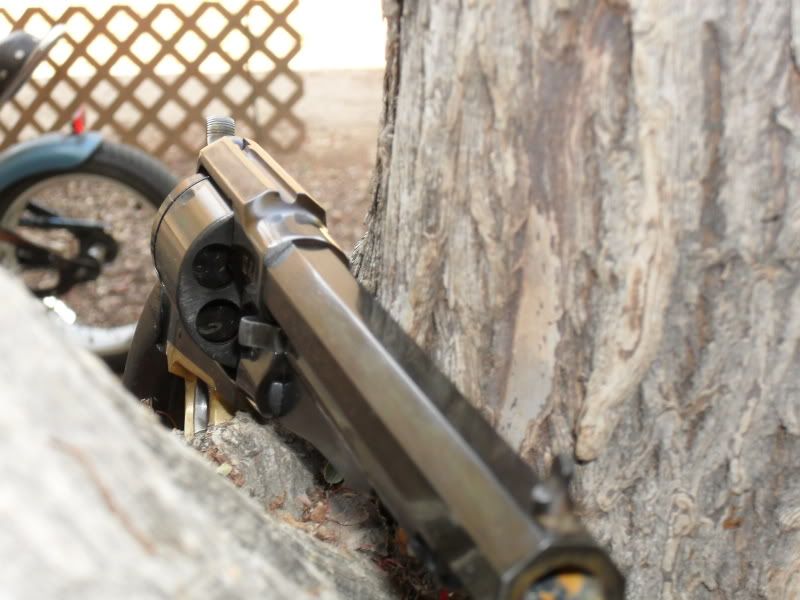
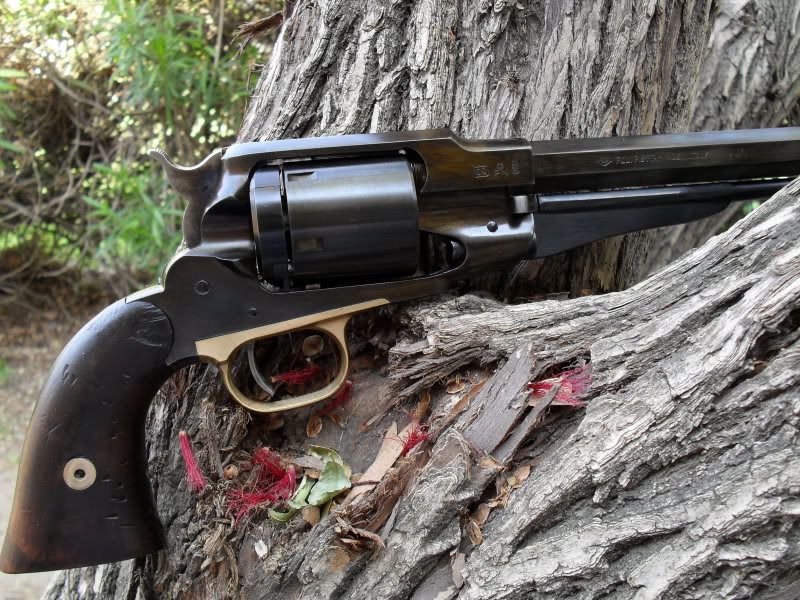
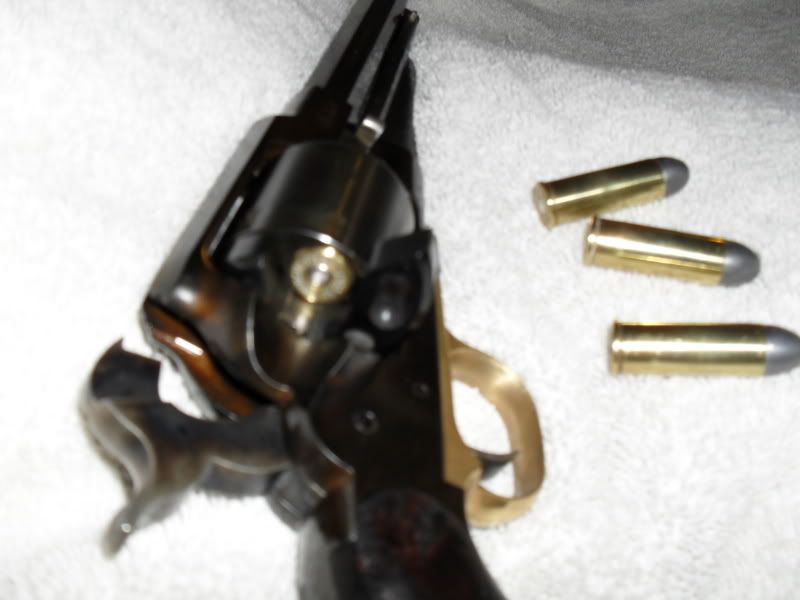
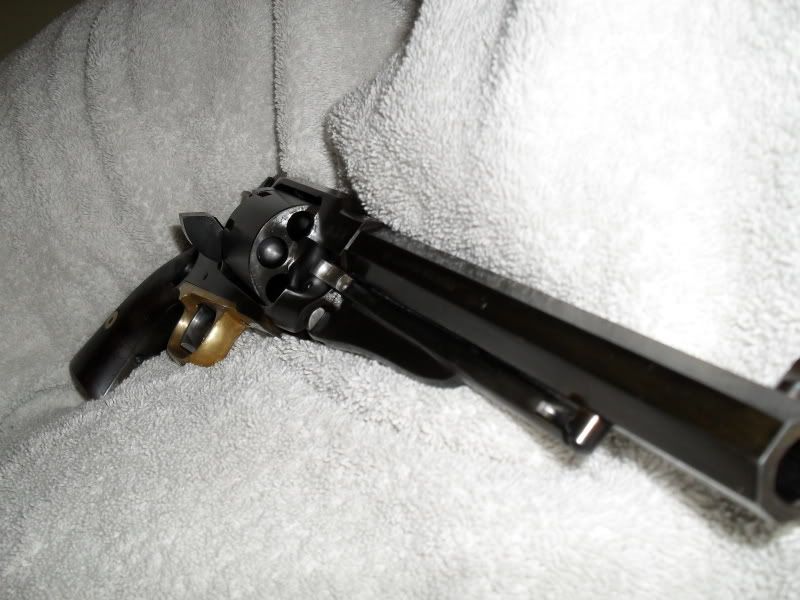
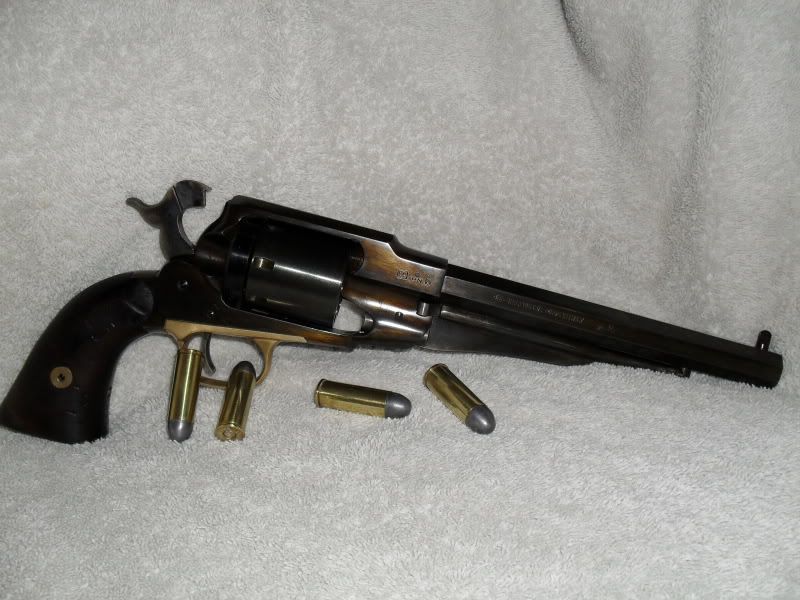
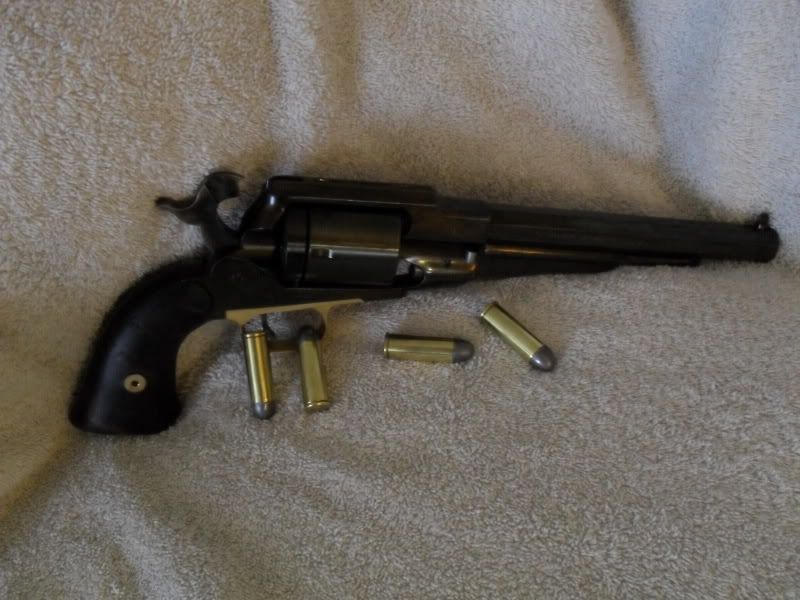
So i have been really looking into doing a conversion and finally did it. Started out with a new 1858 pietta. Purchased a kirst conversion cylinder from Buffalo arms. Then i took it out to the range a couple of times. Shooting cap and ball black powder Then took it home for its take down. First had to get the cylinder to fit. This took a bit of machining to ge the alignment correct and the cylinder just right. Then came the porting. This took a while. Well after that i tried to use my touch up pen to go over the areas. Well that pretty much looked like crud. So i ended up getting a cold blue kit. Then i aged up the grips pretty good. When i got the cold blue kit i already decided i did not want it a jet black or bluish color but a blackish brown color. So that took a bit to figure out. After a days work this is what i have so far.brand new top right
Picture003.jpg


after maching of cylinder and K adapter
Picture005.jpg
 
Last edited:
initial first finish. was not happy with the blueing with my touch up pen not at all 45 Colt Black powder Loads
Picture021.jpg


finish looks terrible. grips still need some work to age them up some more so the finish is going.
Picture020.jpg
 
Last edited:
STRIPPED RATED XXX
Picture031.jpg


some shading and 3 coats of bluing

Picture032.jpg


8 coats of bluing and a lot of shading

Picture036.jpg


close up of finish my hand was not that steady

Picture037.jpg


first put back together still needs a lot of detail work and the bore redone
oh and i still need to do the loading lever
 
ok still needs the detail work the bore and loading lever done and finish up the grips
Picture044.jpg

see the bore

Picture043.jpg


love the shading turns colors in light.
Picture042.jpg
 
Shoot now im afraid to shoot it. The finish in person looks soo soooo good. only shooting black powder though nothing else
 
Last edited:
Good job scart! So far I have been able to resist doing a conversion. I really like the Richards-Mason conversion on the open tops. I've got a 1860 that's needs to be different from the other three. I may give it a shot.

You did great with that cold blue.
 
Am doing a Remington myself, a Cimarron Navy. Kirst has discontinued their .38 Special Remington cylinders and so I'm waiting on the last of River Junction's stock. I oil-finished the grips, then stripped and cold blued the steel to try to stimulate graying/browning. The blue is already wearing off, which is good.

Latest001.jpg
 
Last edited:
what the heck. Mykeal i have a 13 inch monitor on my laptop and it comes up fine. this is not the big size
 
Well done!

Wow, that really does look great. Even in these small pix I can see some of the brown shading coming through. Can you give us some idea of your bluing/shading process?

Also, how did you do the porting? That's the item that's held me up on considering one of these conversions thus far.

Like I said - well done!

Best,
Oly
 
Strip the gun completely. i used the birchwood casey. i talked to a local gunsmith and he showed me some ways to do it with cold blue. The trick is not cleaning it or polishing it all the way. After you strip the gun. You want to clean the bejesus out of it. then polish it out really good. Making sure you get it to bare metal. and smooth flawless. then take that stripping compound again and put it around the revolver only in certain spots it will de color the revolver again giving it a rustish looking finish on certain areas. you almost need to picture how its going to look after your done with it. Then clean it like crazy again. Take some steel wool and lightly go over it. but not enough to take away the color. Then clean it again and dry it off. now your ready for the bluing in just a few coats you will see the finish come through and its totally amazing. the way the cold blue works the more you rub it the darker it gets. So in select areas you wanna give just a few rubs not alot so you have the worn out look. In other areas you wanna darken it up pretty good. Any how thats the finish it came out really good in person its unbelievable.

For the porting when you get a kirsk convertor they have a paper template. i made a photo copy of it just in case i screwed it up. Then cut it out and glue it on. i used some rubber cement from an old cold tire patch kit. Then i took out my dremel and used a 5/8 drum sander at first but that changed quickly. I then took out my corded power drill and took a 5/8 grinding bit and started using that until i got down to the template. One thing i learned is that all the corners need to be a tad deeper otherwise the shells will go in but tight. so at that point i changed to the 5/8 drum sander then used that until i could put the cylinder in and put the shells in easily. Then i just worked my way from 150 grit paper all the way to 400 grit paper then steel wool. all in all the porting took a good days work its not hard at all rather easy i would do it again in a second. pretty easy. but it was a lot easier with the corded drill versus using the dremel. The dremel just turns too slow. Nothing beats my old Makita. i got a makita thats probably 20+ years old. in fact its red. lol all makitas today i think are blue.
 
Scrat what is your 51 Navy in the case? Is it a brass frame with nickel?

LOL i love to custom finish my revolvers. took the gun apart completly then went to the local dollar store and bought a quart of vinegar. Then i took the gun parts and put them in a pan and poured in the vinegar. Next day i woke up and pulled them out and cleaned with soapy hot hot water. then i took some mothers mag and wheel polish and i polished it up really good. For the grips i sanded them down like crazy then i put on i think about 20 coats of black laquer an old quart i had lying around. Then about a week later i polished it up really good. In the picture gun it is not even polished it had been sitting in the case for about a month. When i do polish it up it looks really really good. Only thing i did afterwards was i took a bronze brush to the bore and cylinders then applied a very light coat of cold bluing to the inside just so the insides are not bare metal like the rest. When its polished you put it next to a nickel plated gun and it looks just like it. All in all for .99 cents hahahahah
 
Last edited:
I guess after being a co owner in a machine shop and having a boat load of experience with metal im not afraid to do things with it. Only thing you have to remember with metal and wood. Dont over cut over grind. you can cut more or grind more but adding wood or metal is a different story. As for the finishes i have learned a bunch and im still learning but its fun. best part about finishes if your un happy you just strip and do it again. Measure twice cut once.
 
Back
Top